For many of us, the stairs in our homes are something we don’t even think about for decades. They are just a way to get from the kitchen to the bedroom. But as we age, or as we recover from an injury or surgery, those thirteen or fourteen steps can start to look like a mountain.
If you’ve started to feel a bit of hesitation at the top of the landing, or if you find yourself "furniture surfing" to get to the next floor, you aren't alone. Statistically, about half of American homes have stairs, and unfortunately, stairs are a common site for household accidents. In fact, over a million injuries occur on stairs every year in the United States.
The good news is that "mastering the stairs" doesn't necessarily mean moving to a single-story home or staying confined to the ground floor. It means understanding the tools available to make those transitions safe, steady, and stress-free. This guide is designed to walk you through the world of stair mobility aids: from simple hardware to more advanced mechanical supports.
Assessing Your Needs: Is It Time for an Aid?
Before looking at equipment, it’s helpful to understand why the stairs feel difficult. Not everyone needs the same solution.
Some common reasons seniors begin looking for stair aids include:
- General Insecurity: A feeling of dizziness or loss of balance when looking down.
- Reduced Grip Strength: Difficulty holding onto a standard, thin wooden handrail.
- Joint Pain: Arthritis in the knees or hips that makes high steps painful.
- Neurological Conditions: Conditions like Parkinson’s or recovery from a stroke that affect gait and coordination.
- Vision Changes: Difficulty seeing where one step ends and the next begins.
If you find yourself avoiding the stairs or waiting for someone to be home before you go up or down, it’s a sign that your environment needs to catch up with your current physical needs.
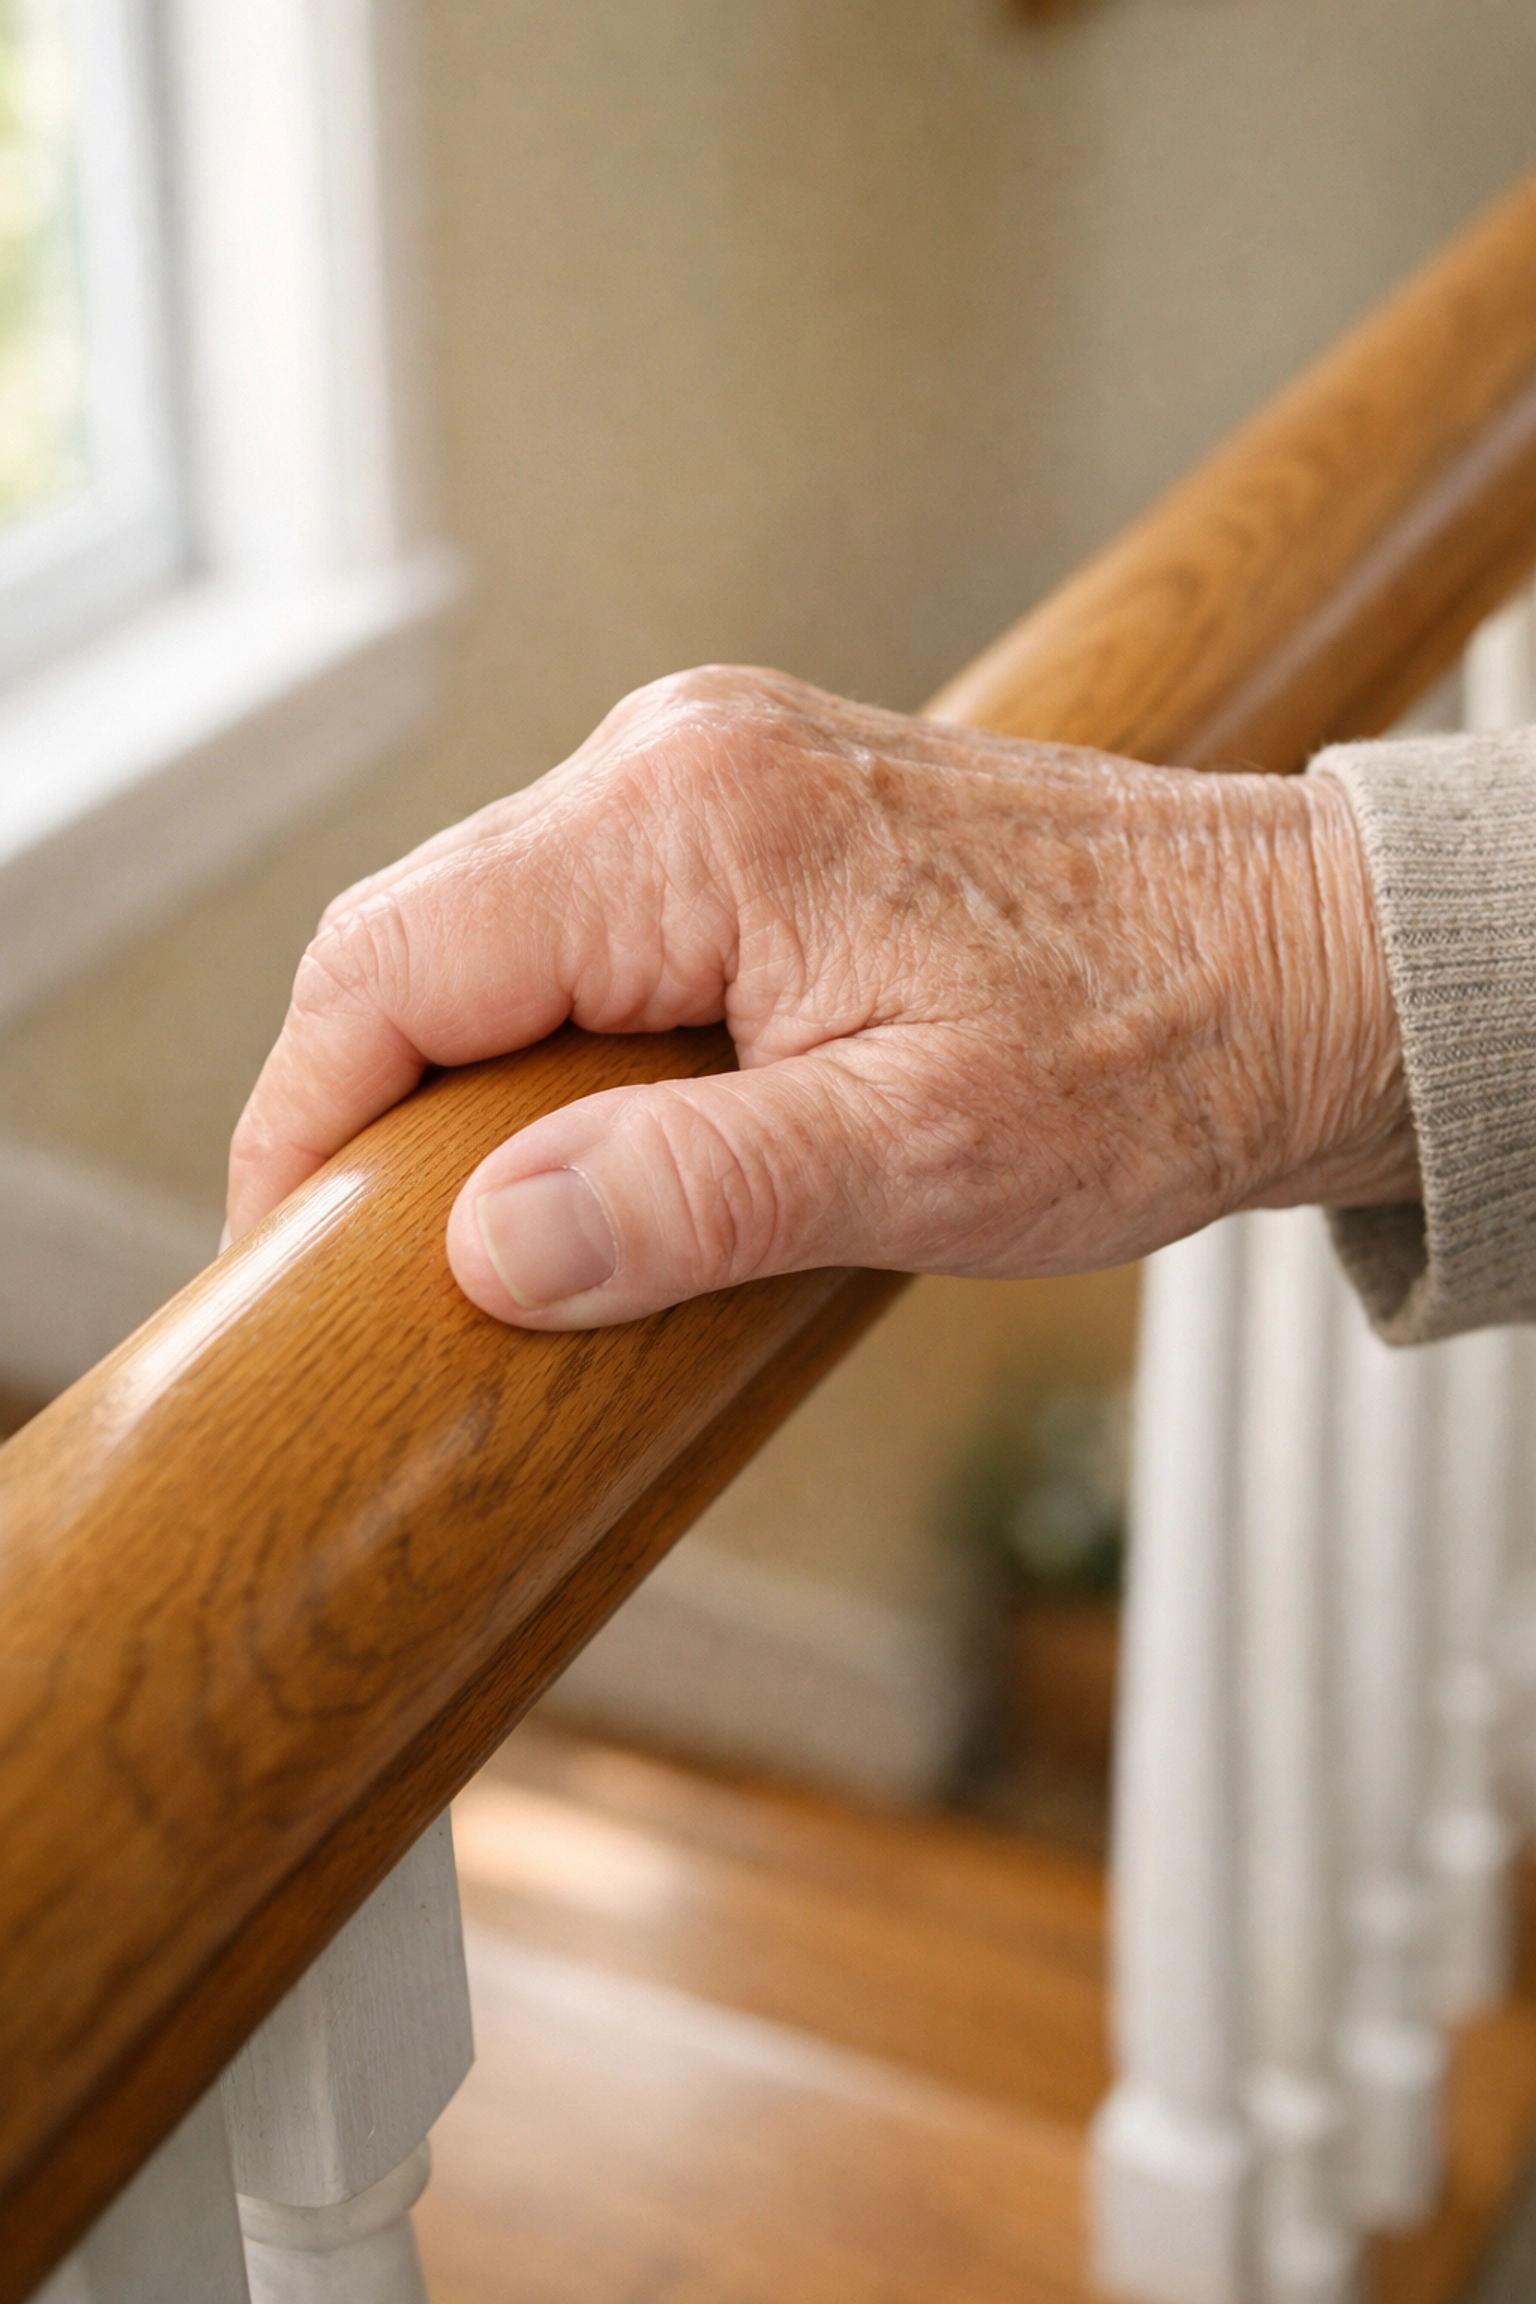
The Foundation: Enhanced Handrails
The most basic stair aid is the handrail. Most building codes require at least one, but for many seniors, one is simply not enough.
The Power of Two
If your staircase only has a rail on one side, adding a second rail on the opposite wall is the single most effective "beginner" upgrade. Having a rail for each hand allows you to distribute your weight more evenly and provides a backup if one hand slips.
Proper Grip and Diameter
Standard handrails are often designed for aesthetics rather than ergonomics. A safety-first handrail should be "legradable," meaning you can wrap your fingers all the way around it. If a rail is too wide or too flat, you can’t get a firm "power grip" on it. Look for rails with a diameter of about 1.5 inches.
Advanced Climbing Aids: Handrail-Based Supports
For those who need more than a standard rail but aren't ready for a motorized lift, there is a middle ground often referred to as "climbing aids" or "assistive steps."
These devices usually consist of a specialized rail with a moving handle. As you walk up or down, you slide the handle along the rail. The magic is in the locking mechanism: if you trip or put sudden weight on the handle, it locks instantly in place, acting like a sturdy crutch fixed to the wall.
Why They Work
These aids are excellent for "active" mobility. They encourage the user to keep using their muscles, which helps maintain strength and bone density, but they provide the "safety net" of an automatic brake. They are particularly helpful for stroke survivors who may only have full use of one side of their body, as many of these handles can be operated with a single hand.
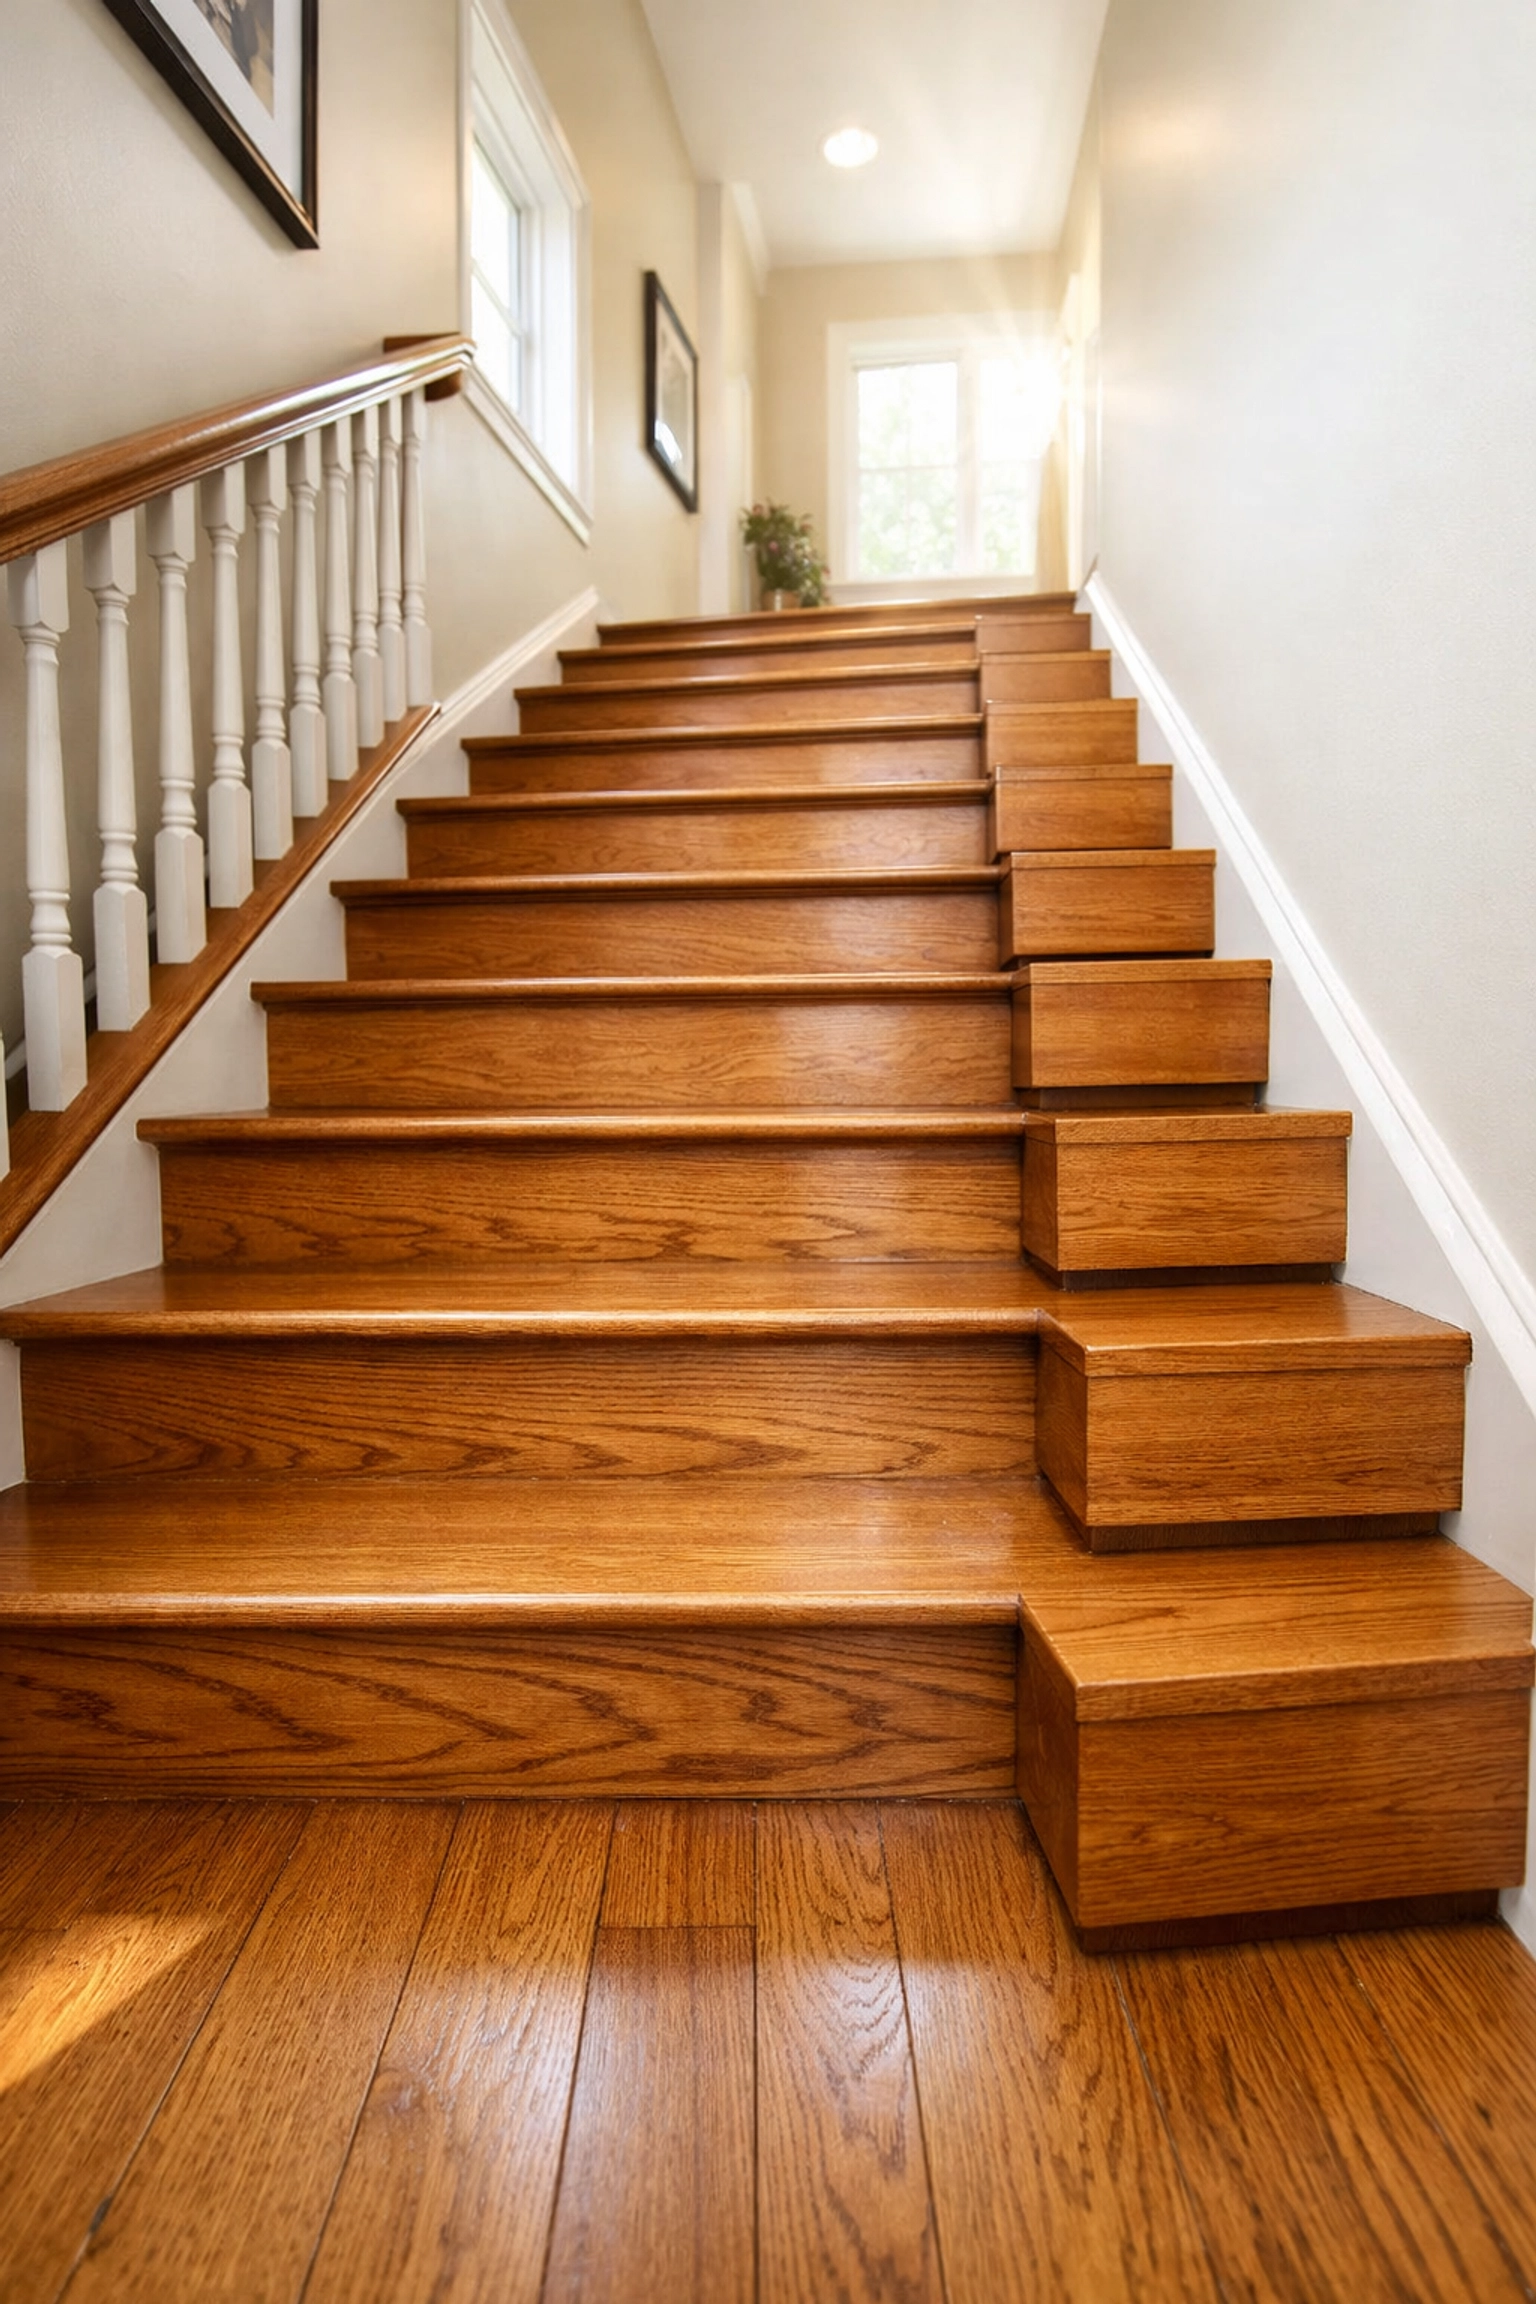
Half-Step Solutions: Reducing the Climb
Sometimes the problem isn't balance: it’s the height of the step itself. A standard stair riser is about 7 to 8 inches high. For someone with severe arthritis or limited range of motion in their knees, that 8-inch lift is a tall order.
Half-step solutions involve placing "blocks" or mini-platforms on one side of each existing step. This effectively cuts the height of each step in half. Instead of lifting your foot 8 inches, you only lift it 4 inches to the block, then another 4 inches to the main step.
This is a mechanical solution that doesn't require electricity and is often much more affordable than larger installations. It’s a great way to keep the joints moving without the "grinding" pain that often comes with steep inclines.
The Landing Zone: Transitioning Off the Stairs
Safety doesn't end when you reach the bottom or top of the stairs. In fact, many falls happen during the "transition": that moment when you let go of the handrail to start walking on flat ground.
Transfer Poles and Grab Bars
A transfer pole (a floor-to-ceiling tension bar) placed at the top or bottom of the stairs provides a steady vertical surface to hold onto while you find your bearings. Similarly, a well-placed grab bar on the wall just past the last step can give you that extra bit of confidence to make the turn into the hallway.
Clear Sightlines
Ensure that there is no furniture, rugs, or clutter within three feet of the start or end of the stairs. When you are concentrating on navigating the steps, your peripheral vision is often lowered. A stray shoe or a loose rug at the landing is a significant hazard.
Environmental Safety: Beyond the Hardware
Even the best mobility aid can’t overcome a poorly lit or slippery environment. To master the stairs, you have to look at the "canvas" they are built on.
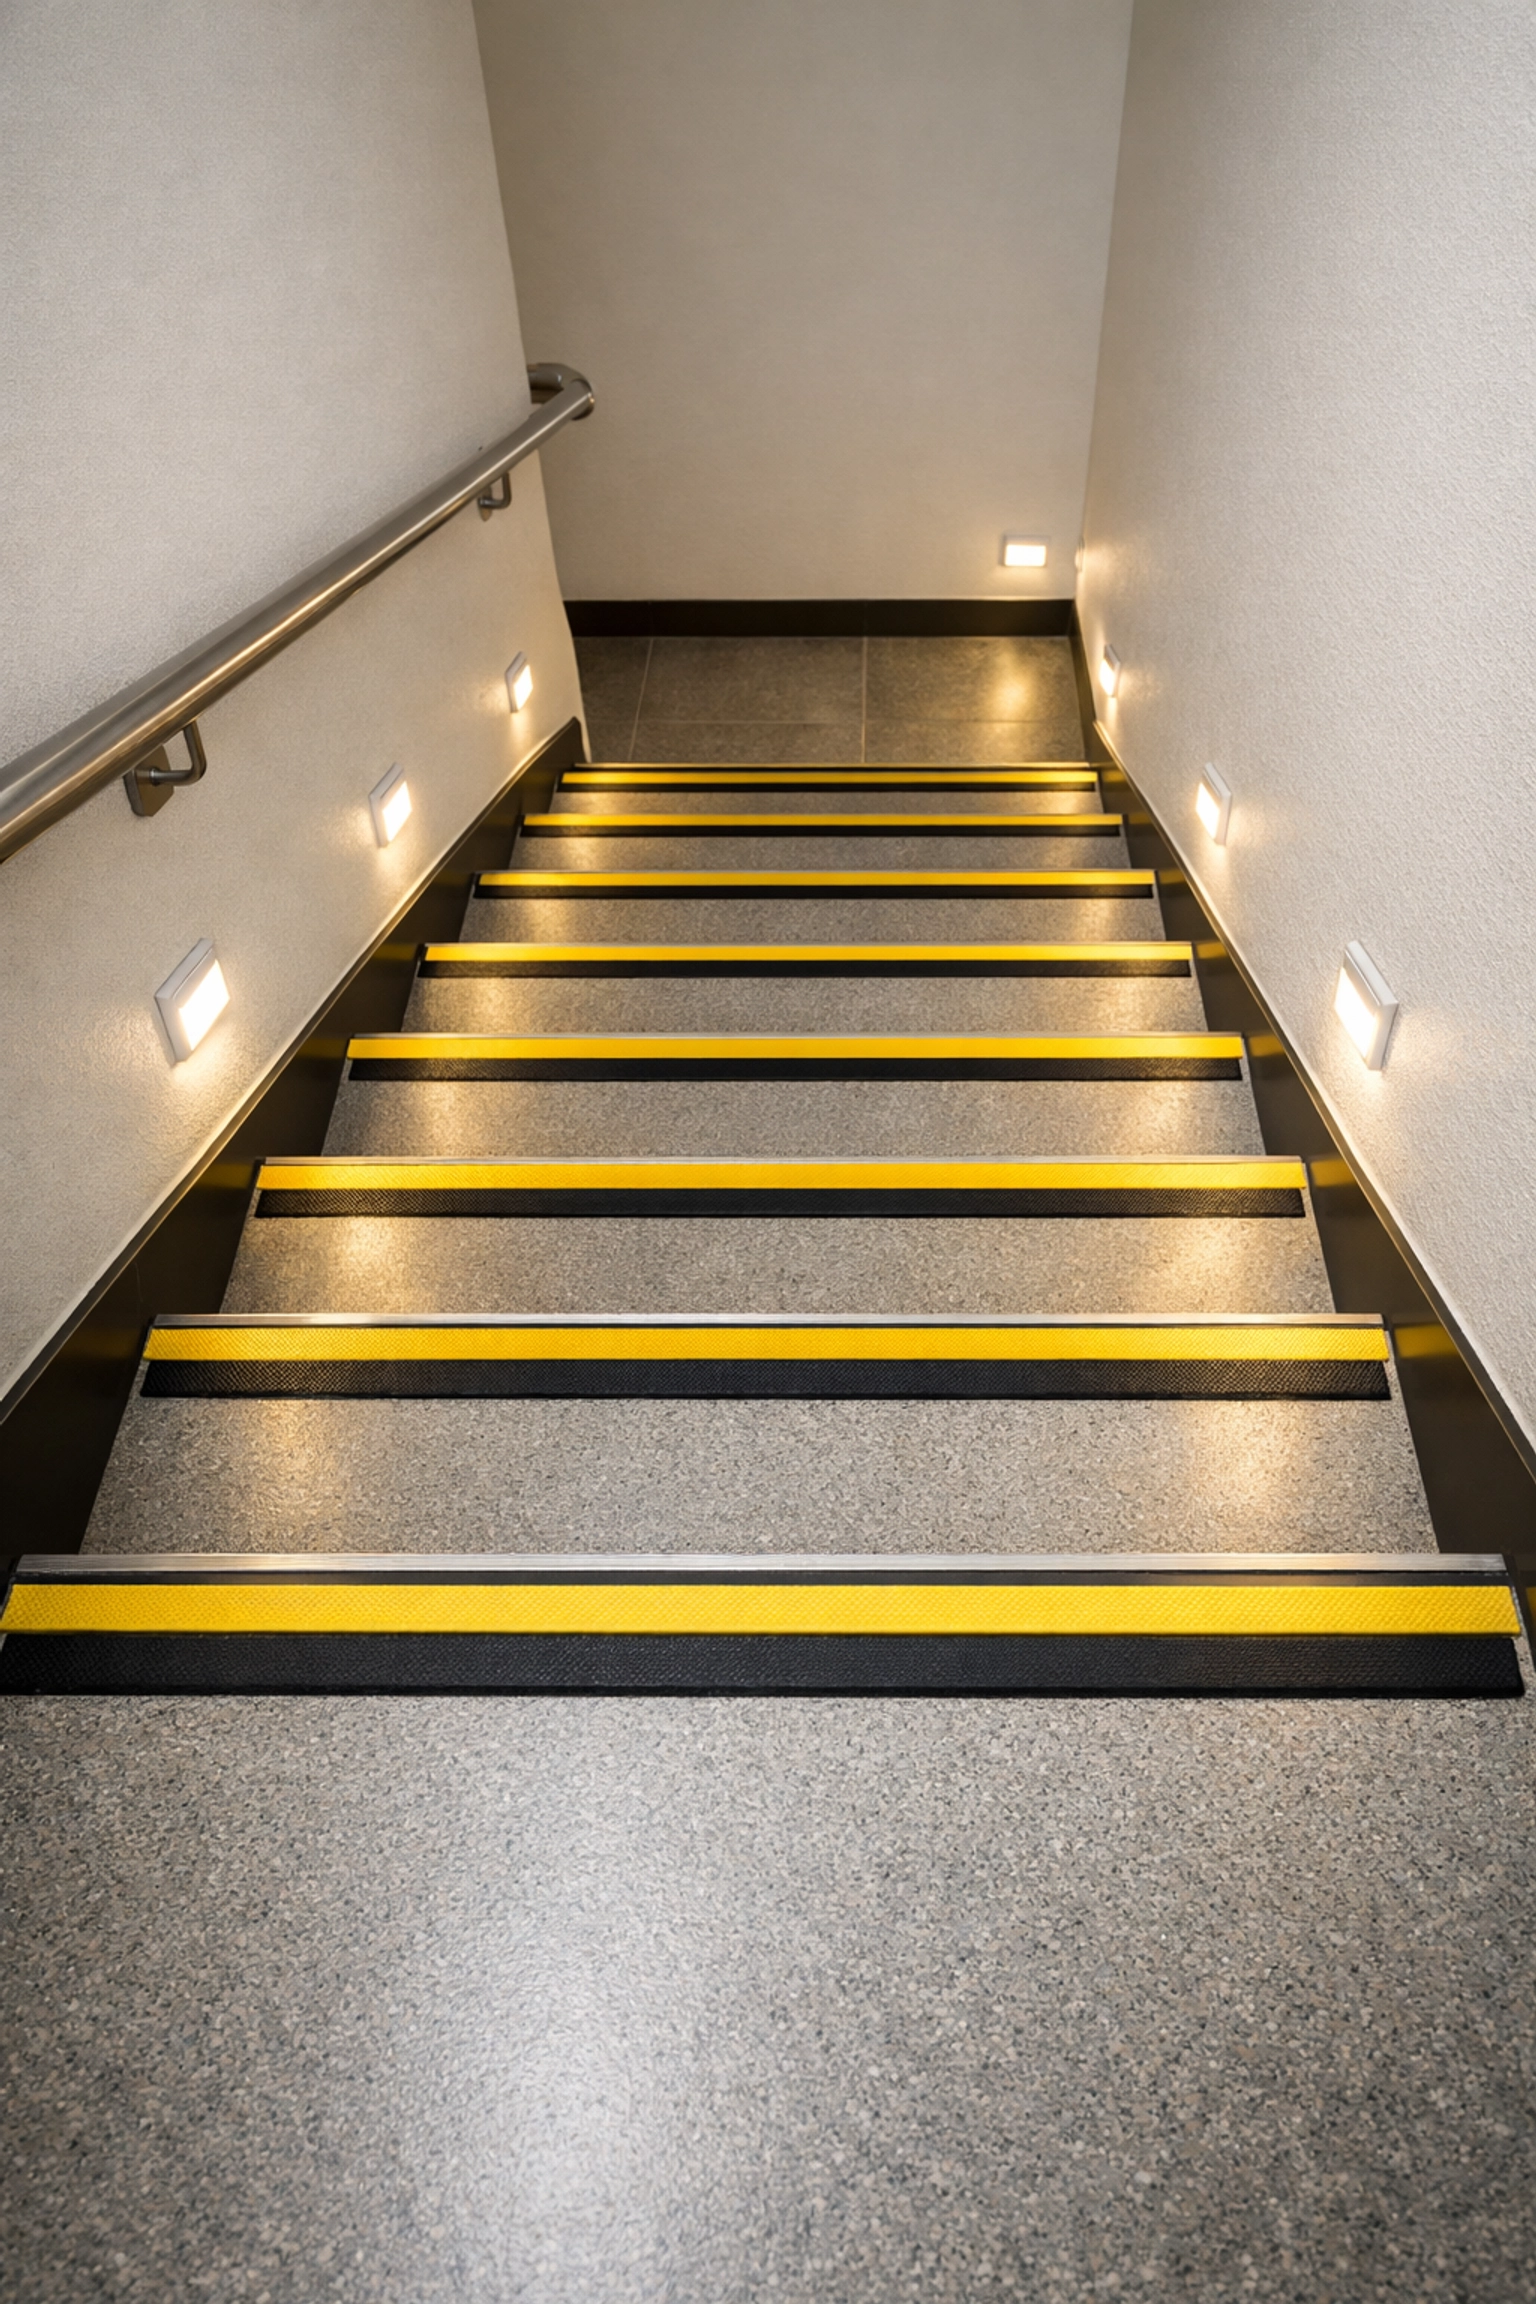
Lighting is Everything
Shadows are the enemy of stair safety. If a staircase is dim, it’s hard to judge the depth of the tread.
- Motion Sensors: Install motion-activated LED lights that illuminate the path as soon as you approach.
- Dual Switches: Ensure there are light switches at both the top and the bottom of the stairs.
- Contrast Strips: Apply a strip of high-contrast non-slip tape (like bright yellow or white on dark wood) to the edge of each step. This clearly defines where the step "drops off."
Surface Texture
Hardwood and polished stone stairs are beautiful but can be incredibly slippery, especially if you are wearing socks.
- Carpet Runners: A firmly tacked-down carpet runner provides better traction. However, ensure the carpet isn't "plush" or thick, as this can actually make the edge of the step harder to feel.
- Non-Slip Treads: If you prefer the look of wood, clear or colored adhesive non-slip strips can be applied to provide "grip" for your feet.
Proper Technique: How to Use Your Aids
Having the equipment is step one; using it correctly is step two. Physical therapists often teach a simple mantra for navigating stairs with mobility issues: "Up with the Good, Down with the Bad."
- Going Up: Lead with your stronger leg (the "good" one). Once the strong leg is secure, bring the weaker leg up to meet it on the same step.
- Going Down: Lead with your weaker leg (the "bad" one). This allows your stronger leg to do the heavy lifting of lowering your body weight slowly.
- The Three-Point Contact: Always try to have at least two hands and one foot, or two feet and one hand, in contact with a stable surface at all times.
Footwear Matters
Never navigate stairs in loose slippers, "floppy" flip-flops, or just socks. The best footwear for stair safety is a sturdy shoe with a rubber sole and a closed heel. If you prefer to be shoeless indoors, look for "gripper" socks that have silicone pads on the bottom.
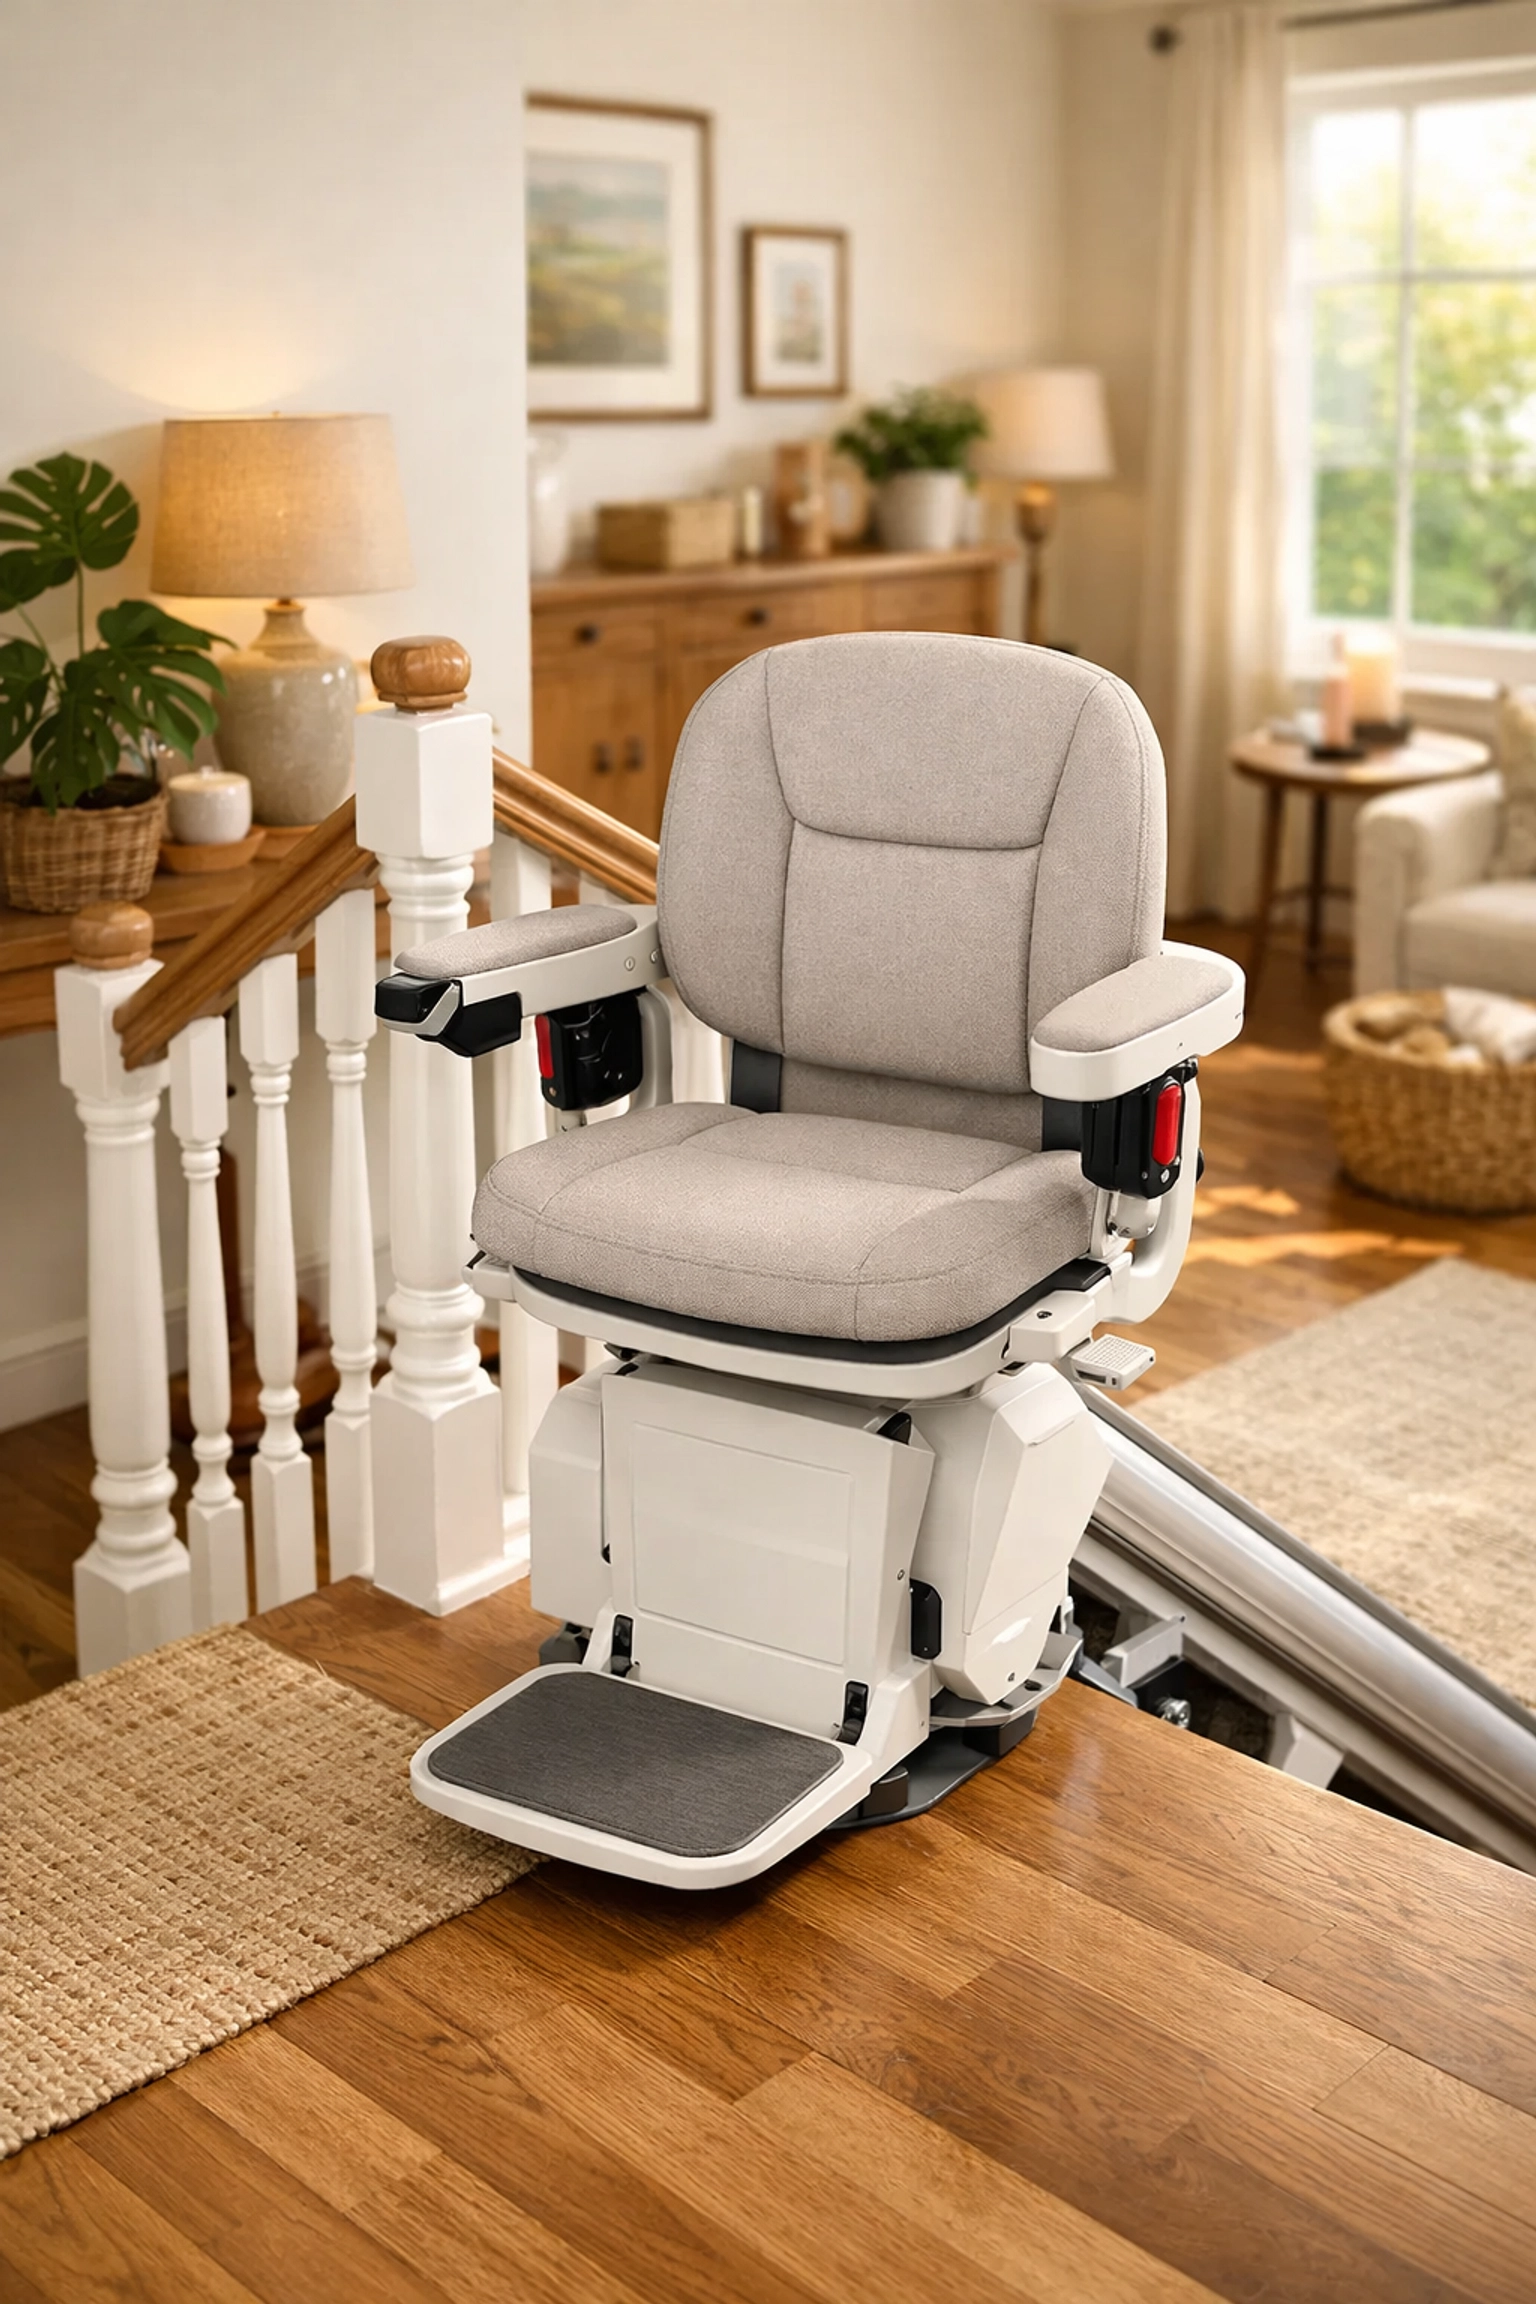
When to Consider a Stair Lift
If climbing the stairs becomes a source of significant pain, or if your doctor advises against the physical exertion (perhaps due to a heart condition or severe respiratory issues), it may be time to look at a stair lift.
A stair lift is a motorized chair that travels along a rail mounted to your stair treads. It removes the physical act of climbing entirely. While these are a larger investment and involve a more permanent installation, they provide a level of independence that allows many seniors to stay in their multi-level homes for years longer than they otherwise could.
The Role of Professional Assessment
If you are feeling overwhelmed by the options, remember that you don't have to make these decisions alone. A Physical Therapist (PT) or an Occupational Therapist (OT) can perform a "Home Safety Assessment."
They can watch you navigate your specific staircase and tell you exactly where your weaknesses are. They might notice that you lean too far forward, or that your handrail is actually at the wrong height for your stature. A PT can also provide exercises to strengthen your "stair-climbing muscles": specifically the quads, glutes, and calves: and improve your proprioception (your body's ability to sense its position in space).
Staying Independent, One Step at a Time
Taking steps to improve stair safety isn't an admission of "getting old": it's a proactive strategy for staying independent. By combining the right hardware (like double handrails or climbing aids) with environmental changes (like better lighting) and proper technique, the stairs can go back to being a simple part of your home rather than a barrier.
The goal of any mobility aid is to give you the confidence to move freely. When you feel safe, you move more. When you move more, you stay stronger. And that strength is the ultimate key to aging in place with grace and security.