Nobody plans to fall, but knowing how to get up safely afterward can be the difference between a minor incident and a serious injury. If you've experienced a fall or worry about what you'd do if one happened, you're not alone. Many seniors feel anxious about their ability to recover from a fall, especially when living alone.
The good news? There's a proven, step-by-step method that physical therapists teach to help you get up safely and confidently. Learning this technique ahead of time gives you a mental roadmap to follow when you're feeling shaken or uncertain.
Why Knowing the Right Technique Matters
After a fall, panic and adrenaline can cloud your judgment. Many people instinctively try to stand up immediately, which can lead to another fall or worsen an existing injury. The sequential method we'll cover helps you rebuild your stability gradually, checking your body's readiness at each stage.
Even if you feel fine after a fall, taking your time through this process allows you to:
- Assess whether you've been injured before putting weight on vulnerable areas
- Regain your balance and composure before attempting to stand
- Avoid the dizziness that can come from standing too quickly
- Build confidence through each small success along the way
Let's walk through exactly what to do.
The Sequential Method: Your Step-by-Step Recovery Plan
This technique progresses through a series of positions, starting from the floor and working your way to standing. Each position builds on the last, giving your body time to adjust and your muscles time to engage properly.

Step 1: Pause and Assess
Before you move at all, take a moment to breathe and check in with your body. Are you experiencing sharp pain anywhere? Can you move your arms and legs? If you suspect a serious injury like a broken bone or severe pain, don't attempt to get up. Instead, call for help or activate your medical alert device if you have one.
If you're feeling okay to proceed, take a few deep breaths to calm your nervous system. There's no rush. Give yourself permission to go slowly.
Step 2: Roll to Your Side
From your back, roll onto your side. Choose whichever side feels most comfortable. Extend one arm in front of you to help support your body weight. Your legs should be slightly bent at the knees.
This position is more stable than lying flat on your back and sets you up for the next movement.
Step 3: Push Up to Side-Sitting
Using your extended arm and your other arm for leverage, push yourself up into a side-sitting position. Both legs should point to the same side with your knees bent. You'll essentially be sitting on your hip with your legs angled out to one side.
Take a moment here. How does your head feel? Any dizziness? If you feel stable, continue. If you're dizzy, rest in this position until it passes.
Step 4: Move to Hands and Knees
From side-sitting, shift your weight forward and position yourself on your hands and knees. This is sometimes called the quadruped position. Your hands should be directly under your shoulders, and your knees under your hips.
This position distributes your weight evenly and is very stable. Rest here for a moment if you need to.

Step 5: Crawl to Something Sturdy
If you're not already near a sturdy piece of furniture, crawl toward one now. Look for:
- A heavy chair that won't slide
- A couch or sofa
- A bed frame
- A sturdy coffee table
- A wall with a handrail
Avoid lightweight furniture, rolling office chairs, or anything on wheels. You need something that can fully support your body weight without shifting.
Step 6: Transition to High Kneel
Once you're next to your sturdy surface, place both hands on it for support. Push yourself up so you're kneeling upright with your weight on both knees. Your hands should remain on the furniture for balance.
This is a big transition, so don't rush it. If you feel unsteady, stay in this position until you feel ready to continue.
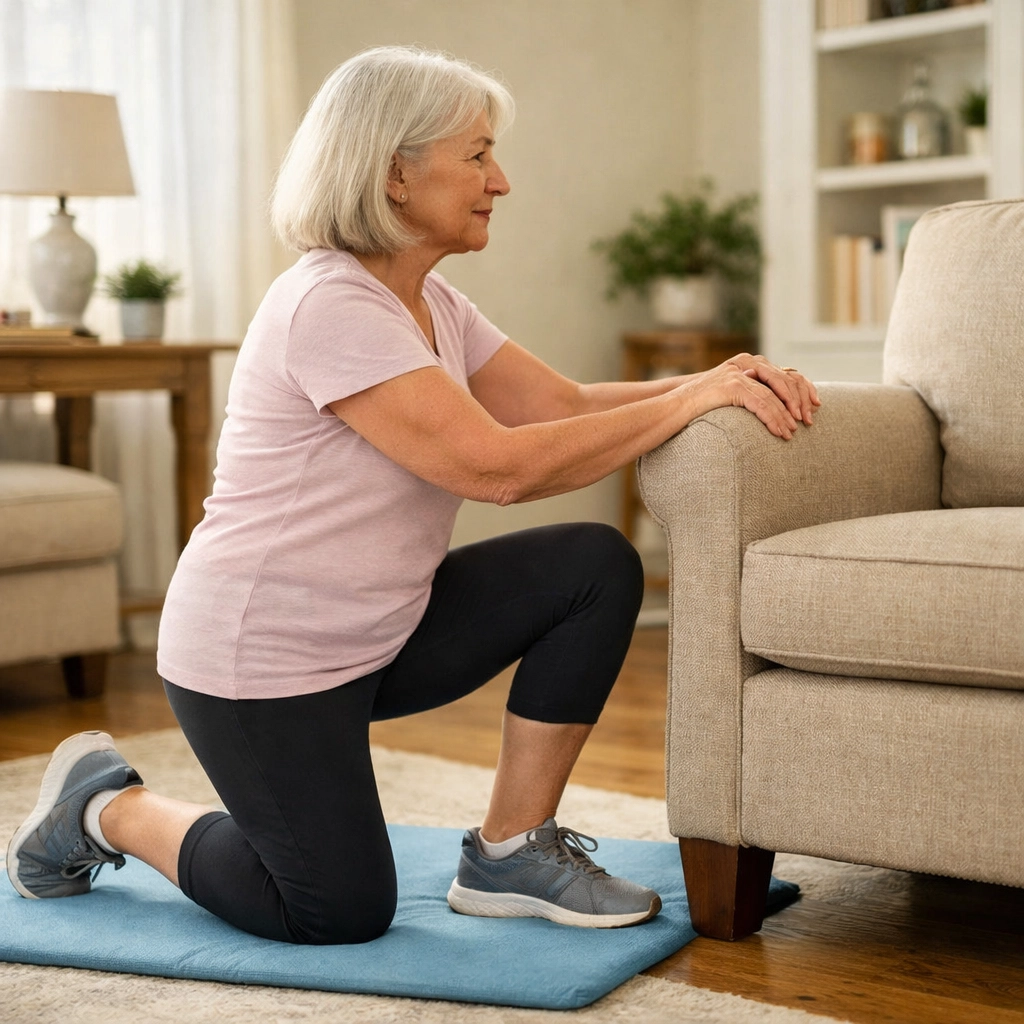
Step 7: Move to Half-Kneeling
From high kneeling, bring one foot forward and place it flat on the floor in front of you. Your other knee stays on the ground behind you. You'll look like you're proposing or about to lunge.
Choose your stronger leg to bring forward. Keep both hands firmly on the sturdy surface throughout this movement.
Step 8: Push to Standing
This is the final push. Using the furniture for support, press through your front foot and push yourself up to standing. Keep your hands on the support surface until you're fully upright and feel balanced.
Once you're standing, don't let go yet. Stand still, holding onto the furniture, and take several deep breaths.
Step 9: Rest and Reassess
Stay standing near your support for a few minutes. Check yourself for:
- Any pain that's gotten worse
- Cuts, bruises, or swelling
- Dizziness or confusion
- Difficulty putting weight on a particular limb
Even if you feel fine, consider calling someone to let them know what happened. If you notice any concerning symptoms, contact your doctor or seek medical attention.
Important Safety Considerations
Take Your Time Between Each Step
There's no prize for speed here. Moving through each position slowly and deliberately helps you stretch every muscle and joint, particularly in your neck, spine, and hips. Rushing increases your risk of another fall or aggravating an injury you didn't initially notice.
Listen to Your Body
If any step feels impossible or causes significant pain, don't force it. It's okay to rest at any stage for as long as you need. Some people need to pause for several minutes between movements, and that's completely normal.
What If You Can't Get Up?
If you've tried and can't get up, or if you're in too much pain to attempt it, here's what to do:
- Call 911 or your local emergency number
- If you can reach a phone, call a family member or neighbor
- Activate your medical alert system if you have one
- Try to stay warm by pulling a blanket or nearby clothing over yourself while you wait
Don't feel embarrassed about calling for help. Emergency responders assist with these situations regularly, and they'd much rather help you up safely than have you risk further injury trying to manage alone.
Building Strength for Fall Recovery
Learning the technique is important, but having the physical strength to execute it makes all the difference. Working on your leg, hip, and core strength can make getting up after a fall much easier: or potentially prevent the fall altogether.

Simple Strengthening Exercises
You can practice these exercises at home to build the muscle power you'll need:
Seated Knee Extensions
Sit in a sturdy chair with your feet flat on the floor. Straighten one knee until your leg is extended in front of you. Hold for five seconds, then lower slowly. Repeat ten times on each leg. This builds the quadriceps strength you need to push yourself up.
Calf Raises
Stand behind a chair, holding the back for support. Rise up on your toes, hold briefly, then lower back down. Next, rock back onto your heels with your toes lifted off the ground. Repeat ten times. Strong calves help with balance and the standing phase of recovery.
Sit-to-Stand Practice
Practice getting up from a chair without using your hands. This mimics the movement pattern you'll use when getting up from a fall and builds functional strength in your legs and core.
How Often Should You Practice?
The CDC recommends doing strength and balance exercises three times per week to decrease fall risk and injury. Consistency matters more than intensity. Even 15 minutes three times a week can make a significant difference in your ability to recover from a fall.
Focus on strength training rather than just cardio. While walking is excellent for overall health, you need targeted muscle-building to develop the power required to lift yourself from the floor.
Practicing the Technique Safely
Here's something many people don't consider: you can practice getting up from the floor before you actually fall. In fact, physical therapists often recommend it.
If you're nervous about practicing on the floor, start gradually:
- Begin with stretches and movements on your bed
- Progress to sitting on the floor with your back against a wall
- Eventually work up to practicing the full sequence with someone nearby
Having practiced the technique when you're calm and uninjured makes it much easier to remember during the stress of an actual fall.

When to Work with a Professional
While this guide gives you the general framework, working with a licensed physical therapist offers several benefits:
- They can assess your specific mobility limitations
- They'll customize the technique based on your body and any existing conditions
- They can teach you balance exercises tailored to your needs
- They'll show you functional training that mimics real-life movements
- They can identify and address gait issues that might be increasing your fall risk
If you've already fallen multiple times, or if you feel unsteady on your feet, a physical therapist can create a personalized plan to improve your stability and confidence.
Moving Forward with Confidence
Learning how to get up safely after a fall isn't about accepting that falls are inevitable: it's about being prepared and confident in your ability to handle unexpected situations. Think of it like knowing CPR or how to change a tire. You hope you'll never need it, but having the knowledge brings peace of mind.
Take time to review these steps regularly. Consider practicing with a family member or caregiver present. And most importantly, focus on building the strength and balance that will serve you well whether you ever fall or not.
Your safety and independence matter. Having a plan gives you one more tool to maintain both.

