If you or a loved one has experienced a fall, you know how disorienting and frightening those moments can be. But here's something many people don't realize: knowing how to get up safely after a fall is just as important as preventing one in the first place. Physical therapists have developed proven methods that help people recover from falls safely and independently, and these techniques can be practiced before an emergency ever happens.
This isn't about being pessimistic or expecting the worst. It's about being prepared. Just like we practice fire drills or learn CPR, understanding how to get up after a fall gives you confidence and a practical plan when you need it most.
Why This Knowledge Matters
Every year, millions of older adults experience falls, and many of them remain on the floor for extended periods simply because they don't know the safest way to get up. Staying on the floor for too long can lead to dehydration, pressure sores, pneumonia, and increased fear of falling again. Having a clear method in your mind can make all the difference between a quick recovery and a prolonged ordeal.
Physical therapists teach these techniques to their patients routinely, especially after surgery, illness, or injury. The good news is that anyone can learn and practice these methods, building both the muscle memory and confidence needed to handle a fall situation.
The Sequential Method: A Step-by-Step Approach
The most widely taught technique is called the sequential method. This approach moves you from lying on the floor to standing by progressing through a series of safe, intermediate positions. Each step builds on the previous one, making the process manageable even when you're shaken up.
Step 1: Take a Moment and Assess
This is perhaps the most important step, yet it's the one many people want to skip. After a fall, your instinct might be to get up immediately. Resist that urge for just a moment.
Stay on the floor and take a few deep breaths. Check yourself for pain or injuries. Can you move all your limbs? Does anything feel broken or severely painful? Gently shift your weight from side to side, then forward and back. This helps you gauge your balance and identify any injuries that might affect how you proceed.
If you're seriously injured or experiencing severe pain, don't attempt to get up on your own. Call for help using a medical alert system, your phone, or by calling out to others in the home.
Step 2: Roll Onto Your Side
Once you've determined it's safe to continue, the next step is rolling onto your side. This position gives you a stable base to work from.
Keep your feet flat on the floor and bend your knees. Turn your head to look in the direction you want to roll: this naturally helps your body follow. Use your arms to push and guide your body onto your side. Choose the side that feels strongest or most comfortable, and make sure you're rolling toward a piece of furniture that you can eventually use for support.
Step 3: Get to Hands and Knees
From your side position, push up with your arms to bring your upper body off the floor. At the same time, position your knees underneath you so you're on all fours. This is sometimes called the quadruped position.
Place your hands firmly on the floor, about shoulder-width apart. Keep your head up and your back relatively straight. This position is incredibly stable and gives you a moment to catch your breath before moving forward.
Step 4: Crawl Toward Support
Now comes the crawling phase. Identify the nearest sturdy piece of furniture: a couch, chair, bed frame, or coffee table that won't slide or tip over. Carefully crawl toward it, moving slowly and keeping your knees bent and close to the floor for maximum stability.
Don't rush this step. It's not a race, and maintaining your balance is more important than speed. If you feel dizzy or unstable at any point, stop and rest in the hands-and-knees position until you feel steady.
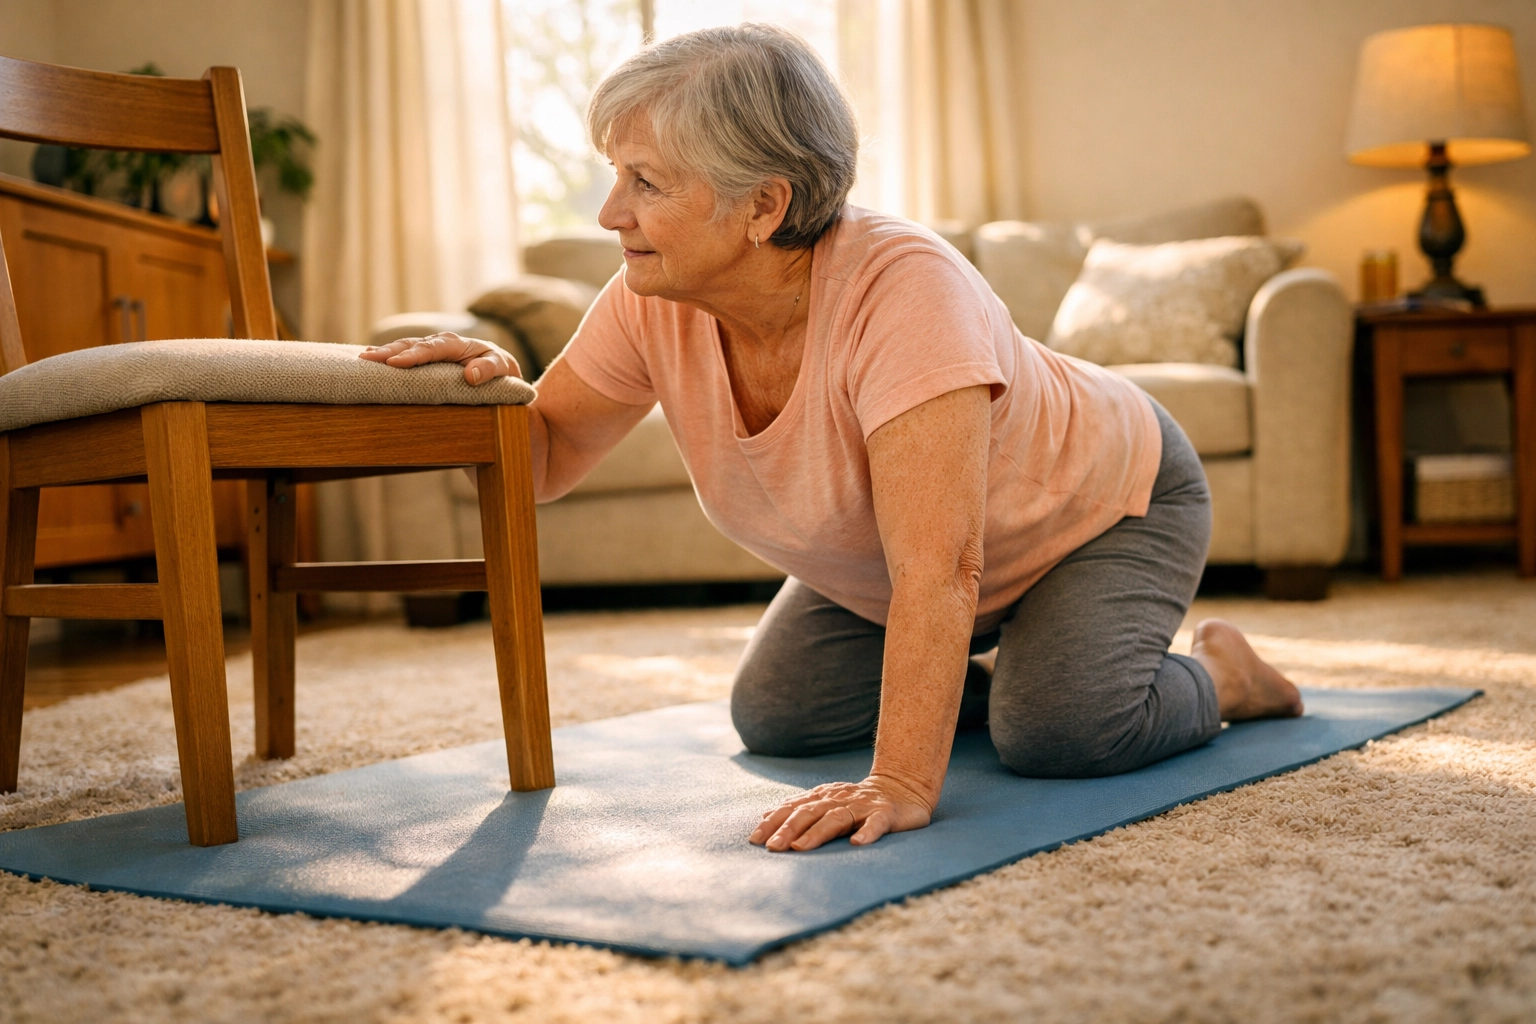
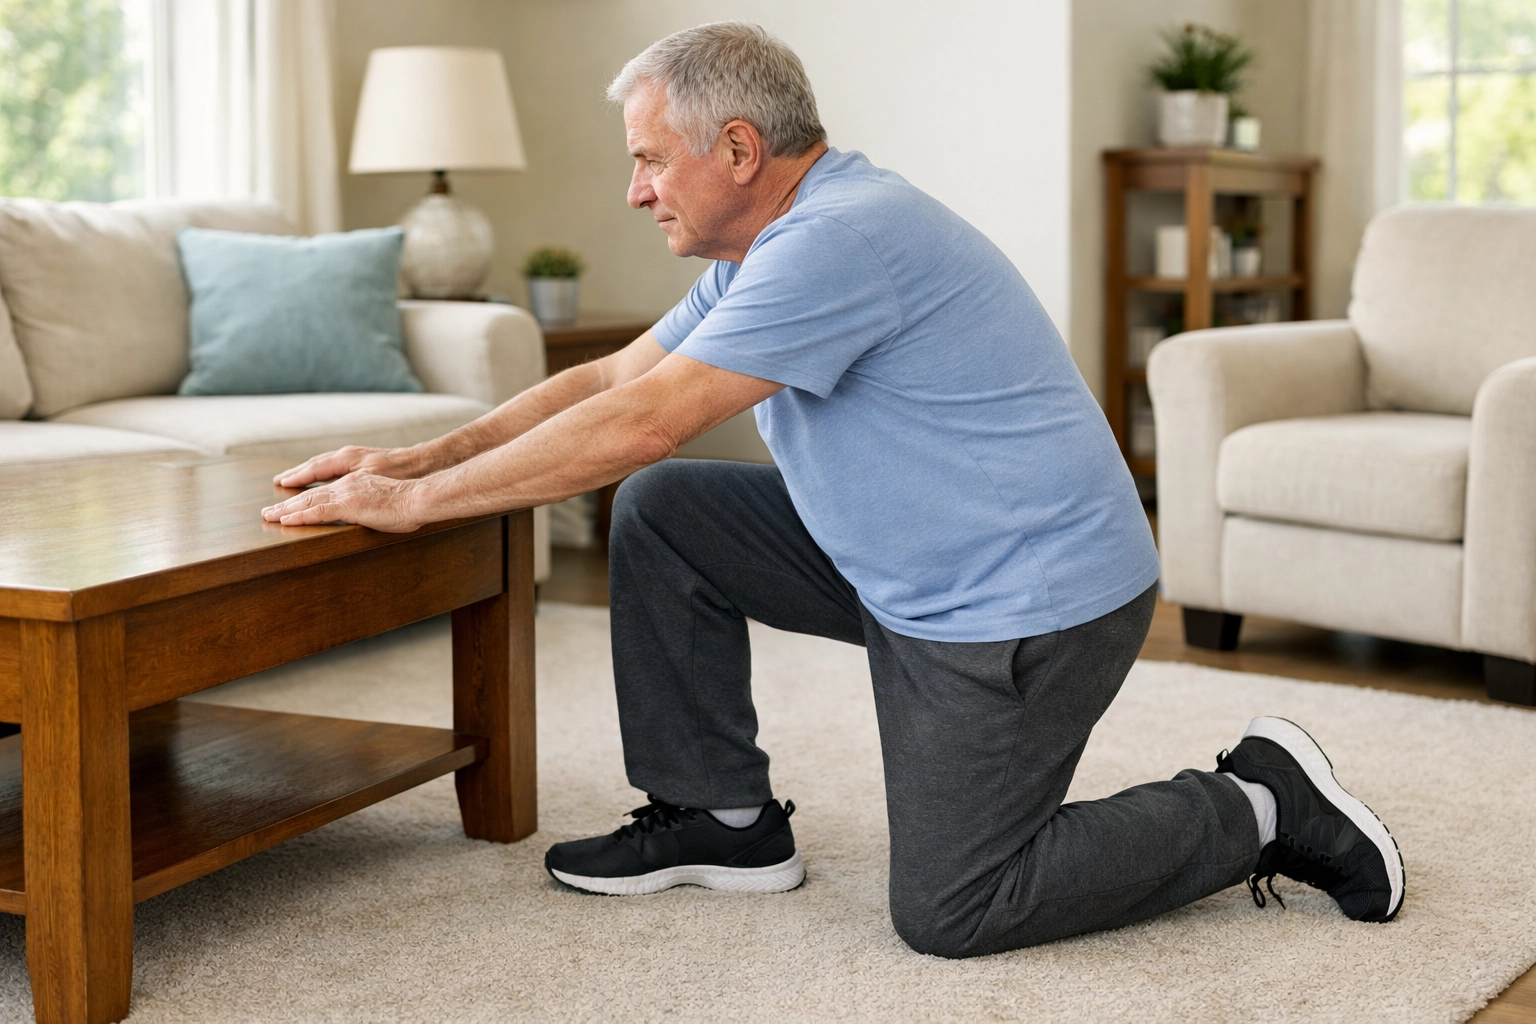
Step 5: Rise to a Kneeling Position, Then Stand
Once you've reached your support furniture, the real work begins. Place both hands on the furniture, positioning them about shoulder-width apart. The furniture should be at a height that allows you to push down effectively.
Bring your stronger leg forward, placing that foot flat on the floor so you're in a half-kneeling or lunge position. Your other knee should still be on the ground. Now, push through your arms and your front leg simultaneously, using both your upper and lower body strength to bring yourself up to standing.
This might take several attempts, and that's completely normal. Take your time and rest between attempts if needed.
Step 6: Stabilize Before Moving
You made it to standing, well done! But don't rush off just yet. Hold onto your support and stand still for 15 to 30 seconds. This allows your blood pressure to stabilize and gives you a chance to ensure you're truly steady on your feet.
If you feel dizzy, weak, or unbalanced, sit down on the furniture you used for support and rest for several minutes. When you do feel ready to move, do so slowly and with support until you reach a safe place to sit or lie down.
The Backward Chaining Alternative
Some physical therapists prefer to teach a method called backward chaining. This approach literally works backward from standing to the floor, allowing you to practice the technique in reverse order.
Here's how it works: You start by practicing the final step (standing from a half-kneel position) until you master it. Then you add the previous step (moving from hands and knees to a half-kneel). You continue adding earlier steps only after you've become comfortable with the later ones.
The advantage of this method is psychological and practical. You always end in the successful standing position, which builds confidence. You also tackle the most difficult part (getting up from the floor) first when you have the most energy and support available during practice.

Adaptations for Different Physical Abilities
The standard sequential method works well for many people, but physical therapists understand that everyone's abilities are different. Here are some modifications for common situations:
For Weak Lower Limbs or Knee Pain
If getting down to your hands and knees is too painful or difficult, use higher furniture to reduce the range of motion required. Instead of crawling on all fours, you can do what therapists call a "side-foot scoot": moving along the floor in a seated position by pushing with your feet and hands.
For Limited Shoulder or Arm Strength
Upper body strength is crucial for the pushing movements in this method. If you struggle with arm strength, consider incorporating exercises like wall push-ups into your daily routine. Even a few minutes of strengthening work several times a week can make a significant difference in your ability to lift yourself.
For People Who Use Mobility Devices
If you normally use a cane or walker, make sure these devices are positioned within reach when you're on the floor. As you rise, you can use your assistive device as additional support alongside your arms. Just ensure it's on a stable surface and won't slide away as you push.
For Post-Surgery or Significant Balance Issues
If you're recovering from surgery or have notable balance concerns, practice this technique only under professional supervision. Your physical therapist can help you practice using parallel bars or a wall for support, and you can progress gradually through each position over multiple sessions before attempting the full sequence.
When to Call for Help Instead
Knowing when not to attempt getting up on your own is just as important as knowing the technique. Call for help if:
- You suspect a bone fracture or serious injury
- You're experiencing chest pain, severe shortness of breath, or stroke symptoms
- You've hit your head and feel confused or disoriented
- You've been on the floor for an extended period and feel weak or dehydrated
- You've attempted to get up multiple times and can't manage it
- You feel increasingly dizzy or unwell
There's no shame in calling for assistance. Emergency services and family members would always prefer to help you up safely rather than risk a second injury from an unsafe self-recovery attempt.
Practice Makes Preparedness
The ideal time to learn this technique is before you ever need it. Many physical therapists recommend practicing the sequence once a month or so, perhaps with a family member or caregiver present for safety.
Start by practicing just the easier positions: rolling to your side, getting to hands and knees: on a soft surface like a yoga mat or carpeted floor. As you build confidence and strength, you can practice the full sequence. This practice serves double duty: it builds the muscle memory you'd need in a real fall situation, and it strengthens the exact muscles involved in the recovery process.
If you have significant mobility issues or health concerns, ask your doctor for a referral to a physical therapist. They can assess your specific situation and teach you the technique in a controlled, safe environment.
Building Your Safety Net
Learning how to get up after a fall is one important piece of a comprehensive approach to fall safety. It works best when combined with other preventive measures: removing tripping hazards from your home, ensuring good lighting, using appropriate mobility aids, staying physically active, and having a medical alert system if you live alone.
Knowledge is empowering. By understanding and practicing this physical therapist-approved method, you're taking control of your safety and independence. You're preparing yourself not out of fear, but out of practical wisdom. And that preparation can make all the difference when it matters most.
Remember, the goal isn't just to get up after a fall: it's to do so safely, without causing additional injury, and with confidence in your ability to handle the situation. That peace of mind is worth every moment spent learning and practicing this essential life skill.

