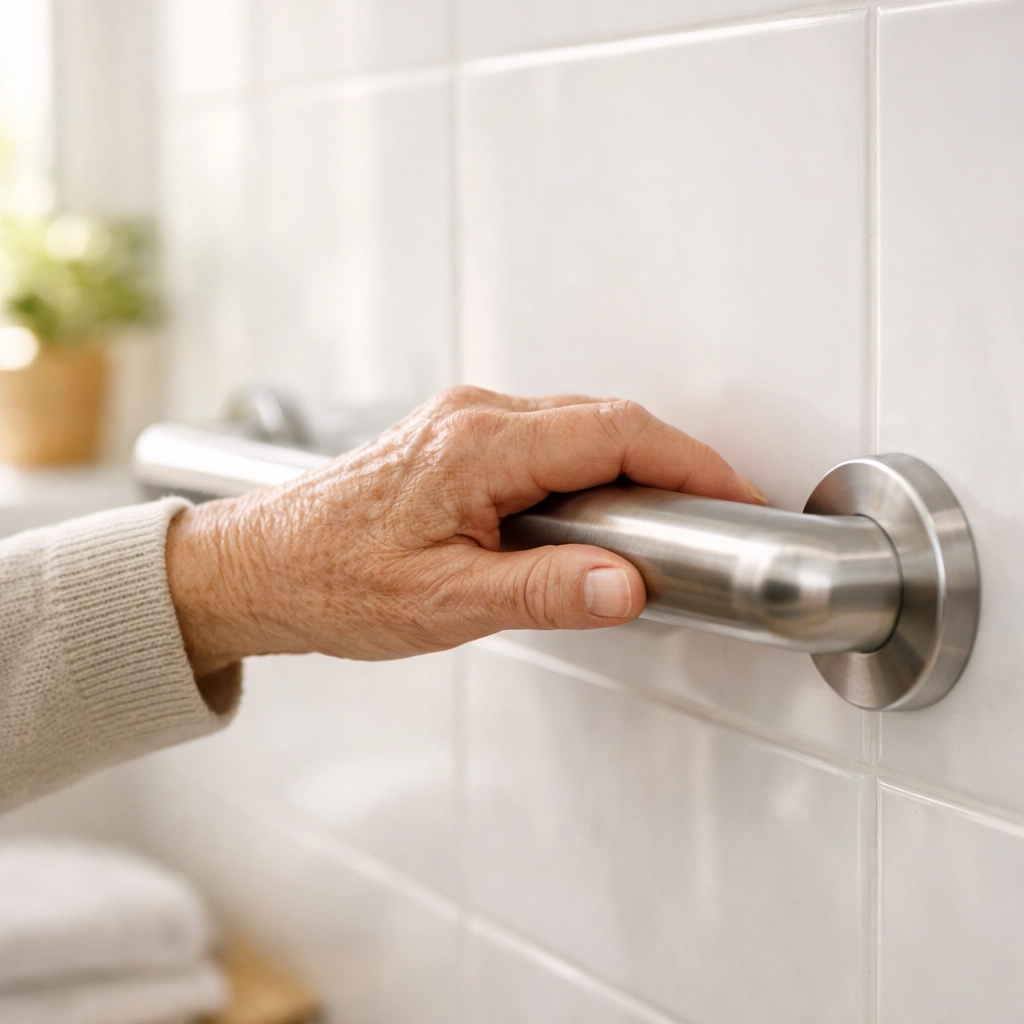
When it comes to bathroom safety, the priority is always clear: preventing slips and falls. For many seniors and their caregivers, the idea of drilling into expensive tile or permanent bathroom fixtures is a significant deterrent. This is where no-drill grab bars: specifically suction-cup and tension-based models: come into play. They offer a sense of security without the need for a contractor or a power drill.
However, because these bars are so easy to install, they are often installed incorrectly. A tool that is meant to provide safety can quickly become a hazard if it isn’t used exactly as intended. Many people assume that if the bar feels "stuck" to the wall, it is safe. Unfortunately, that isn't always the case.
Understanding the limitations and proper maintenance of no-drill grab bars is essential for anyone looking to age in place safely. Here are seven common mistakes people make with no-drill grab bars and, more importantly, how to fix them to ensure your bathroom remains a safe environment.
1. Using Them for Full Body Weight Transfer
The single most dangerous mistake is misunderstanding what a no-drill suction grab bar is designed to do. Most suction-based bars are rated as "balance assistants" rather than "weight-bearing" devices. This means they are designed to help you steady yourself while standing or stepping over a tub edge, but they are not intended to support your full body weight if you start to fall or if you are pulling yourself up from a seated position.
The Fix:
Always check the manufacturer’s weight rating, but as a rule of thumb, treat suction bars as a guide for balance. If you require significant physical assistance to rise from a toilet or a shower chair, a suction bar is likely not the right tool. In those cases, a permanent wall-mounted bar or a floor-to-ceiling tension pole (which distributes weight differently) is a much safer alternative. Use the no-drill bar only to steady your hand, not to carry your load.
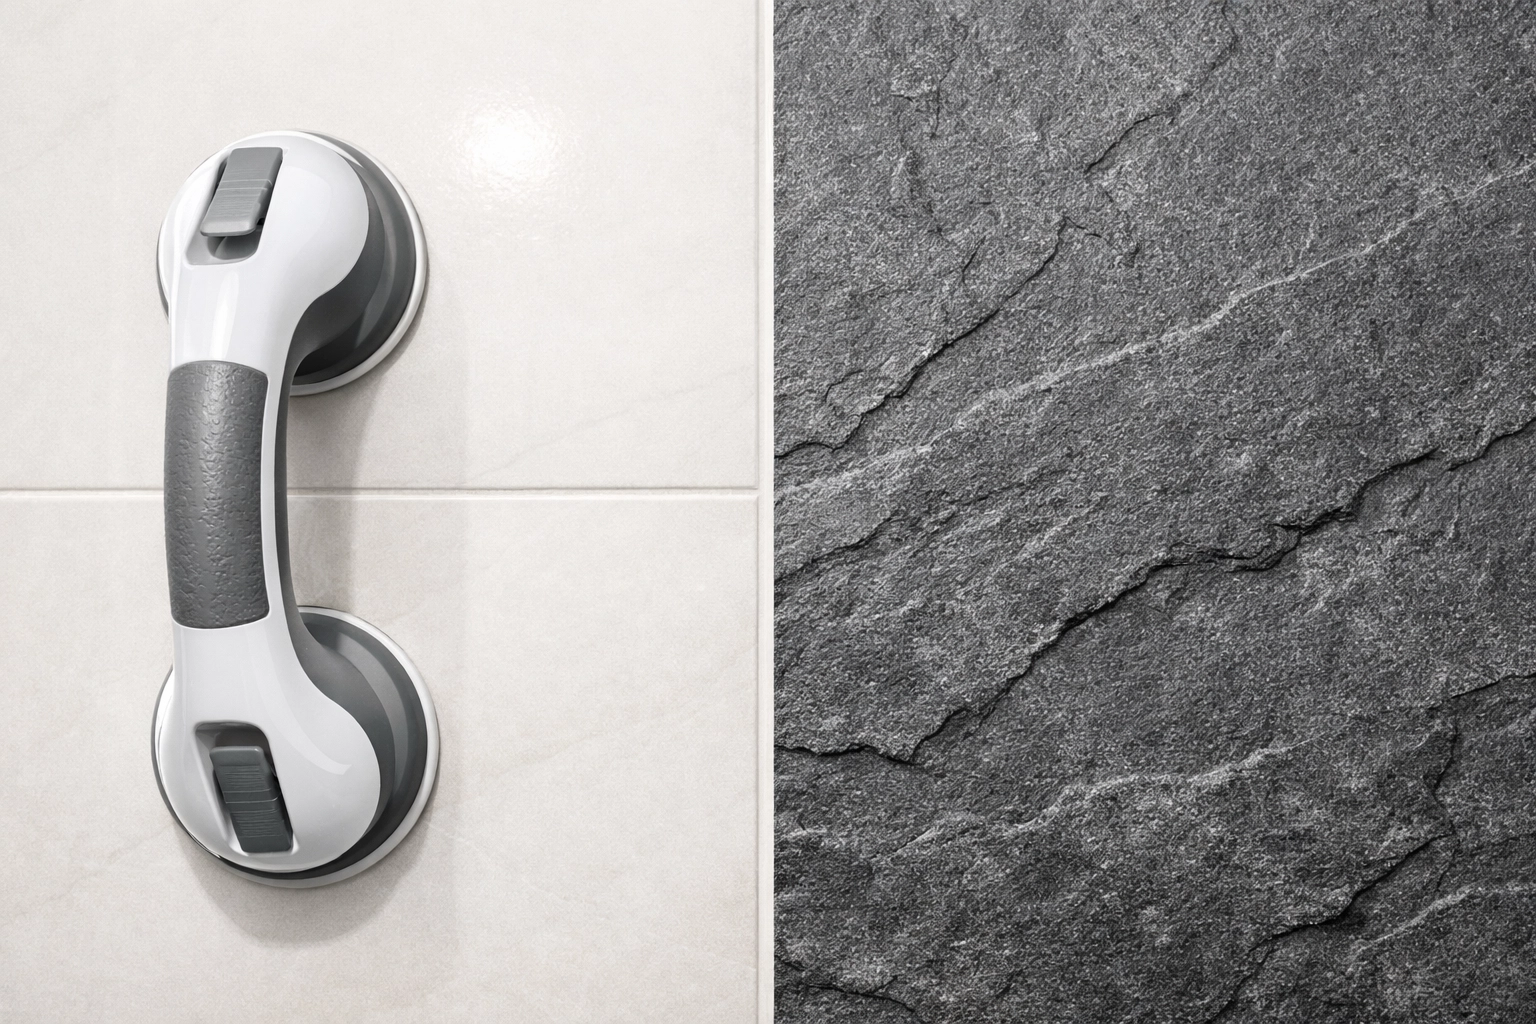
2. Installing Across Grout Lines
Suction grab bars work by creating a vacuum seal between the rubber cup and the mounting surface. For that vacuum to hold, the surface must be 100% airtight. A very common mistake is placing the suction cup over a grout line. Even if the grout line is thin or seems smooth, it is porous. Air will slowly leak into the vacuum seal, and the bar will eventually pop off: often at the exact moment you put pressure on it.
The Fix:
Before you press the levers down, look closely at the placement of the cups. Each suction cup must be entirely contained within the boundaries of a single, large tile. If your bathroom has small mosaic tiles (4×4 inches or smaller), a suction grab bar may not be a safe option for you, as the cups are typically larger than the tiles themselves. Ensure the rubber is only touching the smooth, non-porous face of the tile.
3. Ignoring Surface Texture
Not all bathroom walls are created equal. Many modern bathrooms feature "natural stone" tiles, tumbled marble, or textured fiberglass. While these look beautiful, they are the enemy of no-drill suction bars. The microscopic peaks and valleys in a textured surface prevent the rubber cup from making a perfect, airtight seal. You might find that the bar stays up for an hour or a day, but the seal is compromised from the start.
The Fix:
Only install suction grab bars on completely smooth, flat, and non-porous surfaces like polished tile, glass, or acrylic. If your shower has a textured finish to prevent slipping on the walls, you should reconsider using a suction-based bar. Test the surface by running your hand over it; if you feel any grain or "sandiness," it is too textured for a safe vacuum seal.
4. Skipping the Surface Preparation
When we are in a hurry to make a home safer, we often skip the "cleaning" step of the instructions. However, bathrooms are full of soap scum, body oils, and mineral deposits from hard water. Even a thin, invisible layer of soap film can cause a suction cup to slide down the wall under pressure, even if the vacuum seal remains intact.
The Fix:
Before installation, clean both the wall and the rubber suction cups thoroughly. Do not just use a damp cloth. Use rubbing alcohol or a specialized bathroom cleaner that removes soap scum, and then dry the area completely with a lint-free towel. A clean, dry surface is the only way to ensure the friction needed to keep the bar from sliding.
5. The "Set and Forget" Mentality
With a traditional, bolted-in grab bar, you can install it and reasonably expect it to stay there for a decade. No-drill bars are different. Temperature changes in the bathroom (from hot showers to cold nights) cause the air inside the suction cup to expand and contract. Over time, this "breathing" effect can weaken the seal. Many people install a bar and then don’t check it again for months.
The Fix:
Establish a "weekly check" routine. Every week, release the tension levers, remove the bar, wipe down the surface, and re-attach it. This ensures that you are starting with a fresh, strong seal. Think of it like checking the batteries in a smoke detector; it’s a small maintenance task that prevents a major failure.
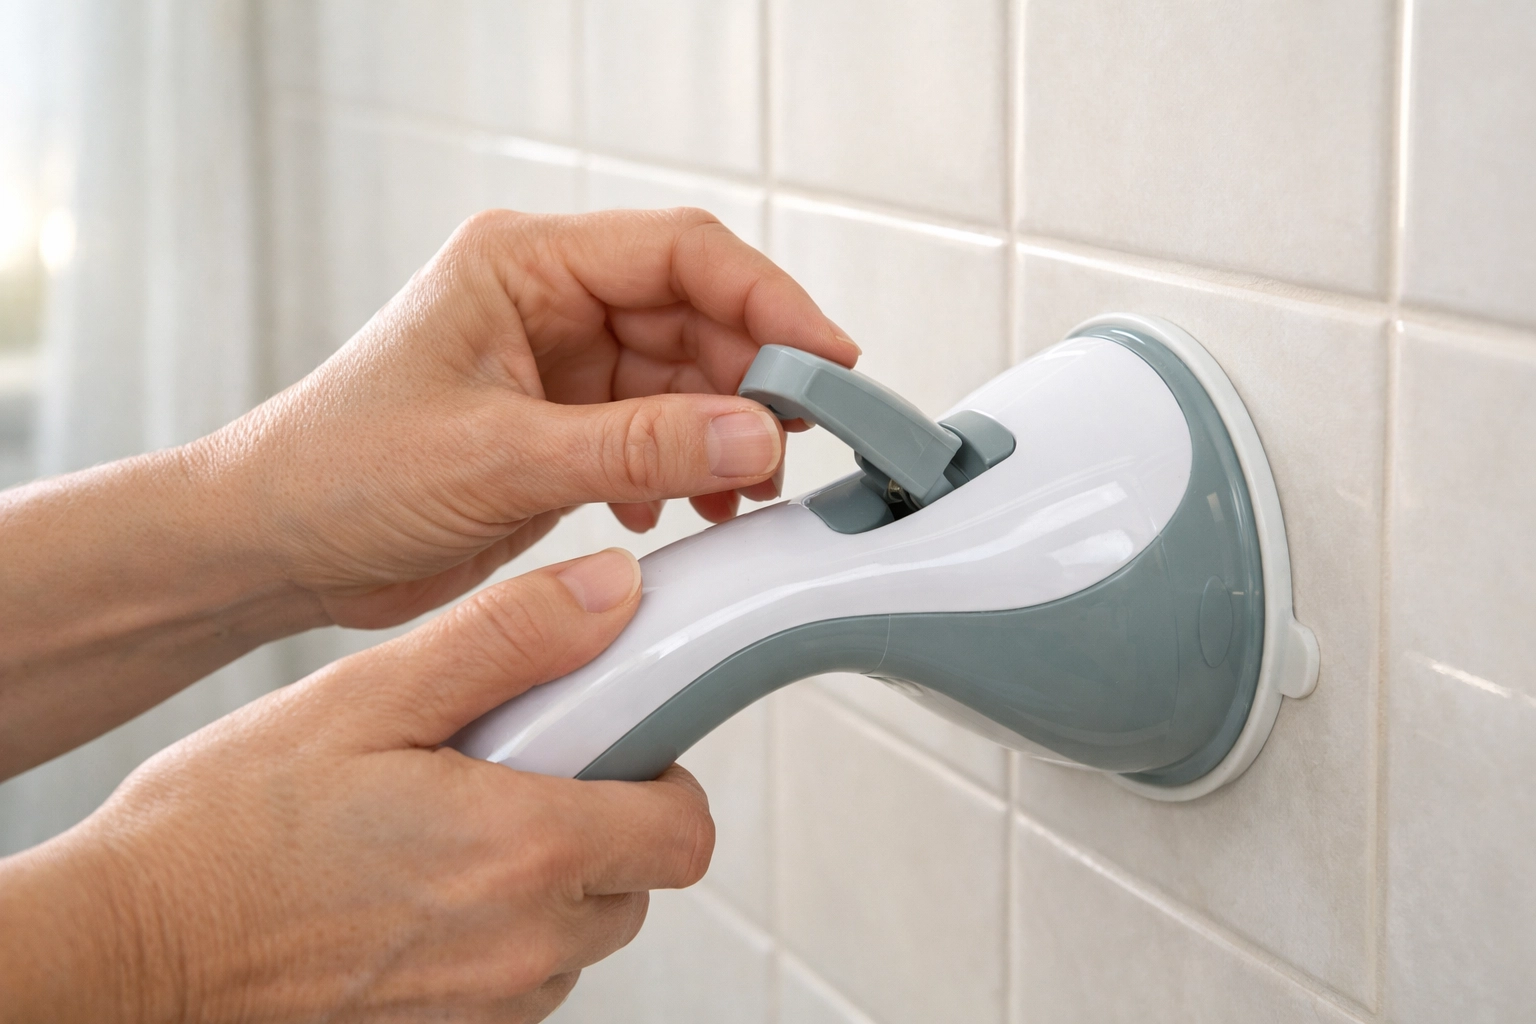
6. Misinterpreting the Safety Indicators
Many high-quality no-drill grab bars come with a color-coded indicator (usually a small window that turns green when the seal is tight and red when it is loose). A common mistake is trusting the "green" light blindly without physically testing the bar. Sometimes the indicator shows green because the lever is down, but the seal has already been compromised by a grout line or a dirty surface.
The Fix:
The indicator is a helpful guide, but your own physical test is the real safety check. Every time you enter the shower, give the bar a firm "tug" in the direction you would naturally pull. If there is any "give" or if the bar shifts even a millimeter, do not rely on it. Re-install it immediately before proceeding with your shower.
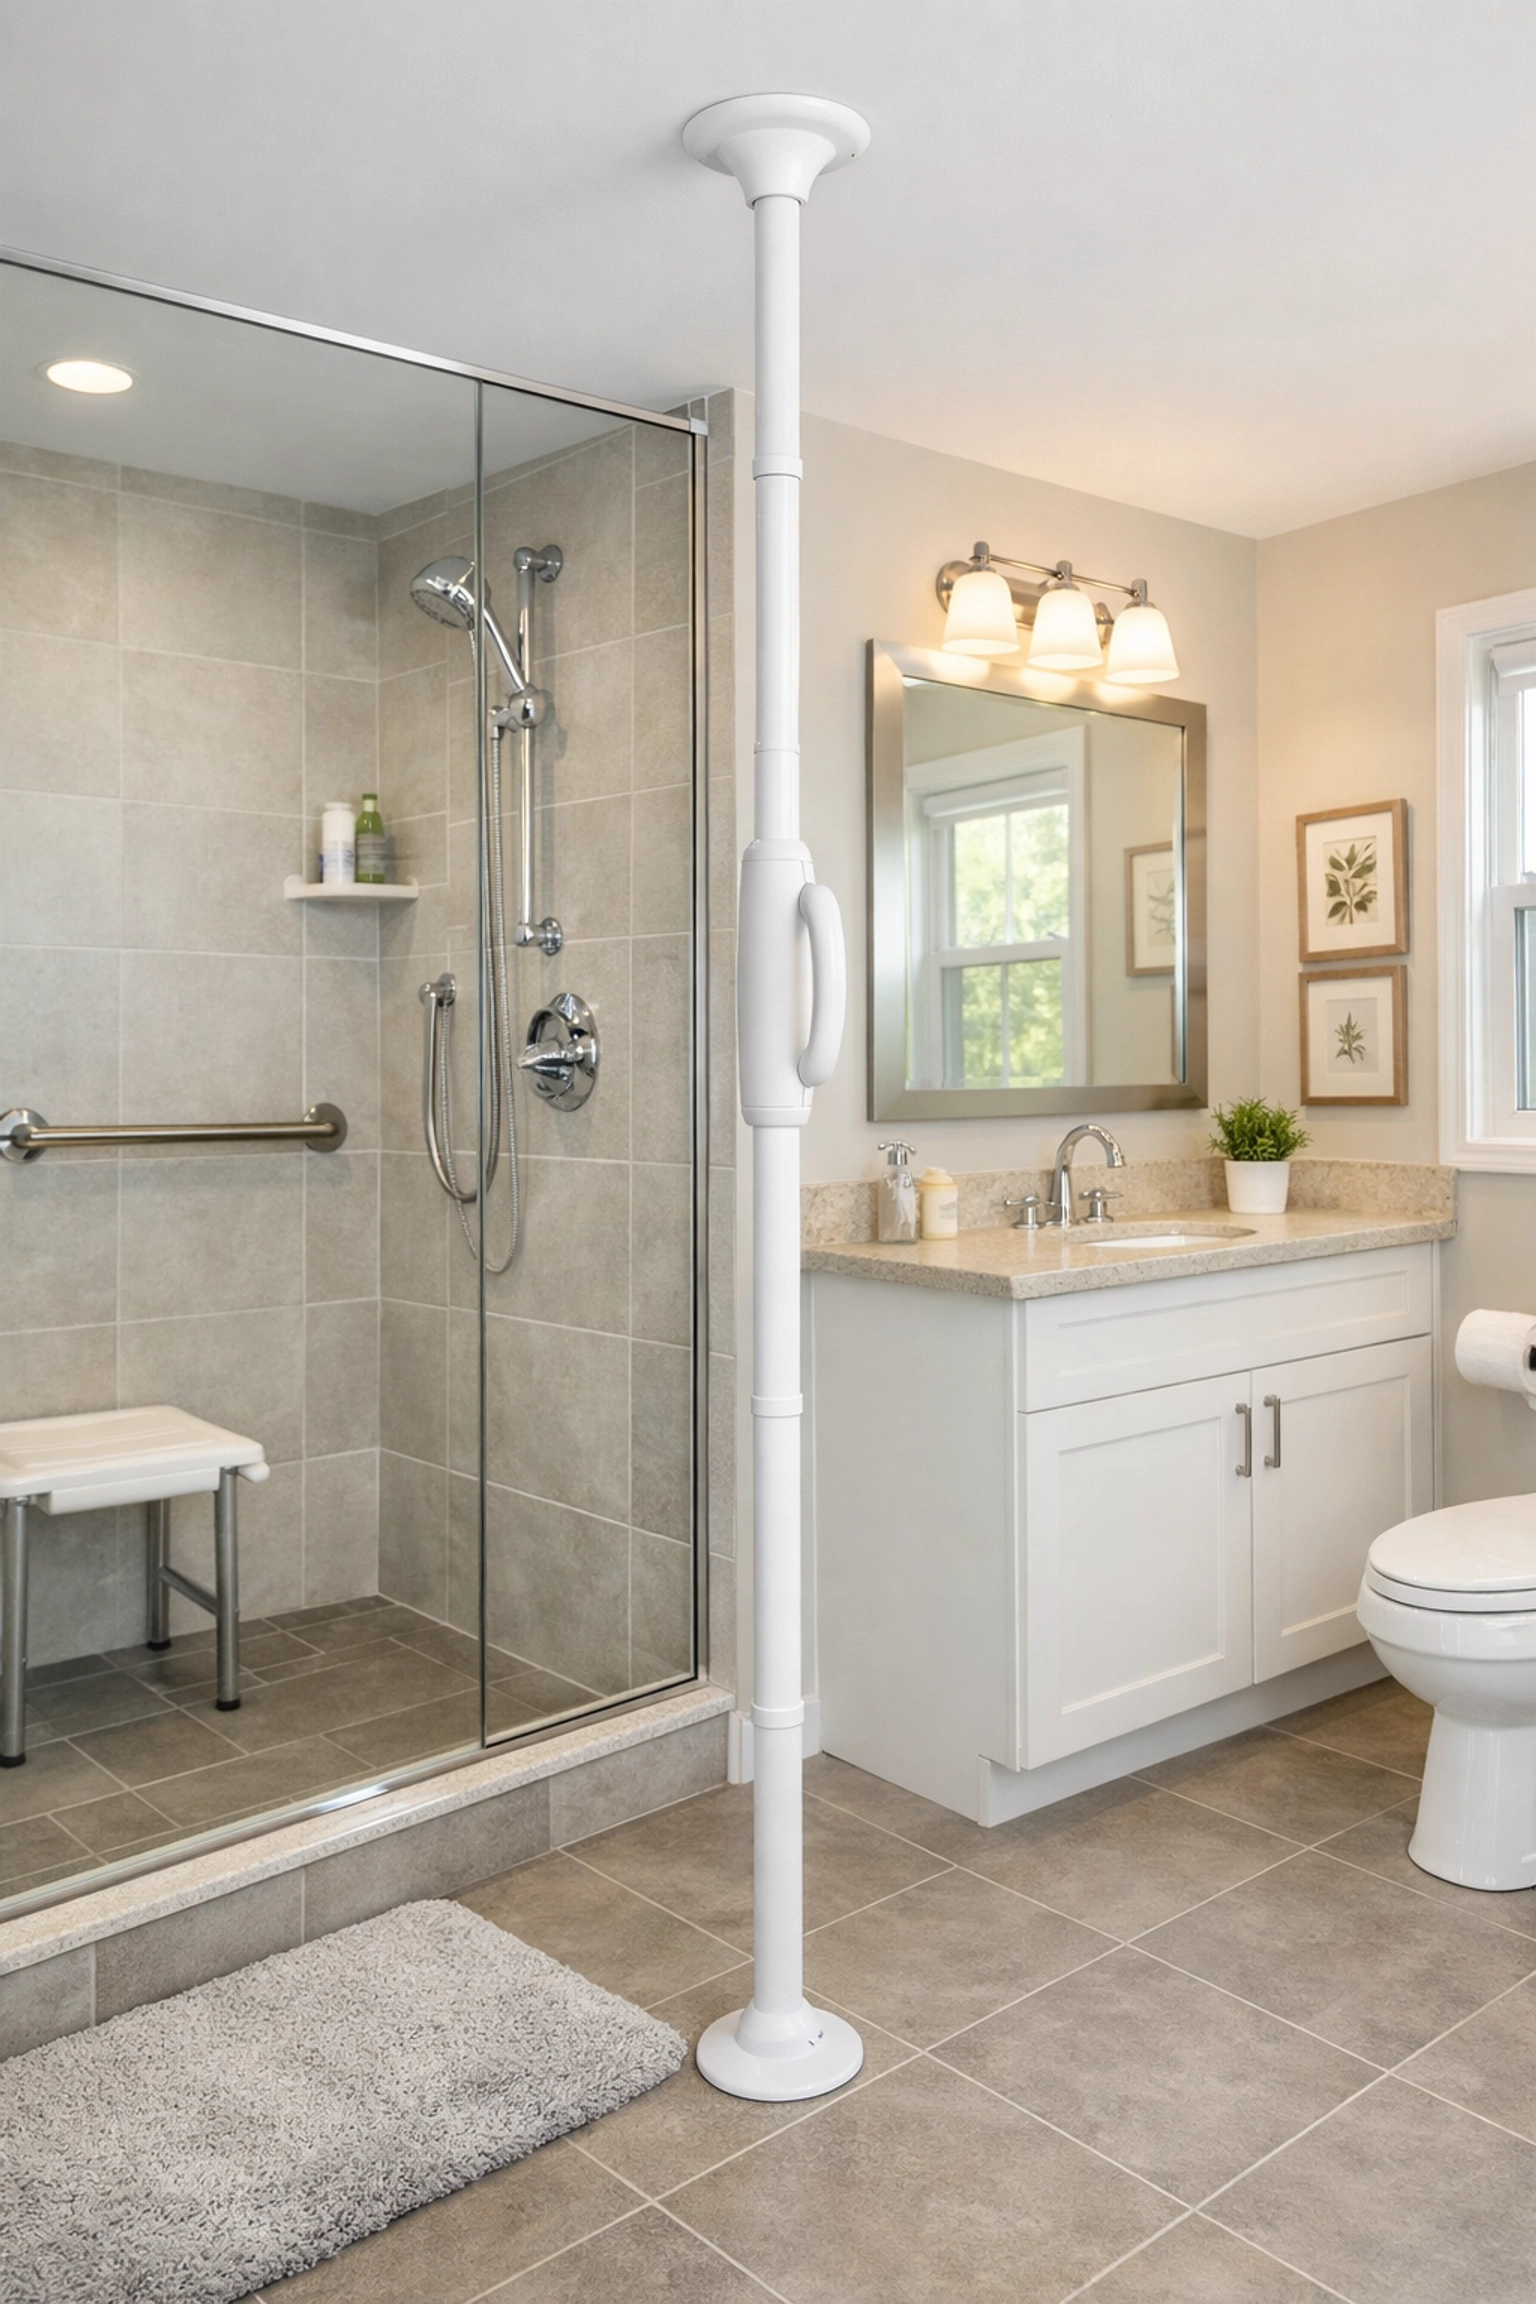
7. Choosing the Wrong "No-Drill" Technology
People often use the term "no-drill" and "suction" interchangeably, but they aren't the same. There are adhesive-mounted bars, suction bars, and tension poles. A mistake often made is choosing a suction bar for a situation where a tension pole or an adhesive bar would be much safer. For example, in a fiberglass shower stall, the walls may be too thin or flexible to support a suction bar: the wall itself might flex when you pull, breaking the suction seal.
The Fix:
Evaluate the "why" behind your need for a bar.
- If you need a bar for the entryway of a walk-in shower, a floor-to-ceiling tension pole is often much more stable than a suction bar because it uses the floor and ceiling for leverage.
- If you need a permanent solution but can't drill, look into professional-grade adhesive-mounted bars that use high-strength structural glue.
- Use suction bars only for temporary travel needs or as a very light balance aid on high-quality, thick porcelain tile.
A Note on Bathroom Safety Philosophy
When we think about fall prevention, we often focus on the hardware. We look at the bars, the mats, and the chairs. But the most important part of fall prevention is the behavior of the person using the space.
No-drill grab bars are a wonderful invention because they make safety accessible. They allow a family to quickly set up a guest bathroom for an aging relative or help a person who is renting an apartment maintain their independence. But they require a higher level of awareness than permanent fixtures.
If you or your loved one has significant mobility challenges, vision impairment, or cognitive changes (like dementia) that might make it difficult to remember to "check the bar," it is worth considering a more permanent solution. Safety is about layers of protection, and the best tool is the one that works correctly 100% of the time.

Summary of Best Practices
To keep your bathroom safe while using no-drill options, follow this checklist:
- Surface: Is it smooth, non-porous, and larger than the suction cup?
- Placement: Are you 100% sure you aren't touching a grout line?
- Cleanliness: Did you use rubbing alcohol to remove all soap film?
- Purpose: Are you using this for balance (good) or to pull your full weight (bad)?
- Maintenance: Will you commit to re-installing the bar at least once a week?
By avoiding these seven common mistakes, you can turn a potentially unreliable tool into a valuable part of your fall prevention strategy. Staying safe at home is a journey of small, consistent actions, and taking the time to properly install and maintain your mobility aids is a perfect place to start.

