Maintaining independence at home often starts with small, practical changes in the bathroom. For many seniors and their families, the idea of drilling into expensive tile or permanent bathroom fixtures is a significant deterrent. This is where no-drill grab bars come into play. They offer a promise of safety without the need for power tools or permanent modifications.
However, because these devices seem "plug-and-play," it is incredibly easy to overlook the nuances of their installation and use. A grab bar that isn't secure is often more dangerous than having no grab bar at all, as it provides a false sense of security. If you lean your full weight on a bar and it gives way, the resulting fall can be more severe because you were unprepared for the loss of balance.
Understanding the common pitfalls of no-drill solutions is the first step toward creating a truly fall-safe environment. Let's look at the mistakes many people make and how you can avoid them to ensure your home remains a safe haven.
The Misunderstanding of Suction Cup Reliability
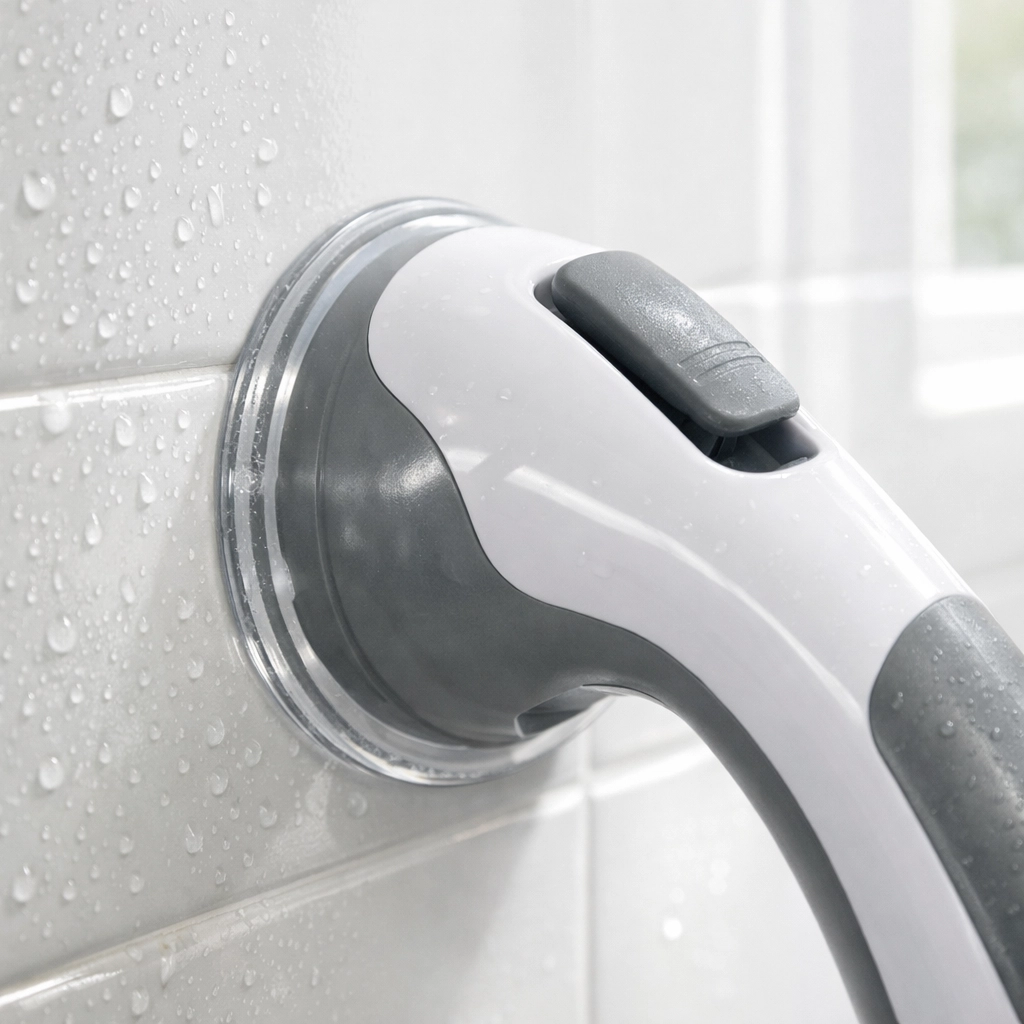
Perhaps the most common mistake is the over-reliance on suction-cup grab bars. While they are marketed as convenient and portable, they are frequently the most misunderstood piece of safety equipment.
The physics of a suction cup relies entirely on an airtight seal. In a bathroom environment, maintaining that seal is a constant battle against physics. Many people install a suction bar and assume it will stay there indefinitely. In reality, suction can weaken due to microscopic changes in temperature, humidity, and the texture of the mounting surface.
A critical mistake is using suction-cup bars for "weight-bearing" maneuvers. Most of these products are designed for "balance assistance" only. This means they can help you steady yourself if you feel a bit dizzy, but they are not intended to pull you up from a seated position or catch you during a full-force fall. If you are looking for a device to help you stand up from the toilet or get out of a deep tub, suction cups are rarely the right answer.
Mistake 1: Ignoring Surface Texture and Grout Lines
No-drill grab bars, whether they use suction or high-bond adhesives, require a specific type of surface to function correctly. A very common error is trying to install these bars over grout lines.
Even a tiny gap in the seal: such as the indentation of a grout line: allows air to seep in. For suction bars, this means an immediate or gradual loss of vacuum. For adhesive bars, it means the bonding agent isn't contacting enough surface area to hold the rated weight.
Furthermore, many modern bathroom tiles have a slight texture or "matte" finish. While these look beautiful and prevent slipping underfoot, they are a nightmare for no-drill grab bars. The microscopic bumps in the texture prevent a perfect seal. If your tile isn't perfectly smooth, glass-like, and non-porous, a suction or adhesive bar is likely to fail. Always test the surface before trusting it with your safety.
Mistake 2: Overlooking the "Static vs. Dynamic" Weight Rating
When you look at the packaging of a grab bar, you might see a rating of 250 or 300 pounds. A common mistake is assuming this means anyone under that weight can safely use it.
There is a big difference between "static" weight (gradually leaning on a bar) and "dynamic" weight (the sudden force of a person falling). If a 180-pound individual slips and grabs a bar to stop their momentum, the force exerted on that bar can easily exceed 300 pounds for a split second.
No-drill bars, particularly those that rely on clamps or suction, are much more susceptible to failing under dynamic loads. When choosing a no-drill option, it is wise to look for products that exceed the user's weight by a significant margin and to understand that these bars are best used for steadying rather than catching a high-impact fall.
Mistake 3: Improper Installation of Tension Poles
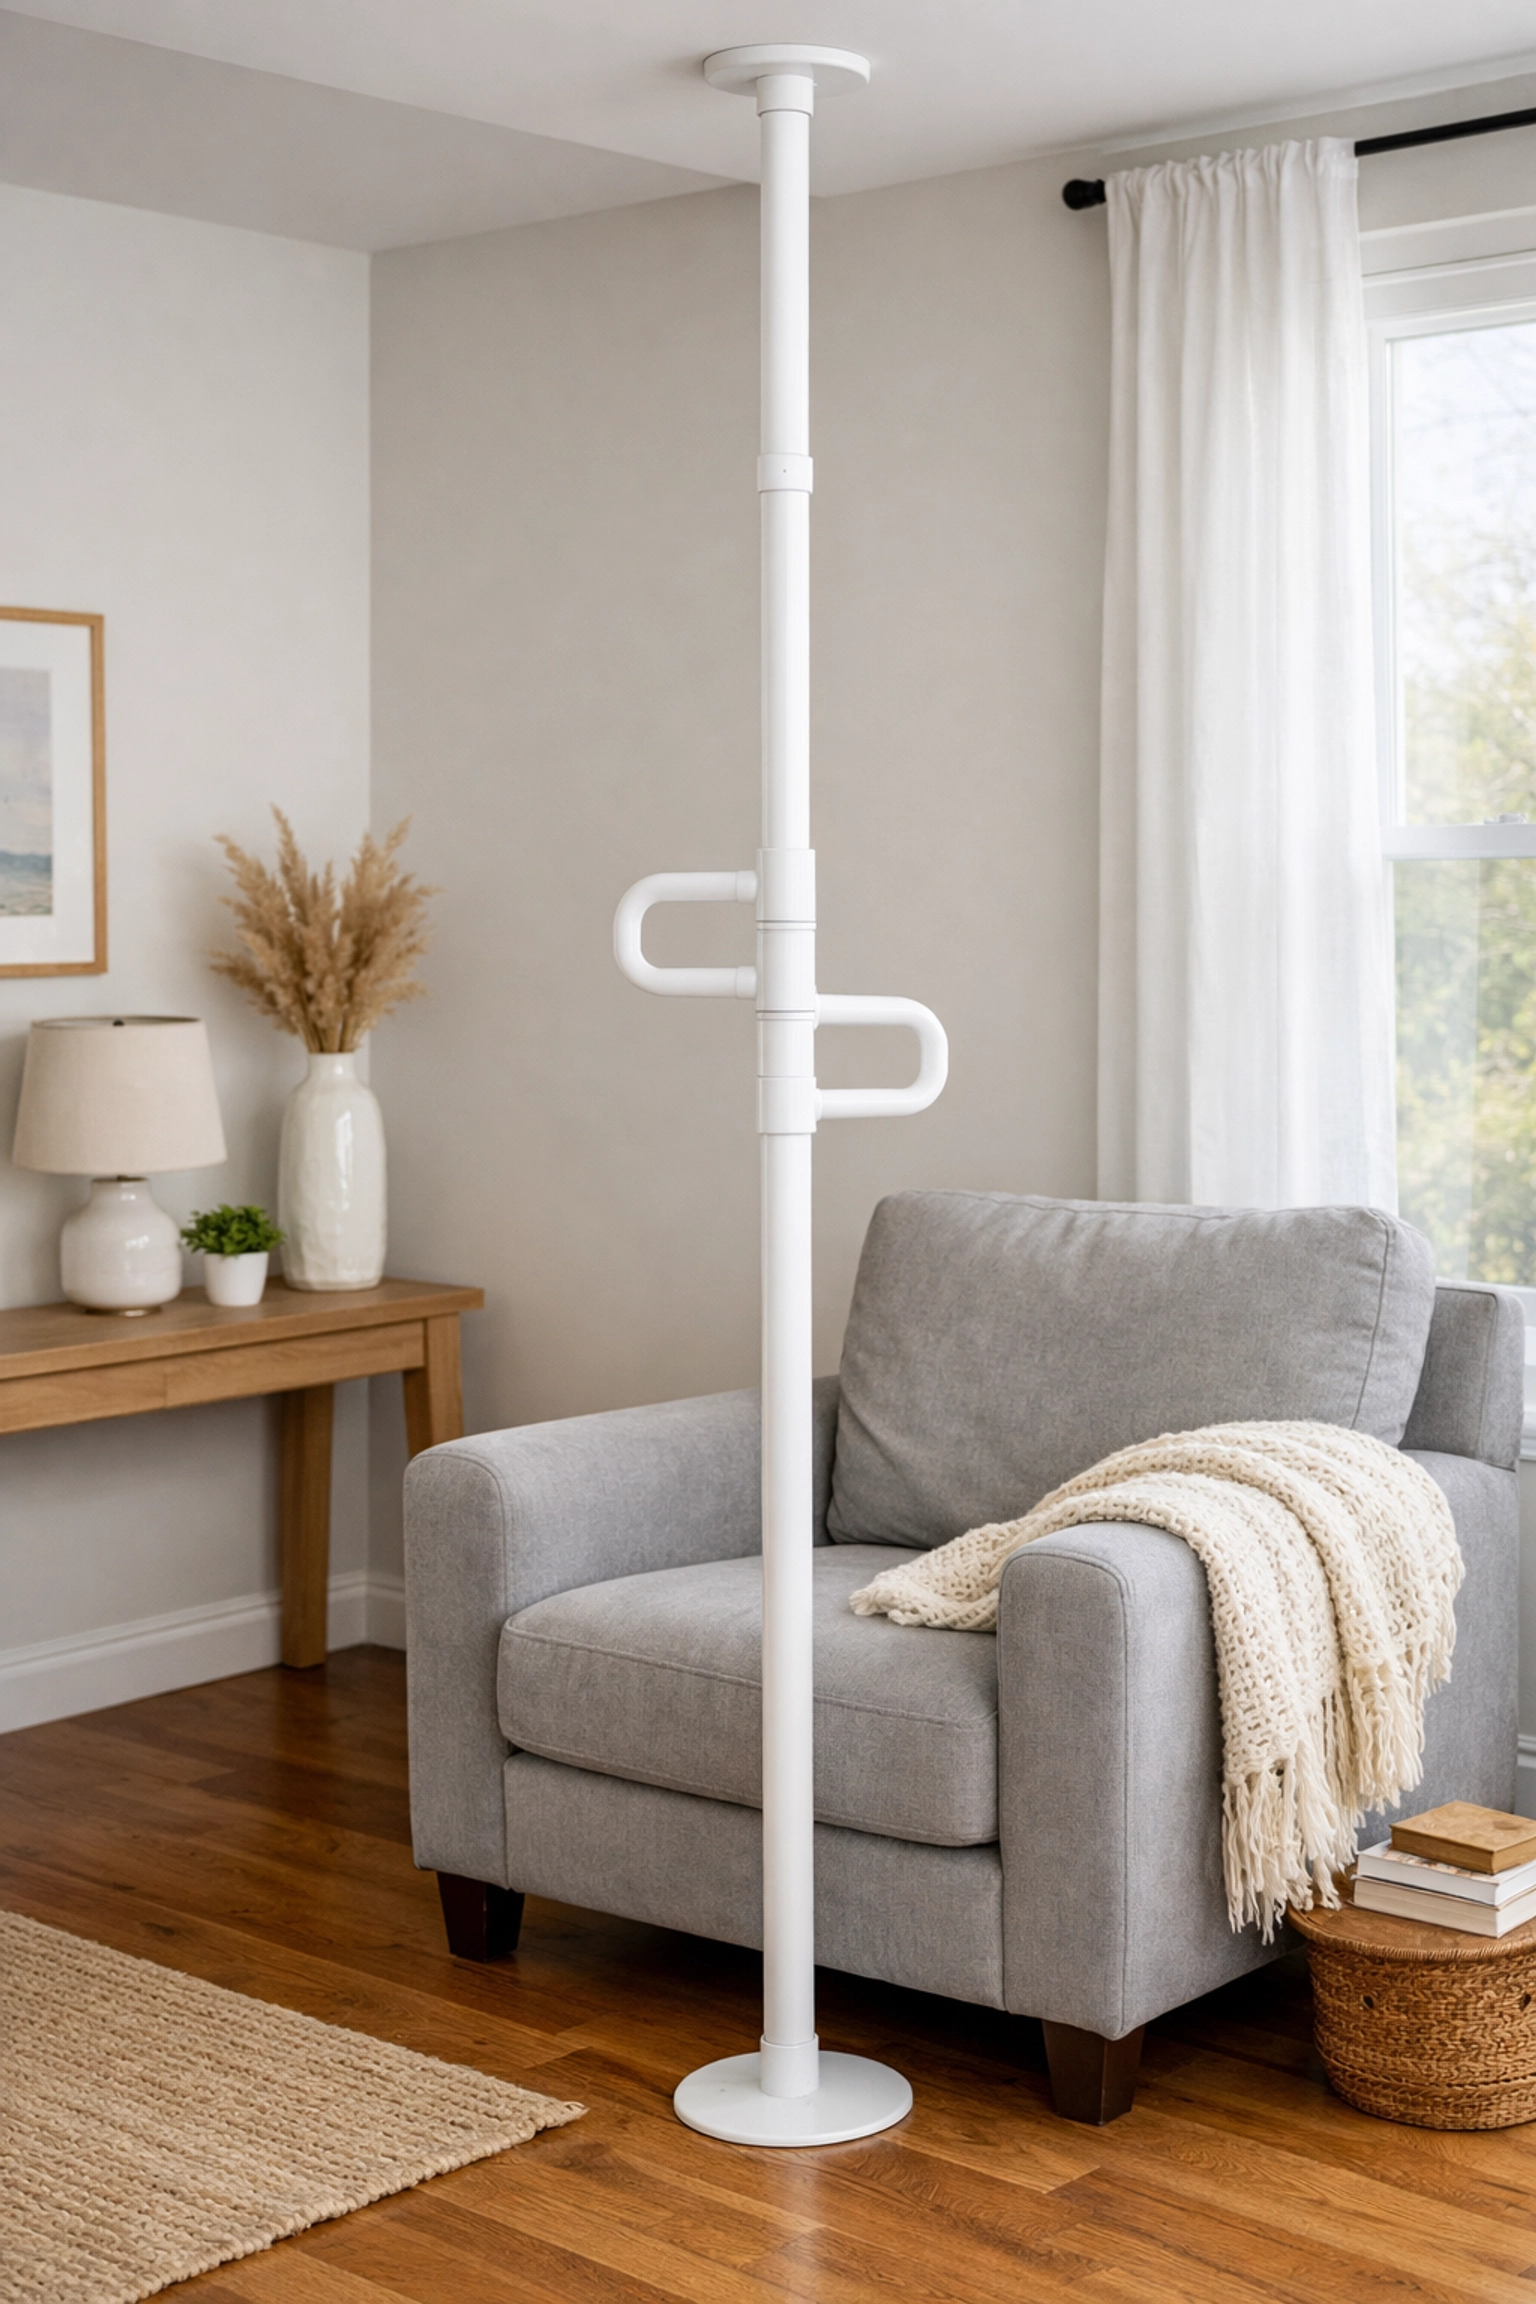
Tension-mounted poles (often called floor-to-ceiling poles) are an excellent no-drill alternative. They stay in place by applying pressure between the floor and the ceiling. However, they come with their own set of common installation errors.
The most dangerous mistake here is installing a tension pole against a weak ceiling. Most residential ceilings are made of drywall or plaster. If you tighten a tension pole directly against the drywall between the ceiling joists, the pole may feel sturdy at first. However, over time, the constant pressure can crack the drywall, causing the pole to lose tension and potentially collapse when you lean on it.
To avoid this, tension poles must be installed directly underneath a ceiling joist (the wooden beam behind the drywall). Many people skip the step of using a stud finder to locate these beams, which is a recipe for instability. Additionally, these poles should not be used on vaulted ceilings or drop ceilings (like those found in many basements) unless specific adapters are used.
Mistake 4: Failing to Prepare the Surface for Adhesives
There are high-quality no-drill grab bars that use professional-grade bonding glues or tapes. These can be incredibly strong, but they are only as good as the preparation of the surface.
A common mistake is simply wiping the tile with a damp cloth before application. Bathrooms are coated in invisible layers of soap scum, body oils, and minerals from hard water. If you apply an adhesive bar over these contaminants, the glue will bond to the "grime" rather than the tile itself.
To do this correctly, the area must be scrubbed with rubbing alcohol or a specialized degreaser to ensure it is chemically clean. Furthermore, many of these adhesives require a "cure time": often 24 to 48 hours: before any weight can be applied. Impatience is a major cause of failure; using the bar too soon can permanently weaken the bond, leading to a fall later on.
Mistake 5: Neglecting Regular Maintenance Checks
Drilled grab bars are often "set and forget," but no-drill bars are not. A significant mistake many caregivers make is assuming that because the bar was solid last week, it is solid today.
Temperature fluctuations in a bathroom are extreme. The steam from a hot shower followed by the cool air of a vent can cause materials to expand and contract. This "cycling" can slowly loosen clamps or weaken suction.
For any no-drill device, a weekly "tug test" is essential. Before entering the tub or shower, give the bar a firm pull in the direction you would normally use it. For suction bars, many models have color-coded indicators (green for safe, red for re-attach). Never ignore these indicators. Even if it looks fine, if the indicator shows red, the seal has been compromised.
Mistake 6: Placing the Bar Based on Tile Patterns Rather Than Ergonomics
When we don't want to drill, we often let the environment dictate where the grab bar goes. We might place a suction bar where the tiles are largest or where there are no grout lines. While this is necessary for the seal, it often leads to the mistake of "bad ergonomics."
A grab bar placed too high, too low, or at an awkward angle can actually increase your risk of a fall. If you have to reach too far or twist your body to grab the bar, you are moving your center of gravity outside of your base of support.
When considering a no-drill option, you must find a balance between where the device can go and where it should go. If the only safe place to stick a suction bar is behind you where you can't reach it easily, then a suction bar is not the right solution for that space. In these cases, a floor-to-ceiling pole or a clamp-on tub rail might be a better choice.
The Limitations of Clamp-On Tub Rails
Clamp-on rails are a popular no-drill choice for getting in and out of the bathtub. They screw onto the side of the tub wall and provide a high handle. The mistake here is often related to the tub material.
Modern tubs made of thin fiberglass or acrylic can flex. If you over-tighten a metal clamp onto a fiberglass tub, you risk cracking the surround. If you under-tighten it, the rail can "roll" or slide along the tub wall when you pull on it.
Furthermore, many older cast-iron tubs have a curved or sloped side. If the clamp isn't designed for a sloped surface, it won't have a secure grip. Before choosing a clamp-on rail, measure the width of your tub wall and check if the surfaces are parallel. If they aren't, you'll need a rail specifically designed for contoured tubs.
When "No-Drill" Isn't the Best Choice
It’s important to be honest about the limitations of these products. While they are excellent for temporary situations: such as recovering from a surgery or staying in a rental home: they are not always the gold standard for long-term aging in place.
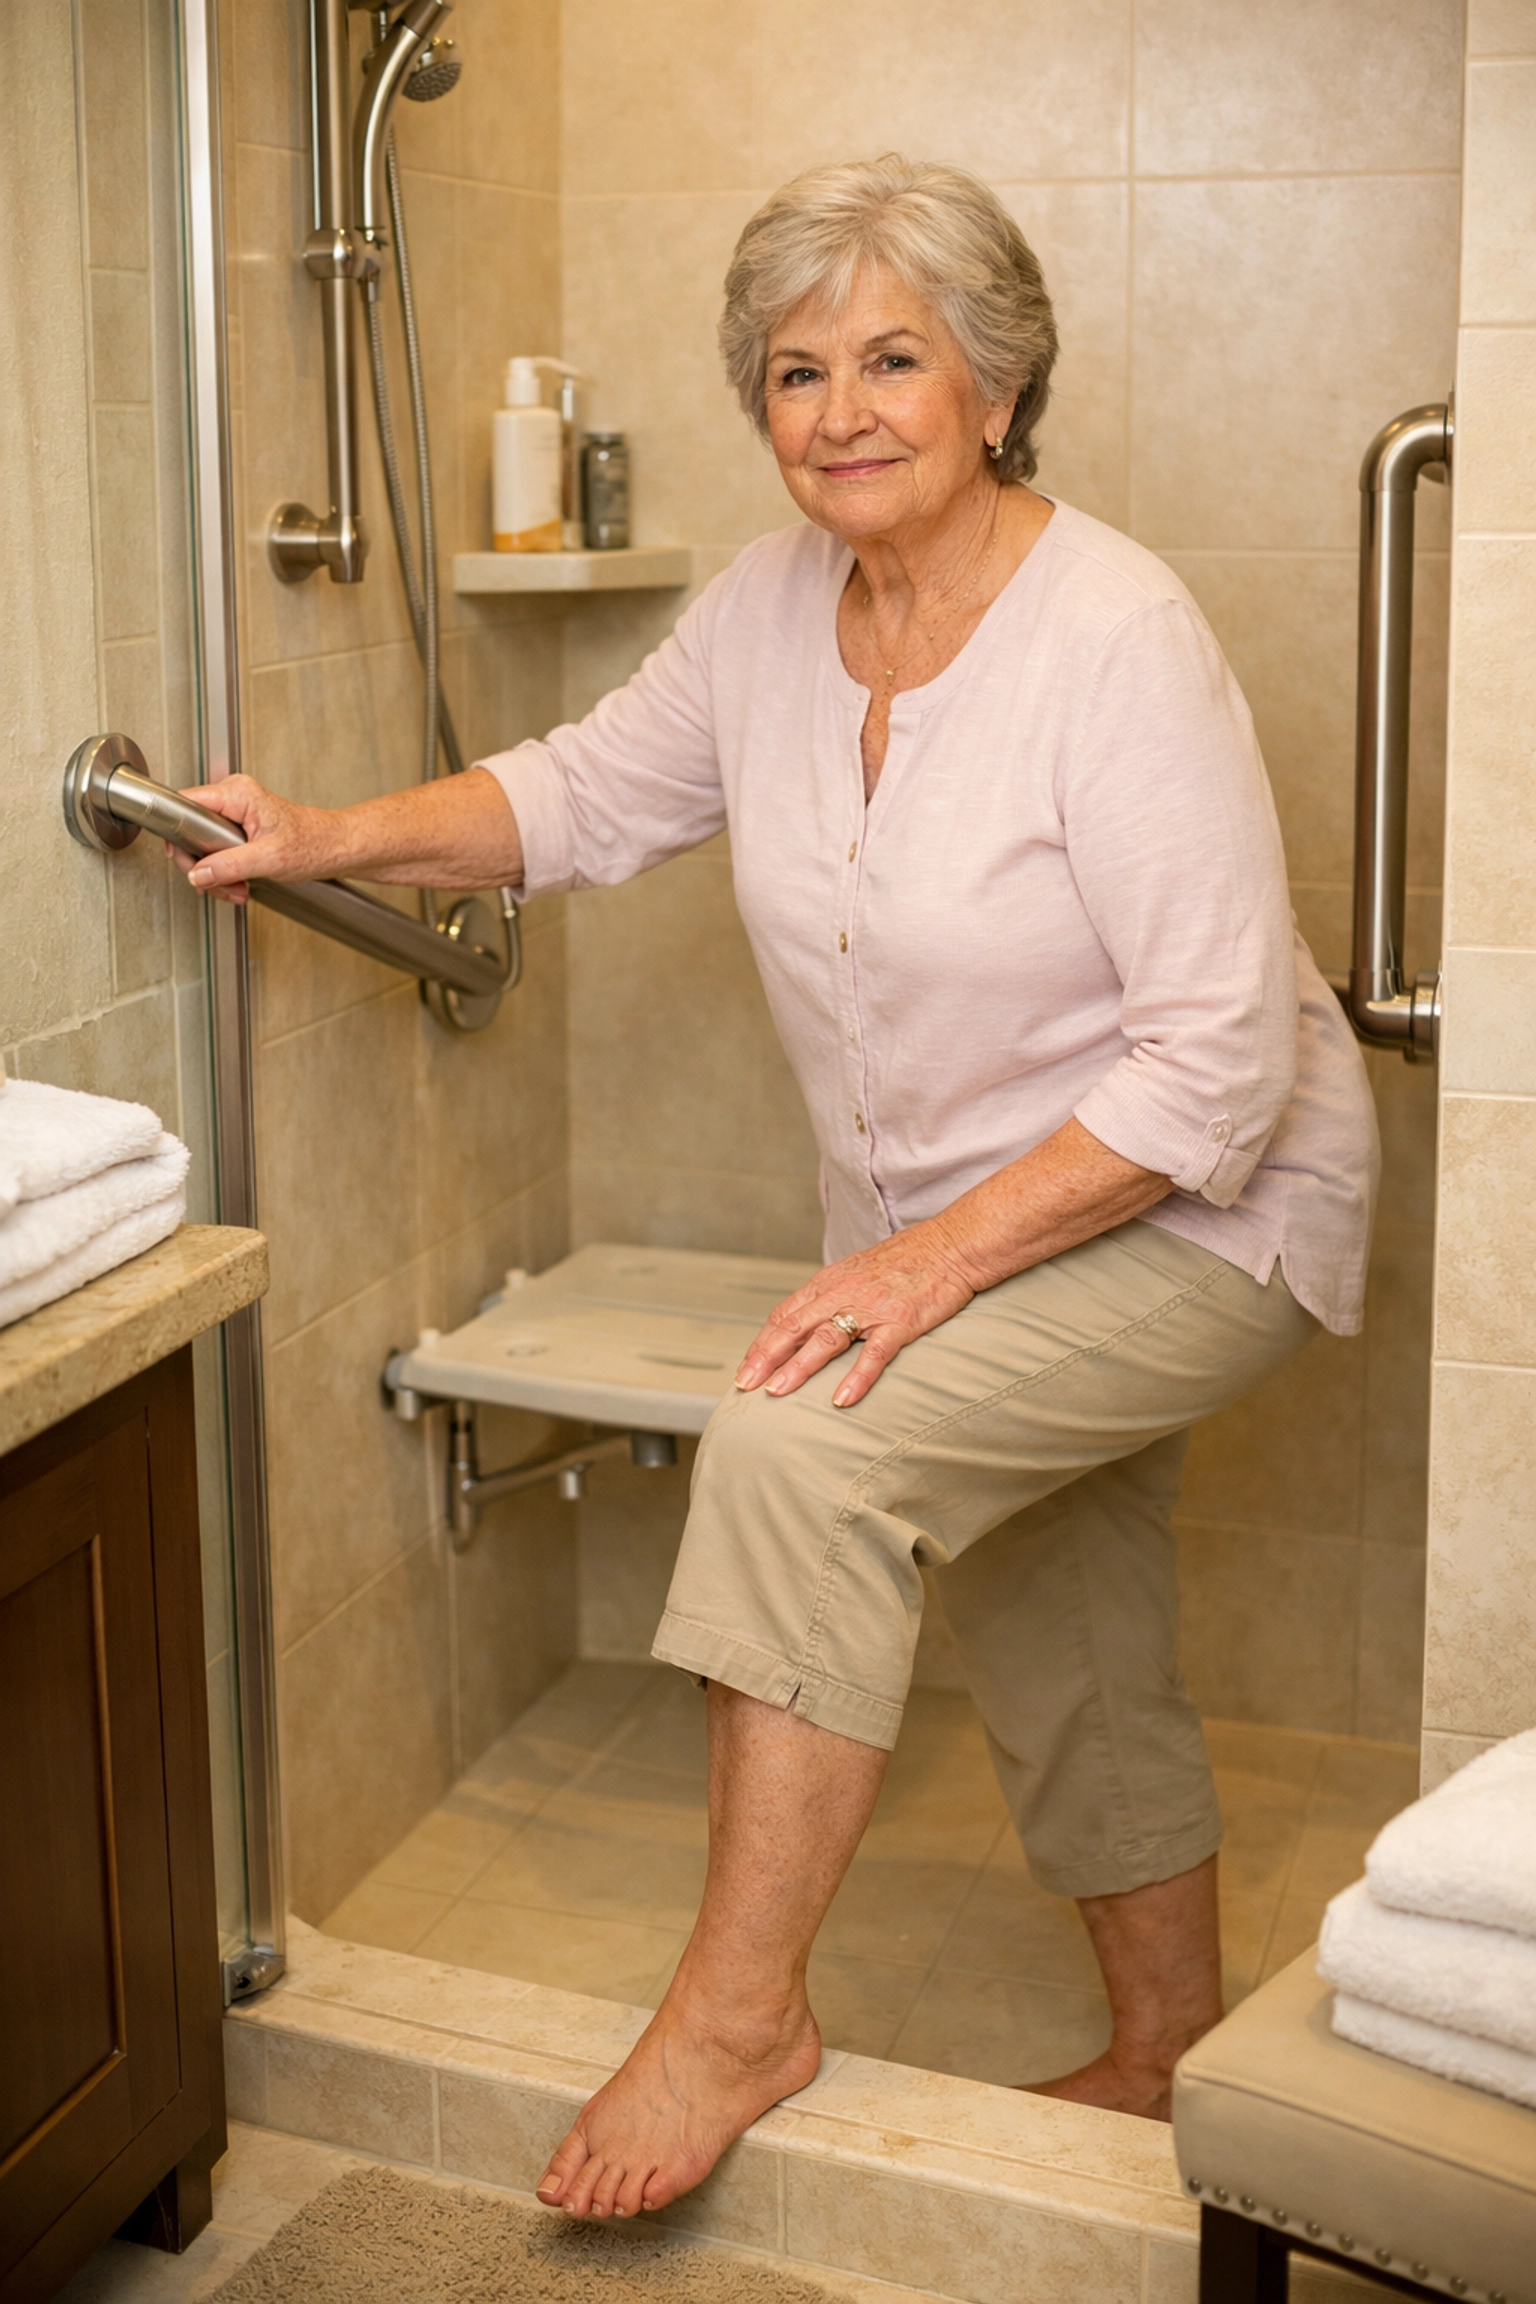
If an individual has significant mobility challenges, severe balance issues, or weighs more than 250 pounds, a professionally installed, wall-mounted grab bar is usually the safest route. The "mistake" is often trying to make a temporary solution work for a permanent, high-need situation.
If you are unsure which path to take, a home safety assessment by a Physical Therapist (PT) or Occupational Therapist (OT) can be invaluable. These professionals can look at how you move and recommend the specific type of support that fits your physical needs, rather than just what fits your bathroom tiles.

Best Practices for No-Drill Success
To ensure you aren't making these mistakes, follow this checklist for any no-drill installation:
- Check the surface: Is it 100% smooth, non-porous, and clean?
- Verify the joists: For tension poles, have you used a stud finder to ensure you are pushing against a structural beam?
- Read the fine print: Is the bar rated for "weight-bearing" or just "balance assist"?
- Clear the grout: Ensure no part of a suction cup or adhesive pad overlaps a grout line.
- Schedule checks: Put a reminder on your calendar to check the tension or suction every Sunday morning.
- Test the "Feel": Have the user mimic the movement they will use in the shower while you (or a helper) stand nearby. Does the bar stay perfectly still?
Safety in the home is about more than just equipment; it’s about the correct application of that equipment. No-drill grab bars are a wonderful innovation that has made bathroom safety accessible to thousands. By avoiding these common mistakes, you can enjoy the convenience of these tools without compromising the security and peace of mind you deserve.

