Stairs are often the most intimidating part of a home as we get older. They are a functional necessity for many, yet they represent one of the highest areas of risk for falls. You might have already taken some steps to make your stairwell safer: perhaps you’ve added a rug or tightened a loose screw: but many people find that despite these efforts, the stairs still feel "unsteady" or "tricky."
The reality is that stair safety isn't just about having a handrail; it’s about a combination of physics, lighting, and human behavior. If your current setup doesn't feel quite right, it’s likely because one of the smaller, often overlooked details is out of alignment.
Here are ten common reasons why your stair safety measures might be failing and the practical, straightforward ways you can fix them.
1. The "Shadow Zone" Lighting
Most people have a light at the top of the stairs and a light at the bottom. On the surface, this seems sufficient. However, the problem often lies in the shadows created by the steps themselves or the person walking on them. If the light source is positioned behind you as you descend, your body casts a shadow over the very step you are trying to reach. This "shadow zone" makes it impossible to judge the depth of the tread accurately.
How to Fix It
The goal is "uniform illumination." Consider installing motion-activated LED strip lighting underneath the lip of each tread or along the baseboards. This provides a clear, shadow-free view of where one step ends and the next begins. If that’s too much of a project, ensure your overhead bulbs have a high "color rendering index" (CRI) and sufficient lumens. You want the light to be bright but not glaring. Soft, diffused light is much better for aging eyes than a single, harsh spotlight.
2. Handrails That Stop Too Early
This is one of the most frequent issues found in residential homes. Many handrails are designed to start at the first riser and end at the last one. While this looks neat, it’s a safety flaw. When you are descending, the most dangerous point is the transition from the last step to the flat floor. If the handrail ends exactly where the stairs end, you lose your primary point of stability right as you are making that final, crucial weight shift.
How to Fix It
A truly safe handrail should extend at least 12 inches beyond the top and bottom steps. This is called a "handrail extension." It allows you to maintain a firm grip until your feet are firmly planted on level ground. If your current rail is too short, you don't necessarily need to replace the whole thing; a contractor can often add an extension piece that curves back toward the wall to prevent it from catching on clothing.
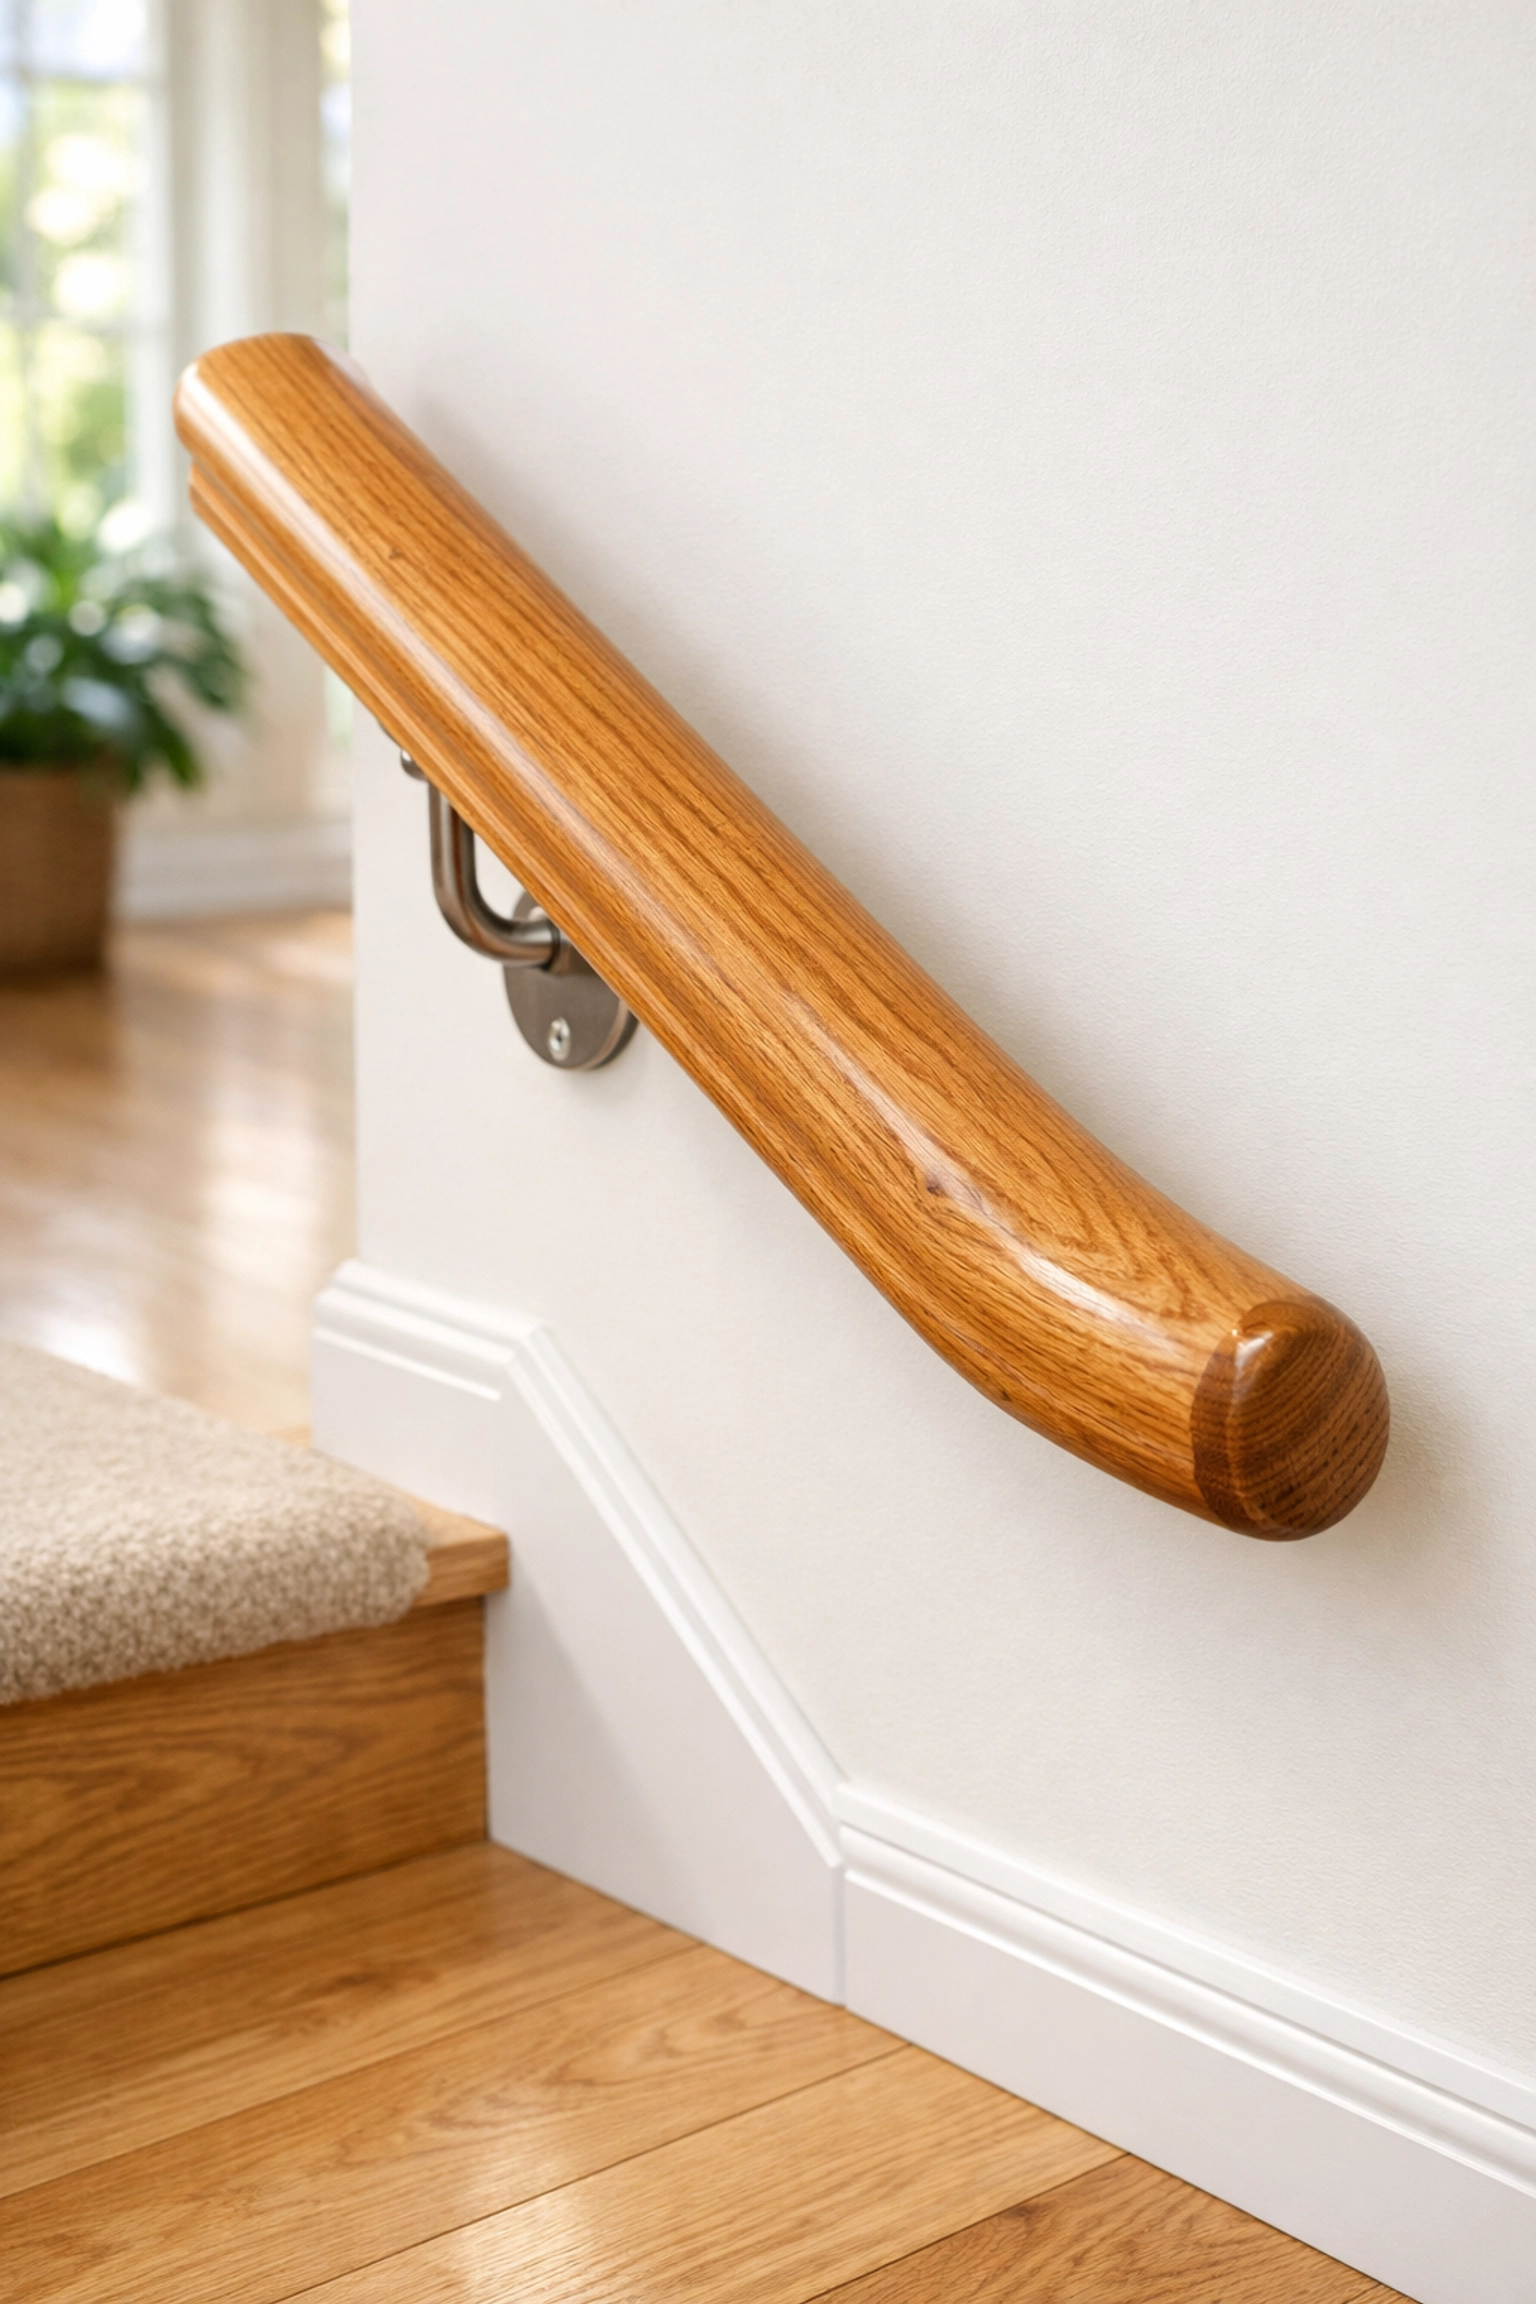
3. The "Decorative" Grip
Take a look at your handrail. Is it a wide, flat piece of finished wood? Or is it a thick, chunky square? While these designs look beautiful and fit with modern home aesthetics, they are often "un-graspable." A safe handrail must allow for a "power grip," where the fingers and thumb can almost meet. If your hand is just resting on top of a wide board, you have no way to catch yourself if you actually slip.
How to Fix It
The ideal shape for a handrail is circular or oval, with a diameter between 1.25 and 2 inches. This allows your hand to wrap around it completely. If you have those wide, flat rails, you can often mount a smaller, graspable "secondary" rail directly onto the wall or even onto the existing decorative rail. It’s about function over form when it comes to the grip.
4. Inconsistent Riser Heights
Our brains are incredible at mapping out patterns. When you take the first two steps on a staircase, your brain "records" the height of those steps (the risers). For the rest of the flight, your muscles move based on that recording. If even one step is a half-inch higher or lower than the others, it breaks that rhythm. This is why people often trip on "that one weird step" halfway up.
How to Fix It
While you can’t easily rebuild a staircase, you can make these inconsistencies visible. Use high-contrast tape (like a bright yellow or white) on the edge of every step. This gives your eyes a visual cue to double-check what your muscle memory might miss. If the inconsistency is more than a quarter-inch, it’s worth having a professional carpenter see if they can shim or adjust the treads to create a more uniform path.
5. The "Socks on Polished Wood" Trap
Hardwood stairs are a classic feature in many homes, but they are also incredibly slippery, especially if you are wearing socks or smooth-soled slippers. Even if the wood isn’t freshly waxed, the natural finish offers very little friction. Many people try to fix this with "clear" non-slip tape, but over time, the edges of that tape can peel up, creating a brand-new tripping hazard.
How to Fix It
The most effective fix is a "stair runner": a strip of carpet that is professionally installed and stapled down the middle of the flight. If you prefer to keep the wood look, look for high-friction adhesive treads that cover the entire width of the step, rather than just a small strip. Ensure these are checked monthly to make sure the adhesive is still holding firm.
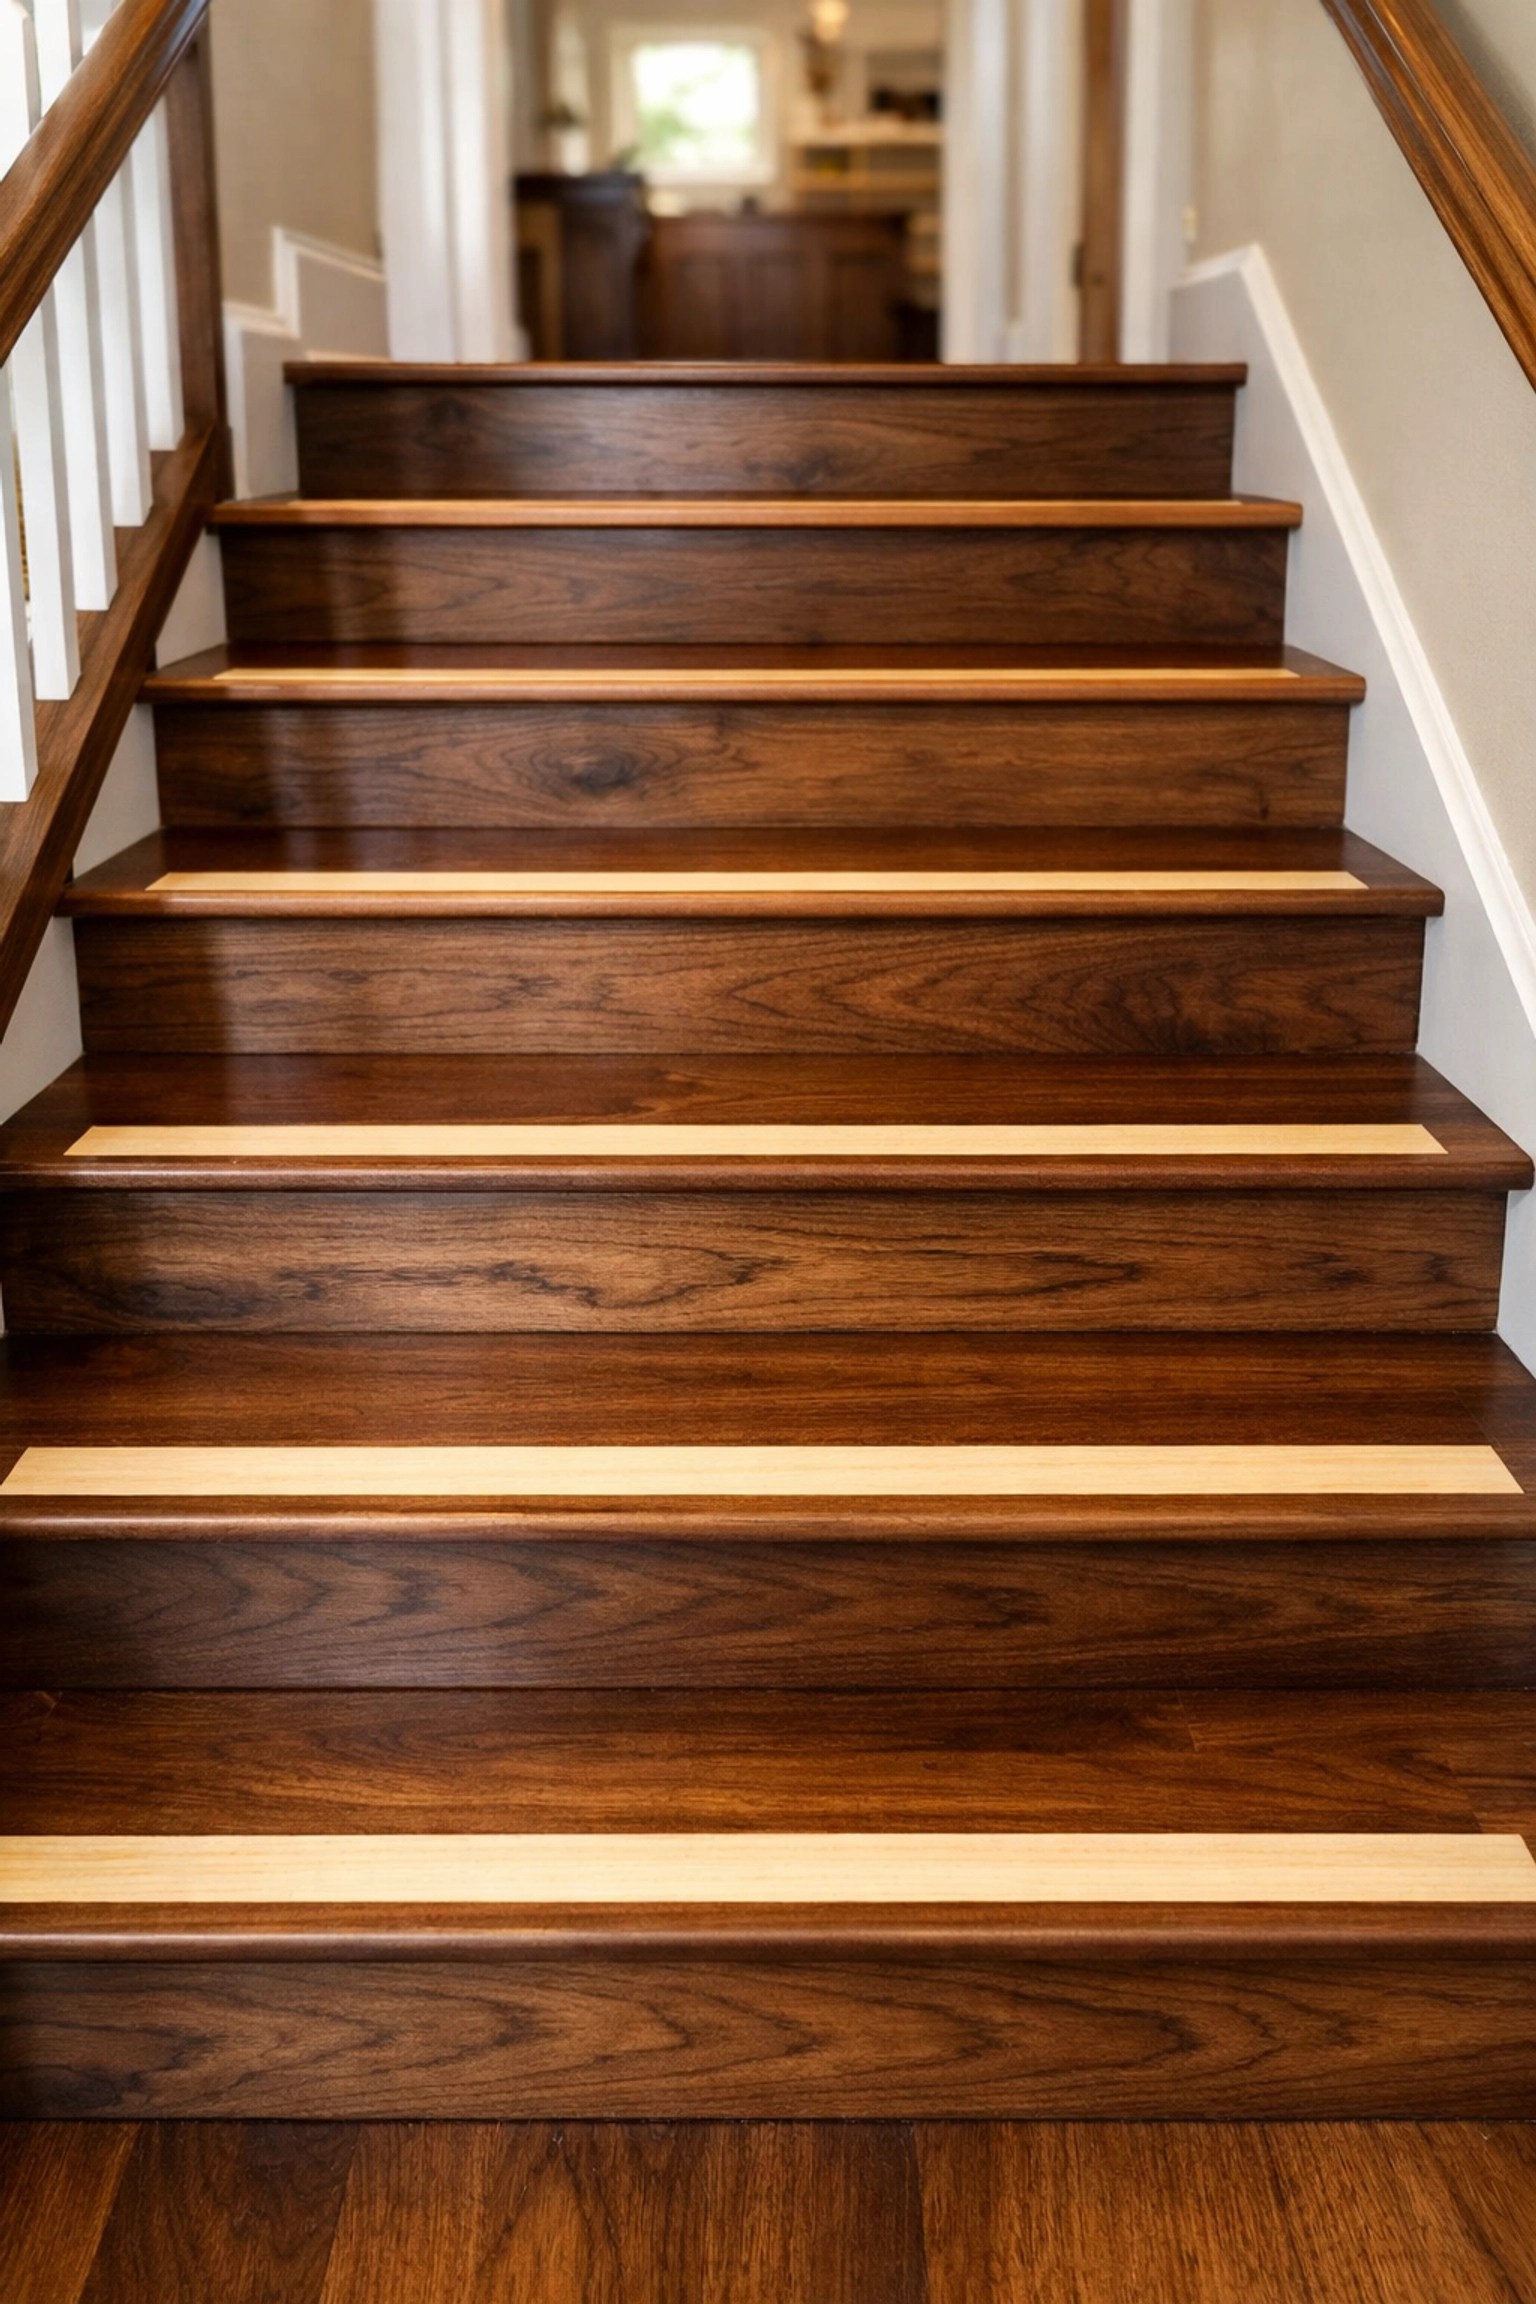
6. Depth Perception and Color Blending
As we age, our ability to distinguish between similar colors and textures decreases. If your stairs are a dark mahogany and the floor at the bottom is also dark mahogany, the stairs essentially become a "slide" to your eyes. You can't see where the vertical riser ends and the horizontal tread begins.
How to Fix It
Contrast is your best friend. You don't have to paint your whole house neon, but adding a contrasting strip to the "nosing" (the very edge) of each step is a game changer. A dark wood step with a thin, light-colored wooden inlay or a piece of grip tape in a contrasting shade will help your brain distinguish the steps instantly.
7. The "I’ll Take This Up Later" Pile
We’ve all done it: we leave a book, a pair of shoes, or a stack of mail on the bottom two steps to remind ourselves to take them up on the next trip. On a staircase, even the smallest object reduces the "landing zone" for your foot. If you have to step around an object, you are shifting your center of gravity in a way that the stairs weren't designed for.
How to Fix It
Establish a "Zero Objects" rule for the stairs. If something needs to go up, it either goes up immediately or it sits in a dedicated basket next to the stairs: never on them. Keeping the pathway 100% clear is the simplest and most effective safety upgrade you can make.
8. Loose Brackets and "Hidden" Movement
Over years of use, the brackets holding your handrail to the wall can loosen. If there is even a tiny bit of "give" or "wiggle" when you put weight on the rail, your body subconsciously trusts it less. In a moment of a slip, that wiggle could be the difference between a quick save and a fall.
How to Fix It
Perform a "stress test" on your handrail once every few months. Put your full weight on it (carefully) at various points along the flight. If you hear a creak or feel a shift, the brackets need to be tightened or moved. Often, brackets are screwed into just the drywall rather than the wooden studs behind it. Ensure every bracket is anchored into a solid stud.
9. The Bifocal Factor
This is a physiological reason that often catches people off guard. If you wear bifocals or trifocals, the bottom portion of your lens is designed for reading (close-up work). When you look down at your feet while walking down the stairs, you are looking through that reading portion, which blurs the steps and distorts the distance.
How to Fix It
Talk to your optometrist about "stair-safe" glasses. Many seniors find that having a dedicated pair of single-vision glasses for moving around the house or navigating stairs makes a massive difference. If you must wear your bifocals, practice the habit of tucking your chin down further so you are looking through the top (distance) part of the lens when navigating the steps.
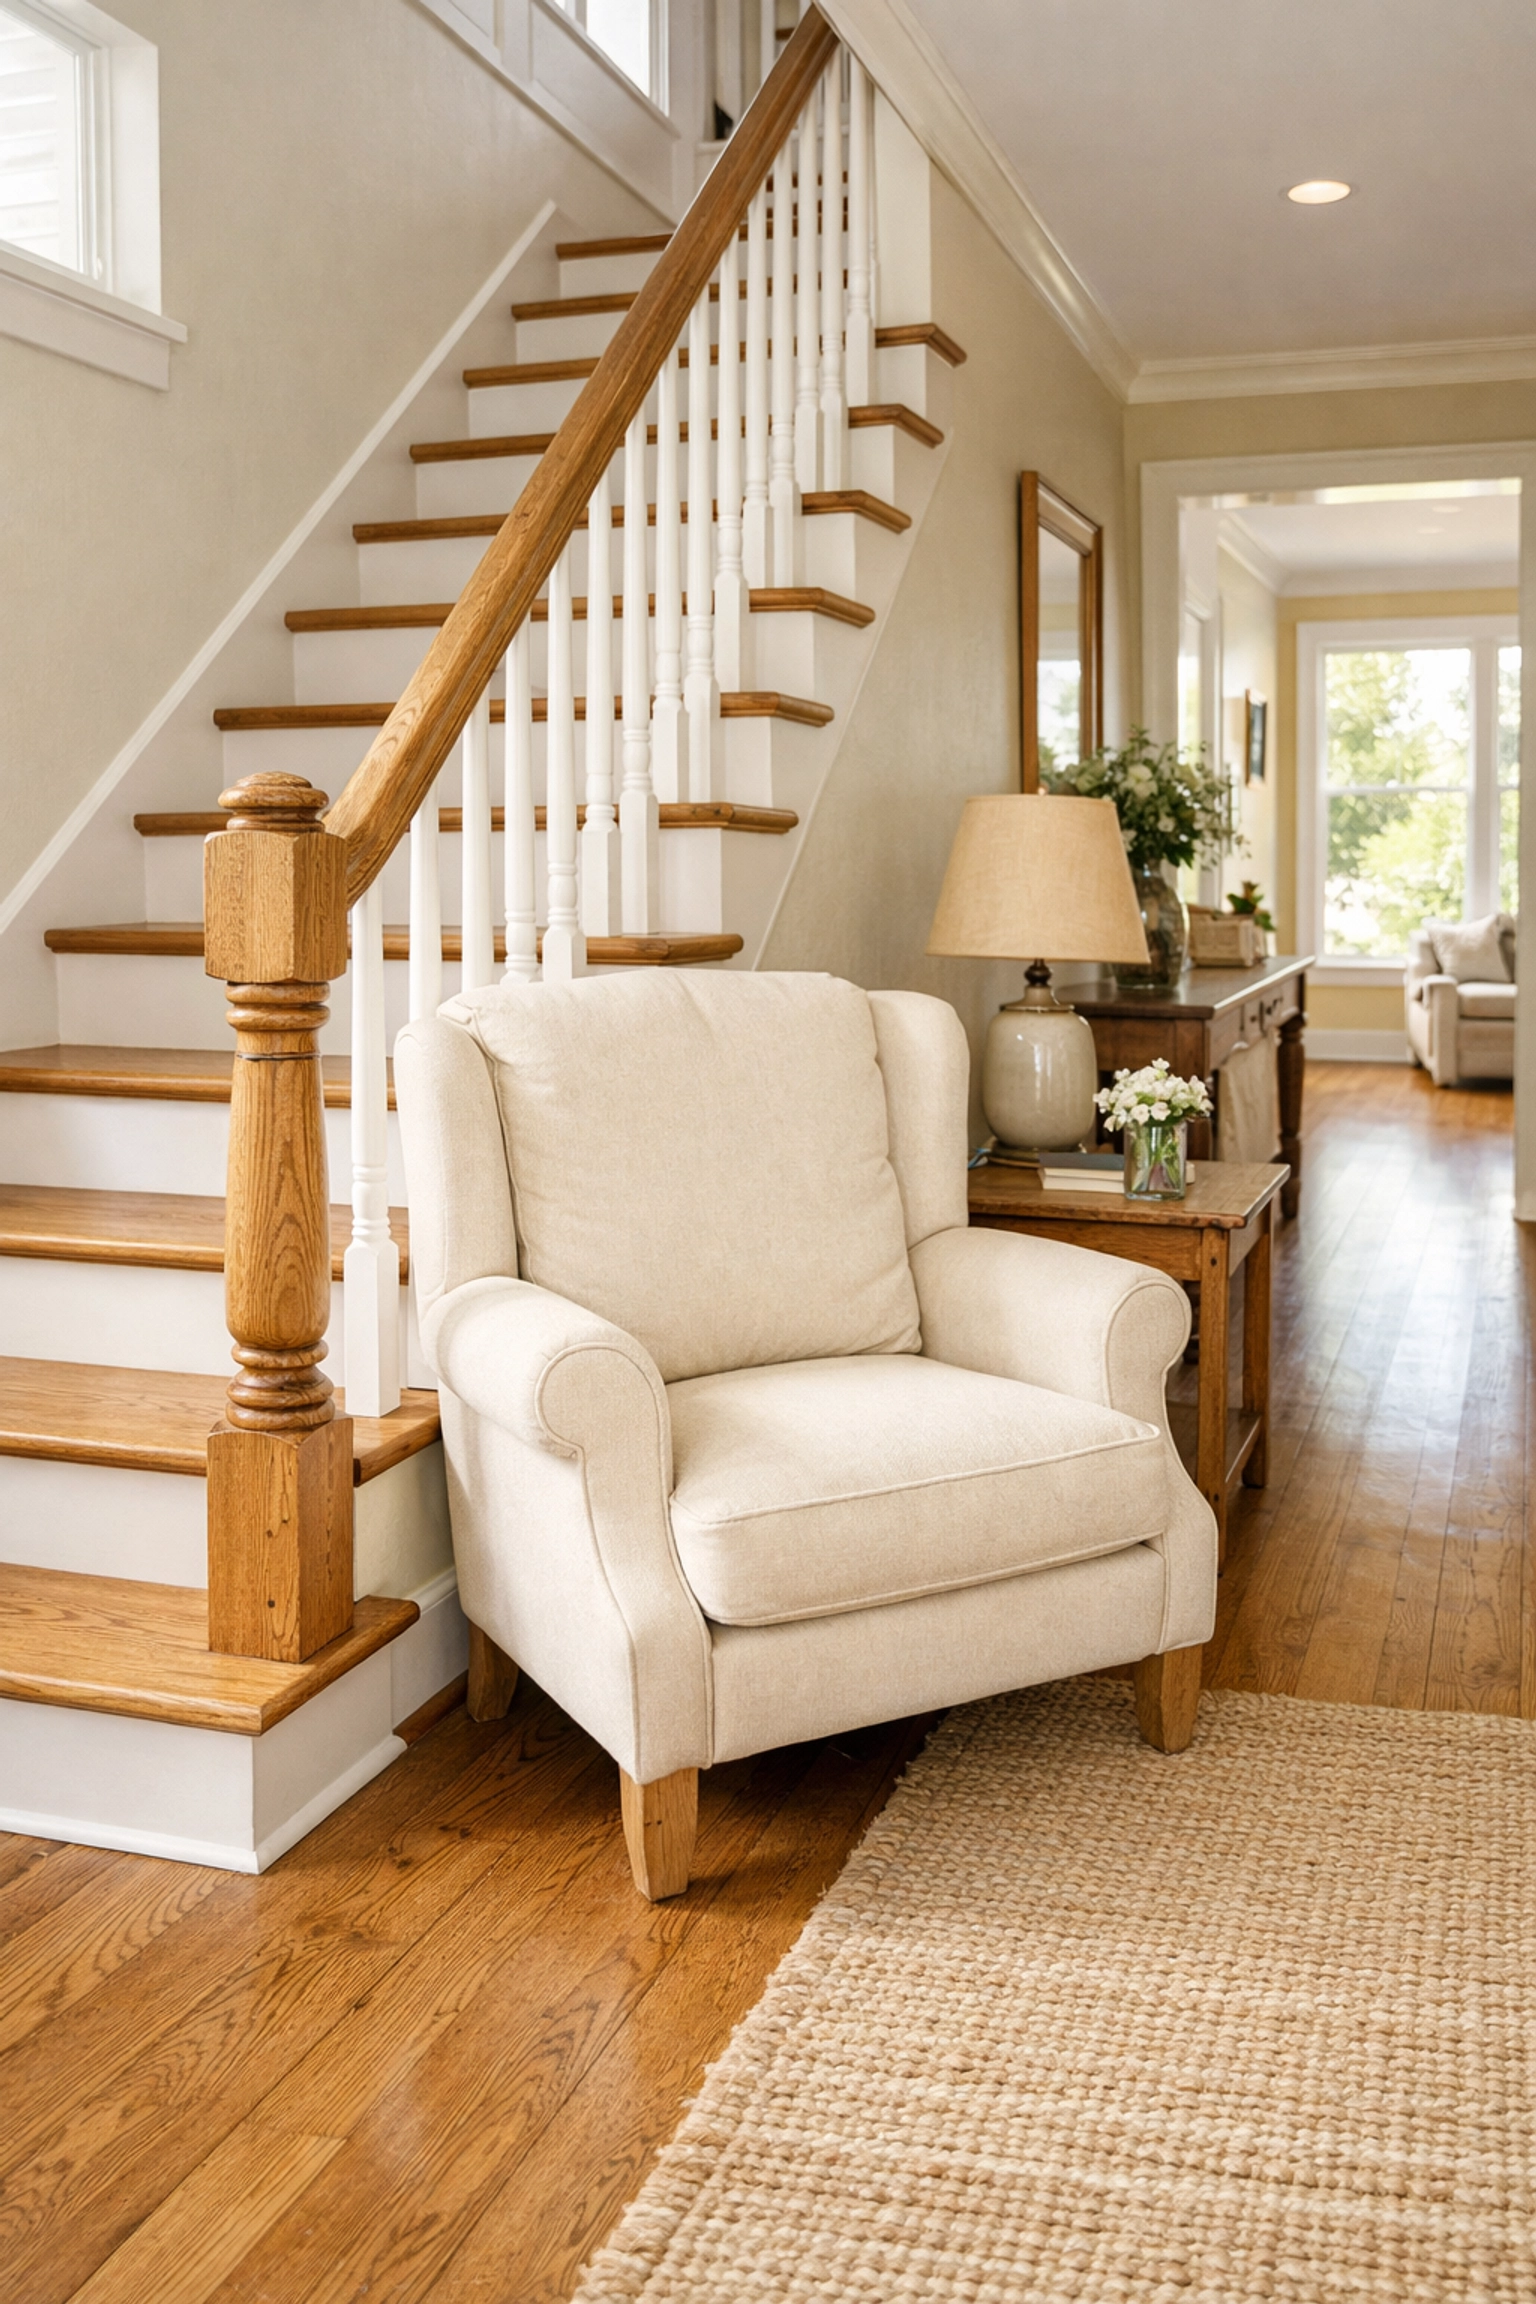
10. Lack of "Rest" Points
For a long flight of stairs, fatigue can set in halfway through. If you become winded or dizzy, and there is no place to pause safely, you are more likely to rush to get to the end, which is when accidents happen.
How to Fix It
If your staircase has a landing, make sure it is completely clear and well-lit. If you have a long, straight flight without a landing, ensure there is a sturdy chair at both the top and the bottom of the flight. Knowing there is a "safe harbor" at both ends can prevent the feeling of needing to rush.
Summary of Stair Safety Maintenance
Making stairs safer isn't usually about one big renovation; it's about a series of small, intentional adjustments. By addressing lighting, grip, and visibility, you turn a high-risk area into a manageable part of your home.
| Hazard | Immediate Fix | Long-term Solution |
|---|---|---|
| Poor Lighting | Plug-in motion lights | LED under-tread lighting |
| Short Handrails | Mark the end with bright tape | Install 12-inch extensions |
| Slippery Treads | Adhesive grip strips | Full-width stair runner |
| Visual Blending | High-contrast edge tape | Contrasting wood finishes |
| Loose Rails | Tighten existing screws | Re-anchor brackets into studs |
Stair safety is a journey of continuous improvement. By looking at your stairs with a critical eye and addressing these ten points, you can significantly improve the safety and comfort of your home for years to come. Remember, the goal is to feel confident with every step you take.

