For many seniors and their families, the bathroom is one of the most concerning areas of the home when it comes to fall prevention. It is a space defined by hard, slippery surfaces and tight maneuvers. The introduction of grab bars has saved countless lives, but there is often a hesitation to install them. Drilling into expensive tile or stone can feel permanent, messy, and intimidating.
This is where no-drill grab bars come into the picture. They offer a sense of relief: a way to add safety without a construction project. However, because these devices don’t rely on a physical bolt into a wall stud, the margin for error during installation and use is much smaller. If a traditional bar is installed slightly crooked, it might look off, but it will likely still hold. If a no-drill bar is installed incorrectly, it may fail exactly when you need it most.
Understanding the nuances of these tools is essential. Let’s walk through the seven most common mistakes people make with no-drill grab bar solutions and, more importantly, how you can fix them to ensure your home remains a safe haven.
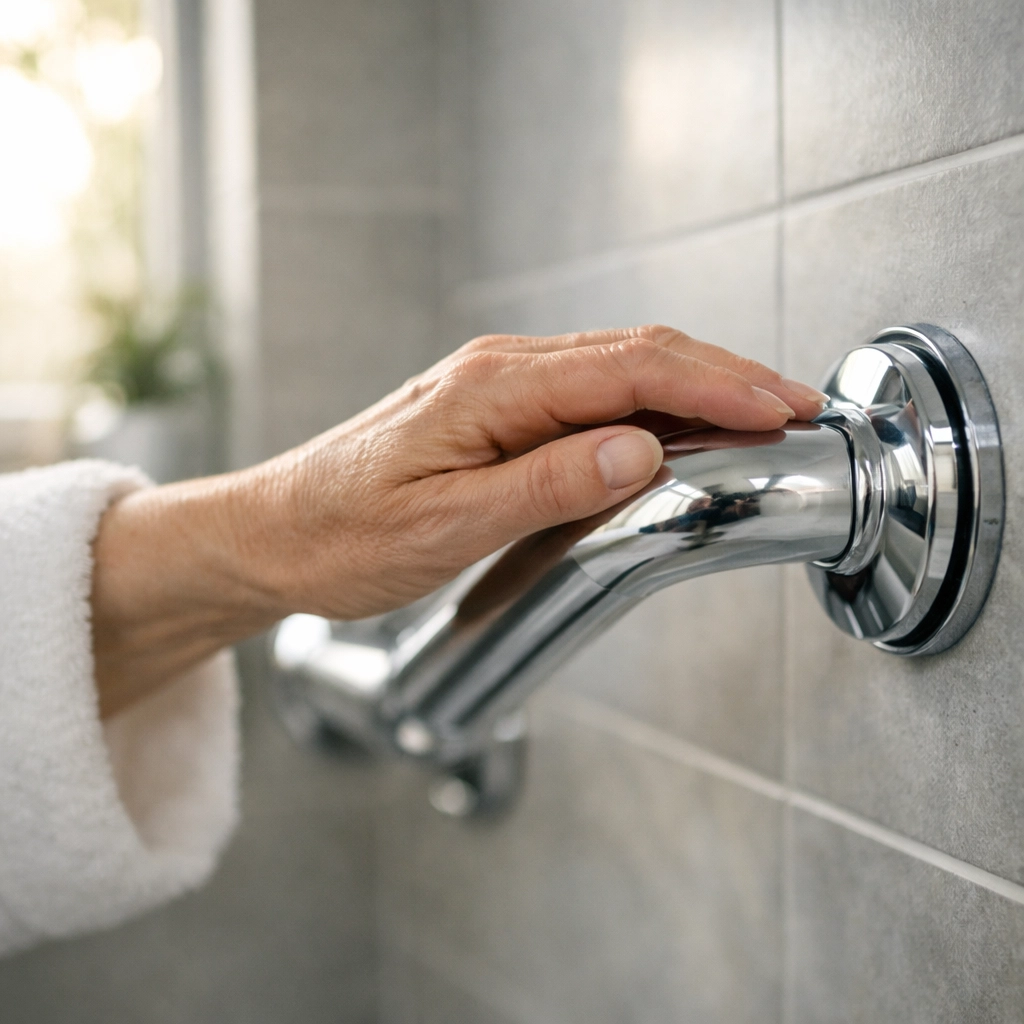
1. Confusing Suction Bars with Permanent Support
The most common mistake is assuming that a suction-cup grab bar is a permanent, weight-bearing solution. Suction bars are widely available and incredibly easy to "install," but they are fundamentally different from adhesive or tension-based no-drill systems.
Suction relies on a vacuum seal. Over time, that vacuum naturally equalizes with the air pressure outside. This means that even if the bar feels rock-solid today, it could slide or pop off tomorrow without any warning. These bars are primarily designed for "balance assistance": helping someone steady themselves while stepping over a threshold: rather than "weight-bearing support," which is needed to pull oneself up from a seated position.
The Fix: Use suction bars only for temporary travel or very light balance steadying. If you need a bar to support your full weight while rising from a shower chair, look toward high-strength adhesive systems or tension-mounted poles that provide a mechanical connection to the floor and ceiling.
2. Neglecting the "Rubbing Alcohol" Rule
When using adhesive-based no-drill bars, the bond is only as strong as the surface it is sticking to. Many people assume that a quick wipe with a damp towel or a generic bathroom cleaner is enough. This is a critical error.
Most bathroom cleaners leave behind a thin film of "slip" agents or scents. Furthermore, nearly every shower has an invisible layer of soap scum or body oils. If you apply a high-tech adhesive over a layer of soap scum, the bar isn't bonded to the wall; it’s bonded to the soap. When you pull on the bar, the soap layer shears off, and the bar comes with it.
The Fix: The only way to ensure a proper bond is to clean the area with 90% isopropyl (rubbing) alcohol. This strips away oils and residues without leaving its own film behind. Clean the area, let it dry for at least an hour to ensure no moisture is trapped in the microscopic pores of the tile, and then proceed with the installation.
3. Rushing the Curing Process
In our fast-paced world, we want solutions to work immediately. Many adhesive no-drill grab bars use a specialized structural glue or epoxy. The instructions often state that the bar needs to "cure" for 24 to 48 hours before any weight is applied.
Rushing this process is a recipe for failure. If you test the bar or use it to steady yourself just six hours after installation, you may break the chemical bonds as they are forming. Even if the bar doesn't fall off immediately, the structural integrity is compromised, and it will likely fail prematurely in the future.
The Fix: Plan ahead. Install the grab bar during a time when the shower won't be needed for a full two days. If necessary, use a different bathroom or arrange for a "sponge bath" day to ensure the adhesive reaches its maximum rated strength before it is touched.
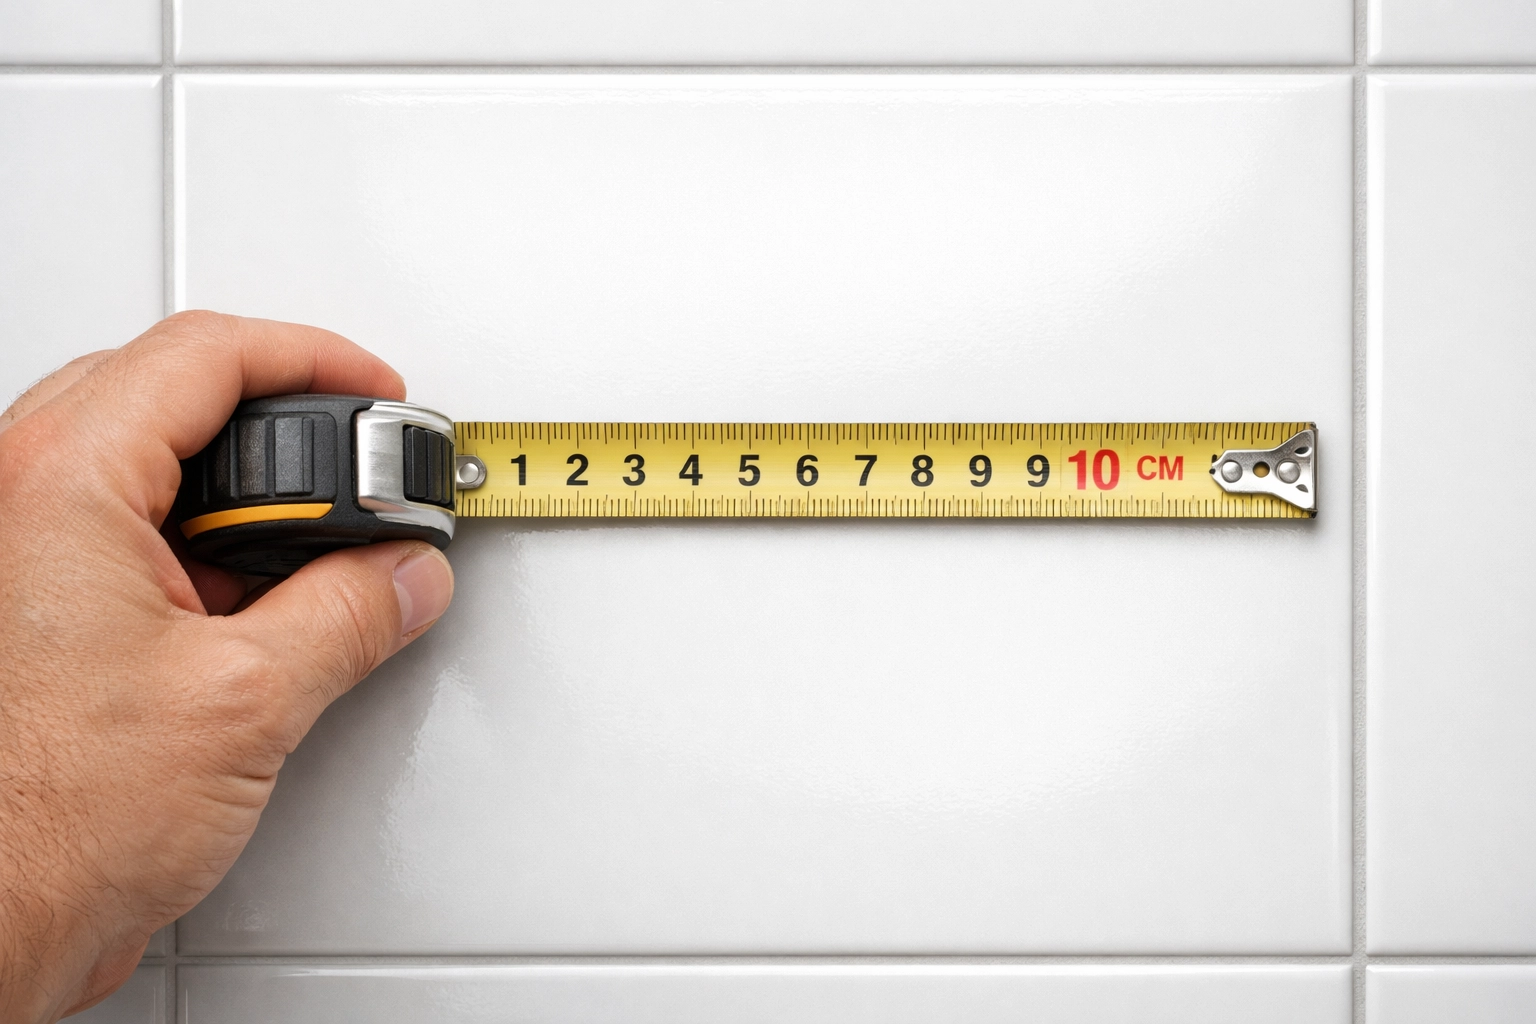
4. Installing Over Grout Lines
This is a physical impossibility that many people try to force. Whether you are using a suction bar or an adhesive-based disk, the mounting surface must be perfectly flat and non-porous.
Grout is porous and sits at a lower level than the tile. If a suction cup overlaps a grout line, air will slowly leak into the vacuum chamber, causing the bar to fall. If an adhesive disk overlaps a grout line, the glue may not fill the gap properly, creating a weak point where moisture can seep behind the adhesive and degrade the bond over time.
The Fix: Measure your tiles before buying a bar. If you have 4-inch tiles and the grab bar's mounting disks are 5 inches wide, that bar will not work safely in your shower. You must find a bar with mounting plates small enough to fit entirely within the boundaries of a single tile, or use a different type of no-drill solution like a floor-to-ceiling tension pole.
5. Using the Wrong Surface Material
No-drill grab bars are generally designed for smooth, glazed surfaces like ceramic tile, marble, or glass. They are almost never rated for use on painted drywall, wallpaper, or wood.
Drywall is essentially paper and chalk. If you stick a high-strength adhesive bar to a painted wall and then pull on it with 150 pounds of force, the adhesive will hold perfectly: but it will pull the paint and the paper layer of the drywall right off the wall. Similarly, many modern "textured" tiles or natural stone tiles have enough surface variation that a seal cannot be maintained.
The Fix: Always perform a "texture test." Run your hand over the surface. If you feel any bumps, ridges, or "sandiness," a no-drill bar is likely not safe. For these environments, a tension-mounted pole or a traditional bar installed into studs is the only responsible choice.
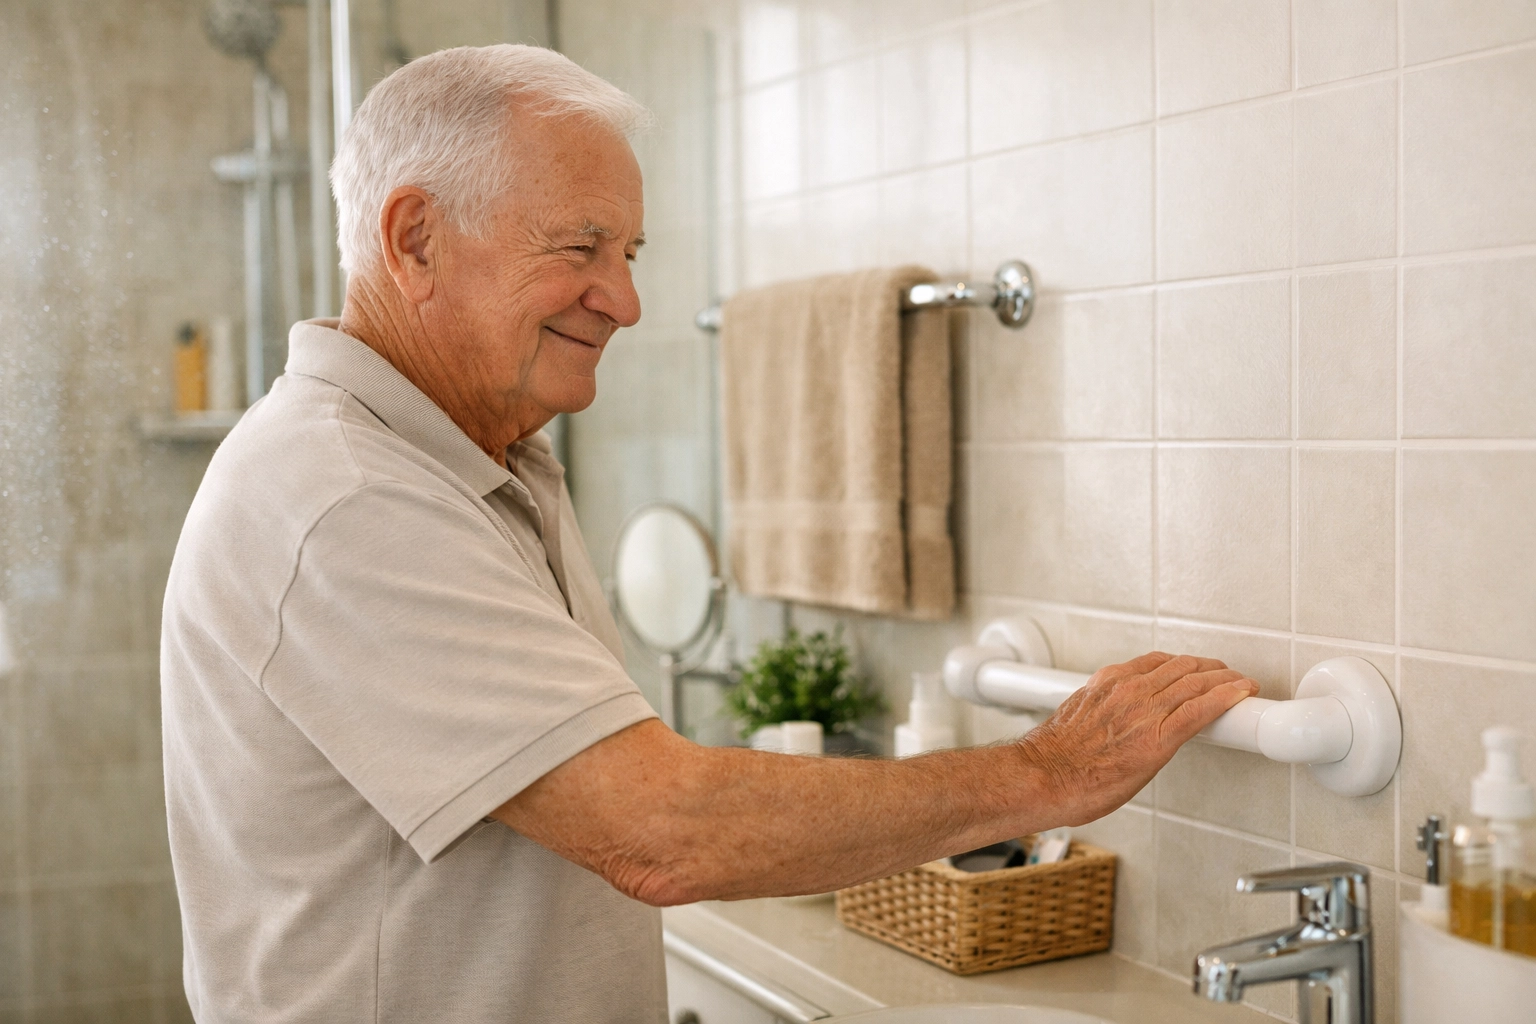
6. The "Set and Forget" Mentality
With a traditional grab bar bolted into the wood framing of a house, you rarely have to think about it again. No-drill bars require a different mindset. They are mechanical devices subject to environmental stress. Changes in temperature, humidity, and the natural settling of a home can affect the bond or the tension.
Many suction bars come with "red/green" safety indicators. A common mistake is ignoring these indicators once the bar is "up." People stop looking at them, assuming that because it stayed up yesterday, it’s fine today.
The Fix: Develop a habit of "the morning tug." Before you enter the shower or use the bar for support, give it a firm shake or pull in a safe direction. If there is any "give" or wiggle, do not use it. For suction bars, it is often recommended to remove and re-attach them every week to ensure the vacuum seal is fresh.
7. Misjudging the Weight Capacity and Direction of Force
Every mobility aid has a weight rating, but with no-drill bars, the direction of the force matters just as much as the amount of weight. Most no-drill bars are tested for downward pressure or a direct pull. However, they are often weakest when subjected to "shear force" (sliding sideways) or "rotational force" (twisting).
If you install a bar vertically but use it to pull yourself sideways, you are putting a different kind of stress on the adhesive or suction. Furthermore, many people ignore the weight limits, assuming "it feels strong enough."
The Fix: Read the fine print on the packaging. Know if the bar is rated for 250 pounds or 500 pounds. More importantly, understand how you move. If you tend to twist as you stand, ensure the bar is positioned to accommodate that movement. If you require significant assistance rising from a seated position, a floor-to-ceiling pole is often safer because it distributes the force between the floor and the ceiling, rather than relying on the surface tension of a single wall tile.
The Physical Therapist’s Perspective on Bathroom Safety
When we talk about grab bars, we are really talking about "environmental modification." From a clinical perspective, the goal is to reduce the "demand" of the environment to match the "capacity" of the individual.
If your leg strength has decreased, the "demand" of getting out of a bathtub increases. A grab bar lowers that demand by allowing your arm strength to assist. However, if the grab bar fails, the demand suddenly spikes to a level no one is prepared for. This is why the reliability of the bar is more important than the convenience of the installation.
Beyond the Bar: A Holistic Approach
While fixing these seven mistakes will make your no-drill bars much safer, they are only one piece of the puzzle. Consider these additional steps to round out your bathroom safety:
- Non-Slip Mats: Even the best grab bar won't help if your feet slide out from under you. Ensure the floor of the tub or shower has a high-traction surface.
- Adequate Lighting: Many falls happen at night. Ensure the path to the bathroom and the bathroom itself are well-lit with motion-sensor nightlights.
- Removing Obstacles: Clear away bath mats that don't have rubber backing, as these are major trip hazards.
- Professional Assessment: If you aren't sure which no-drill solution is right for you, a physical therapist or an occupational therapist can perform a home safety assessment. They can watch how you move and recommend the exact placement that will offer the most benefit.
Creating a Reassuring Environment
The transition to using mobility aids can sometimes feel like a loss of independence, but the reality is the opposite. By proactively installing safety measures like grab bars: and installing them correctly: you are securing your independence. You are ensuring that you can continue to use your home comfortably and safely without the fear of a sudden accident.
Taking the time to clean the tiles with alcohol, waiting the full 48 hours for the adhesive to dry, and checking the bar regularly isn't a sign of worry: it’s a sign of smart, empowered living. When you know your equipment is installed according to best practices, you can move with confidence.
Safety in the home doesn't have to mean a complete renovation. With the right knowledge and a bit of patience, no-drill solutions can provide the support you need, keeping your bathroom a place of relaxation rather than a place of risk.

