For many seniors, the stairs represent a significant hurdle in maintaining independence at home. As a caregiver, you want to ensure your loved one can move between floors with confidence, rather than fear. Falls on stairs are statistically more likely to result in serious injury compared to falls on level ground, simply because of the height and momentum involved.
Creating a safe environment doesn't require a total home renovation. By following a structured approach to stair safety, you can significantly reduce the risk of accidents and provide peace of mind for both yourself and your loved one. This guide walks through five essential steps to safe-proof any staircase, focusing on practical, actionable improvements.
Understanding the Risk: Why Stairs Matter
Before diving into the physical changes, it is helpful to understand why stairs become more dangerous as we age. Changes in depth perception, reduced muscle strength in the lower extremities, and neurological changes affecting balance all play a role. A staircase that felt perfectly safe ten years ago can become a maze of shadows and slippery surfaces today.
The goal of safe-proofing is to compensate for these physical changes. We want to maximize visibility, provide physical support, and ensure that every footfall is secure.
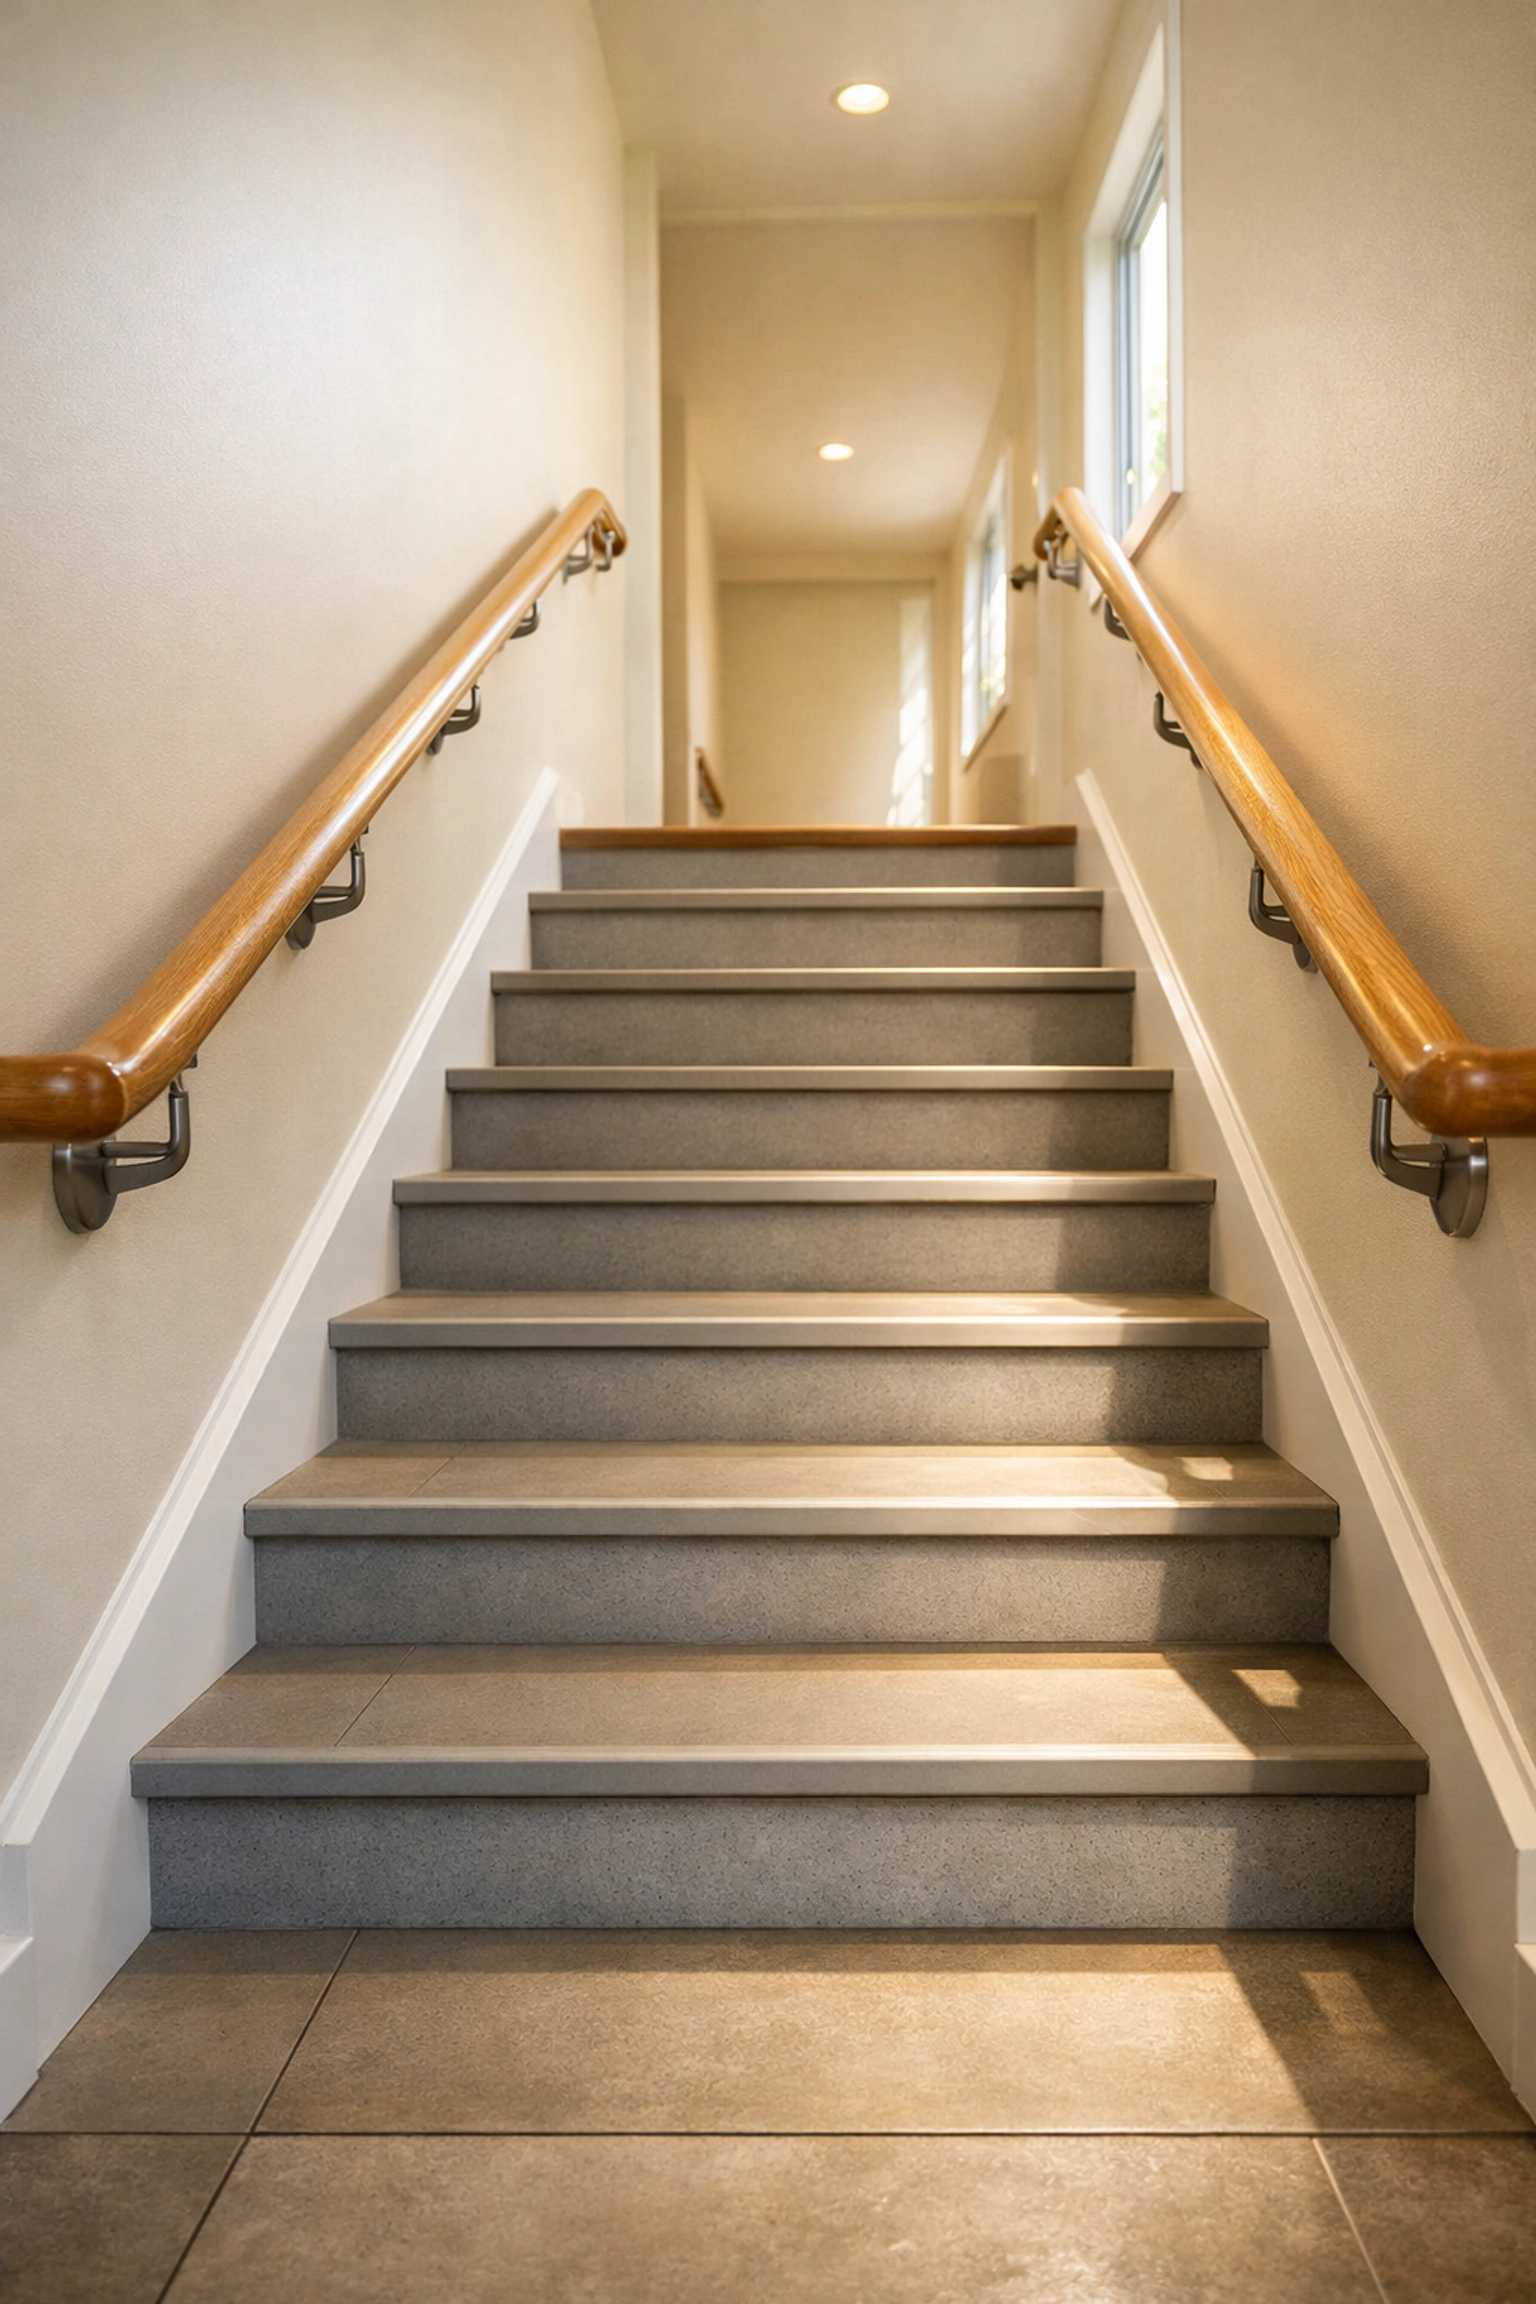
Step 1: Install Sturdy Handrails on Both Sides
The single most important physical modification you can make to a staircase is the installation of dual handrails. Many homes are built with a railing on only one side, often leaving the other side open or walled off.
Why Two Rails are Better Than One
Having a rail on both sides allows the user to use their dominant or stronger hand regardless of whether they are going up or down. For individuals who have experienced a stroke or have unilateral weakness (weakness on one side of the body), having a second rail is not just a convenience: it is a necessity. It allows them to "double up" their grip if they feel a moment of dizziness or instability.
Proper Placement and Grip
A handrail is only useful if it can be grasped properly. A "power grip," where the fingers and thumb can fully encircle the rail, is the gold standard for safety.
- Height: Handrails should generally be mounted between 30 and 36 inches above the stair nosing (the edge of the step). This height allows the arm to remain slightly bent, providing the most leverage.
- Extension: Ensure the railing extends at least 12 inches beyond the top and bottom steps. This allows the person to steady themselves before they take the first step and after they have cleared the last one.
- Stability: Check the brackets regularly. If the rail wiggles even slightly, it needs to be tightened or remounted into a wall stud.
Step 2: Brighten the Path (Lighting Strategy)
Shadows are a major enemy of stair safety. If a senior cannot clearly see where one step ends and the next begins, they are forced to guess, which leads to missteps.
Eliminating Shadows
Standard overhead lighting often casts shadows from the person walking down the stairs, obscuring the steps below them. To fix this, consider layered lighting.
- Dual Switches: Ensure there are light switches at both the top and the bottom of the stairs. No one should ever have to navigate stairs in the dark to reach a switch.
- High-Lumen Bulbs: Use "daylight" or "cool white" LED bulbs. These provide a crisp light that improves contrast, making the edges of steps easier to see.
- Motion-Activated Nightlights: For nighttime trips, plug-in motion sensors are invaluable. Place these at the floor level near the top and bottom landings. There are even battery-operated LED strips that can be placed under the lip of each step to illuminate the entire flight.
Reducing Glare
While we want things bright, we don't want them blinding. Highly polished wood or tile can reflect light in a way that creates glare, masking the actual shape of the stairs. If glare is an issue, consider using matte-finish light covers or repositioning bulbs to provide indirect light.
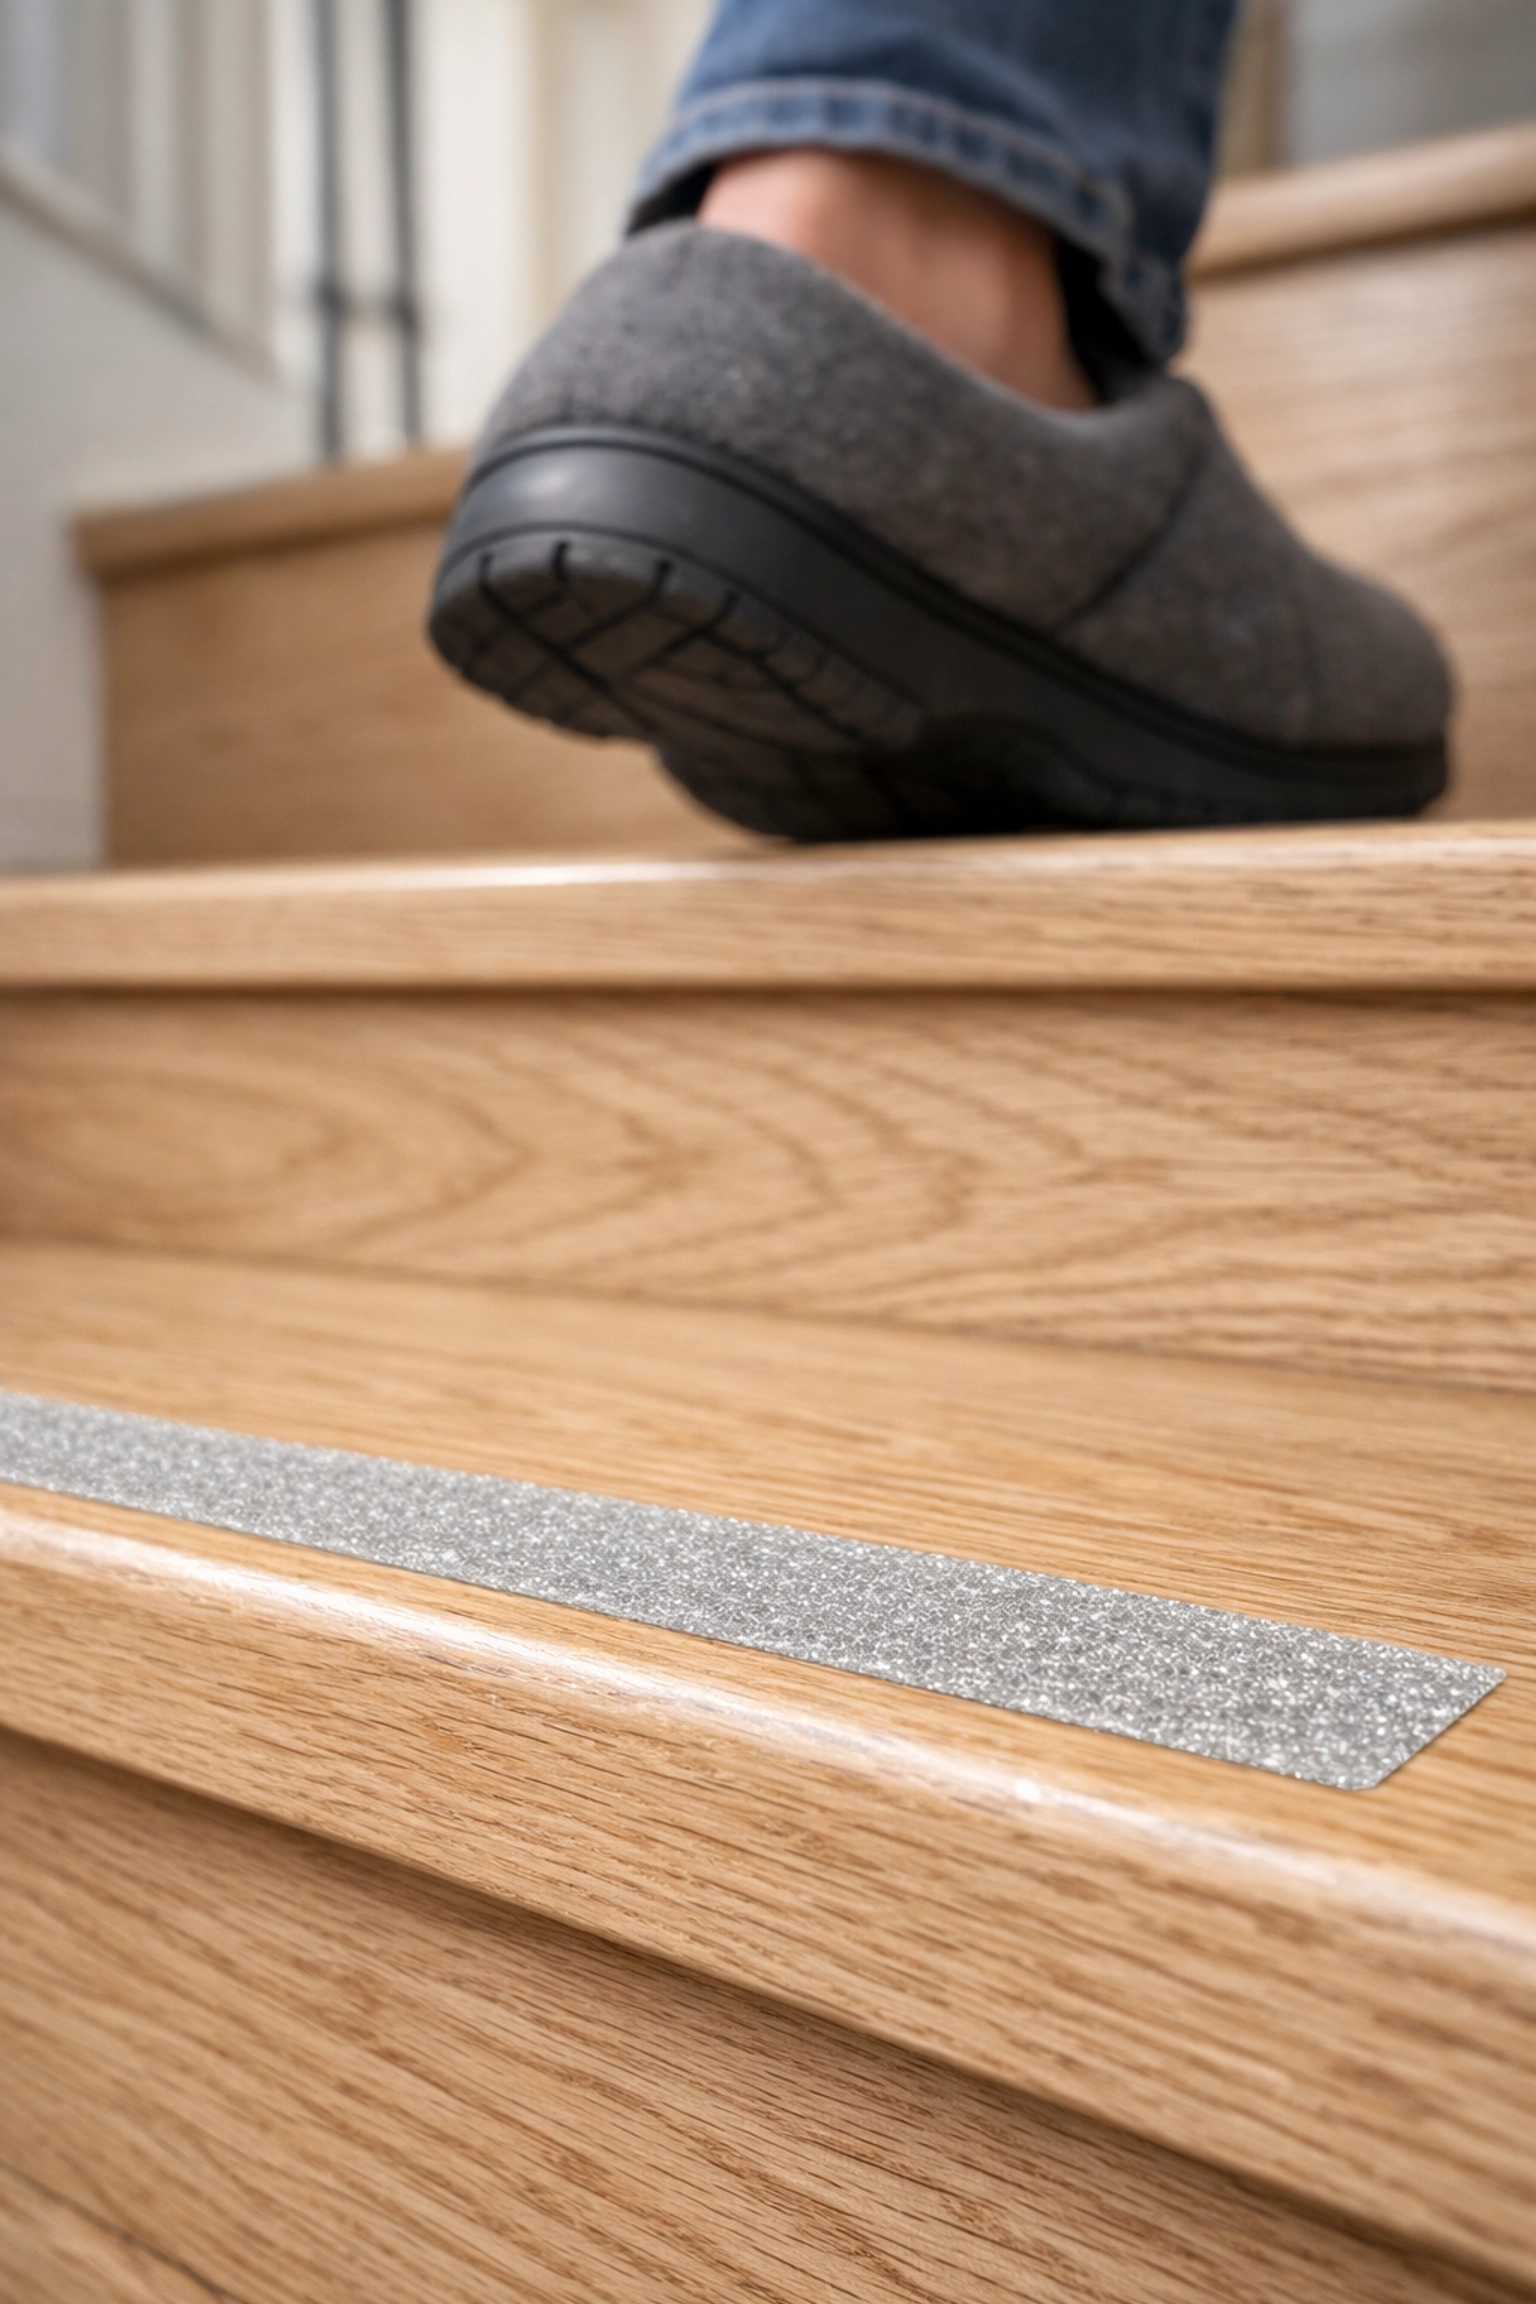
Step 3: Enhance Grip and Traction
The surface of the stairs determines how much "bite" a shoe or foot has. Hardwood, polished stone, and even certain types of tile are notoriously slippery, especially when wearing socks or smooth-soled slippers.
Non-Slip Solutions
There are several ways to increase traction without ruining the aesthetic of the home:
- Anti-Slip Adhesive Strips: These are clear or colored tapes with a gritty texture. Placing a strip along the edge of each step provides immediate grip.
- Rubber Stair Treads: For a more heavy-duty solution, rubber treads can be adhered to the surface. These are excellent for basement or outdoor stairs.
- Low-Pile Carpet: If the stairs are carpeted, ensure the pile is very low. Shag or thick carpeting can actually increase fall risk because it hides the edge of the step and makes the surface "squishy," reducing the foot’s ability to feel the solid ground. Ensure the carpet is tightly tacked down and has no loose edges.
Footwear Awareness
Safety isn't just about the stairs; it's about what touches them. Encourage your loved one to avoid walking in stocking feet. House shoes with non-skid rubber soles and a closed back (not slip-ons) provide the best stability.
Step 4: Eliminate Clutter and Visual Obstacles
It sounds simple, but the "stair basket" or the habit of leaving shoes on the bottom step is a primary cause of tripping. As a caregiver, maintaining a strict "no items on stairs" policy is vital.
Creating Staging Areas
To prevent items from accumulating on the steps, place a small table or a designated "upstairs/downstairs" bin at the top and bottom of the flight. If something needs to go up, it goes in the bin: not on the step.
Visual Contrast
Sometimes the steps are clear of clutter, but the eyes still struggle to distinguish the edge of the tread from the riser. This is particularly common with uniform wood or monochromatic carpeting.
- Contrast Strips: You can use a strip of paint or a colored adhesive tape on the "nosing" (the very edge) of each step. If the stairs are dark wood, use a white or light gray strip. This creates a clear visual "stop" sign for the eye, indicating exactly where to place the foot.
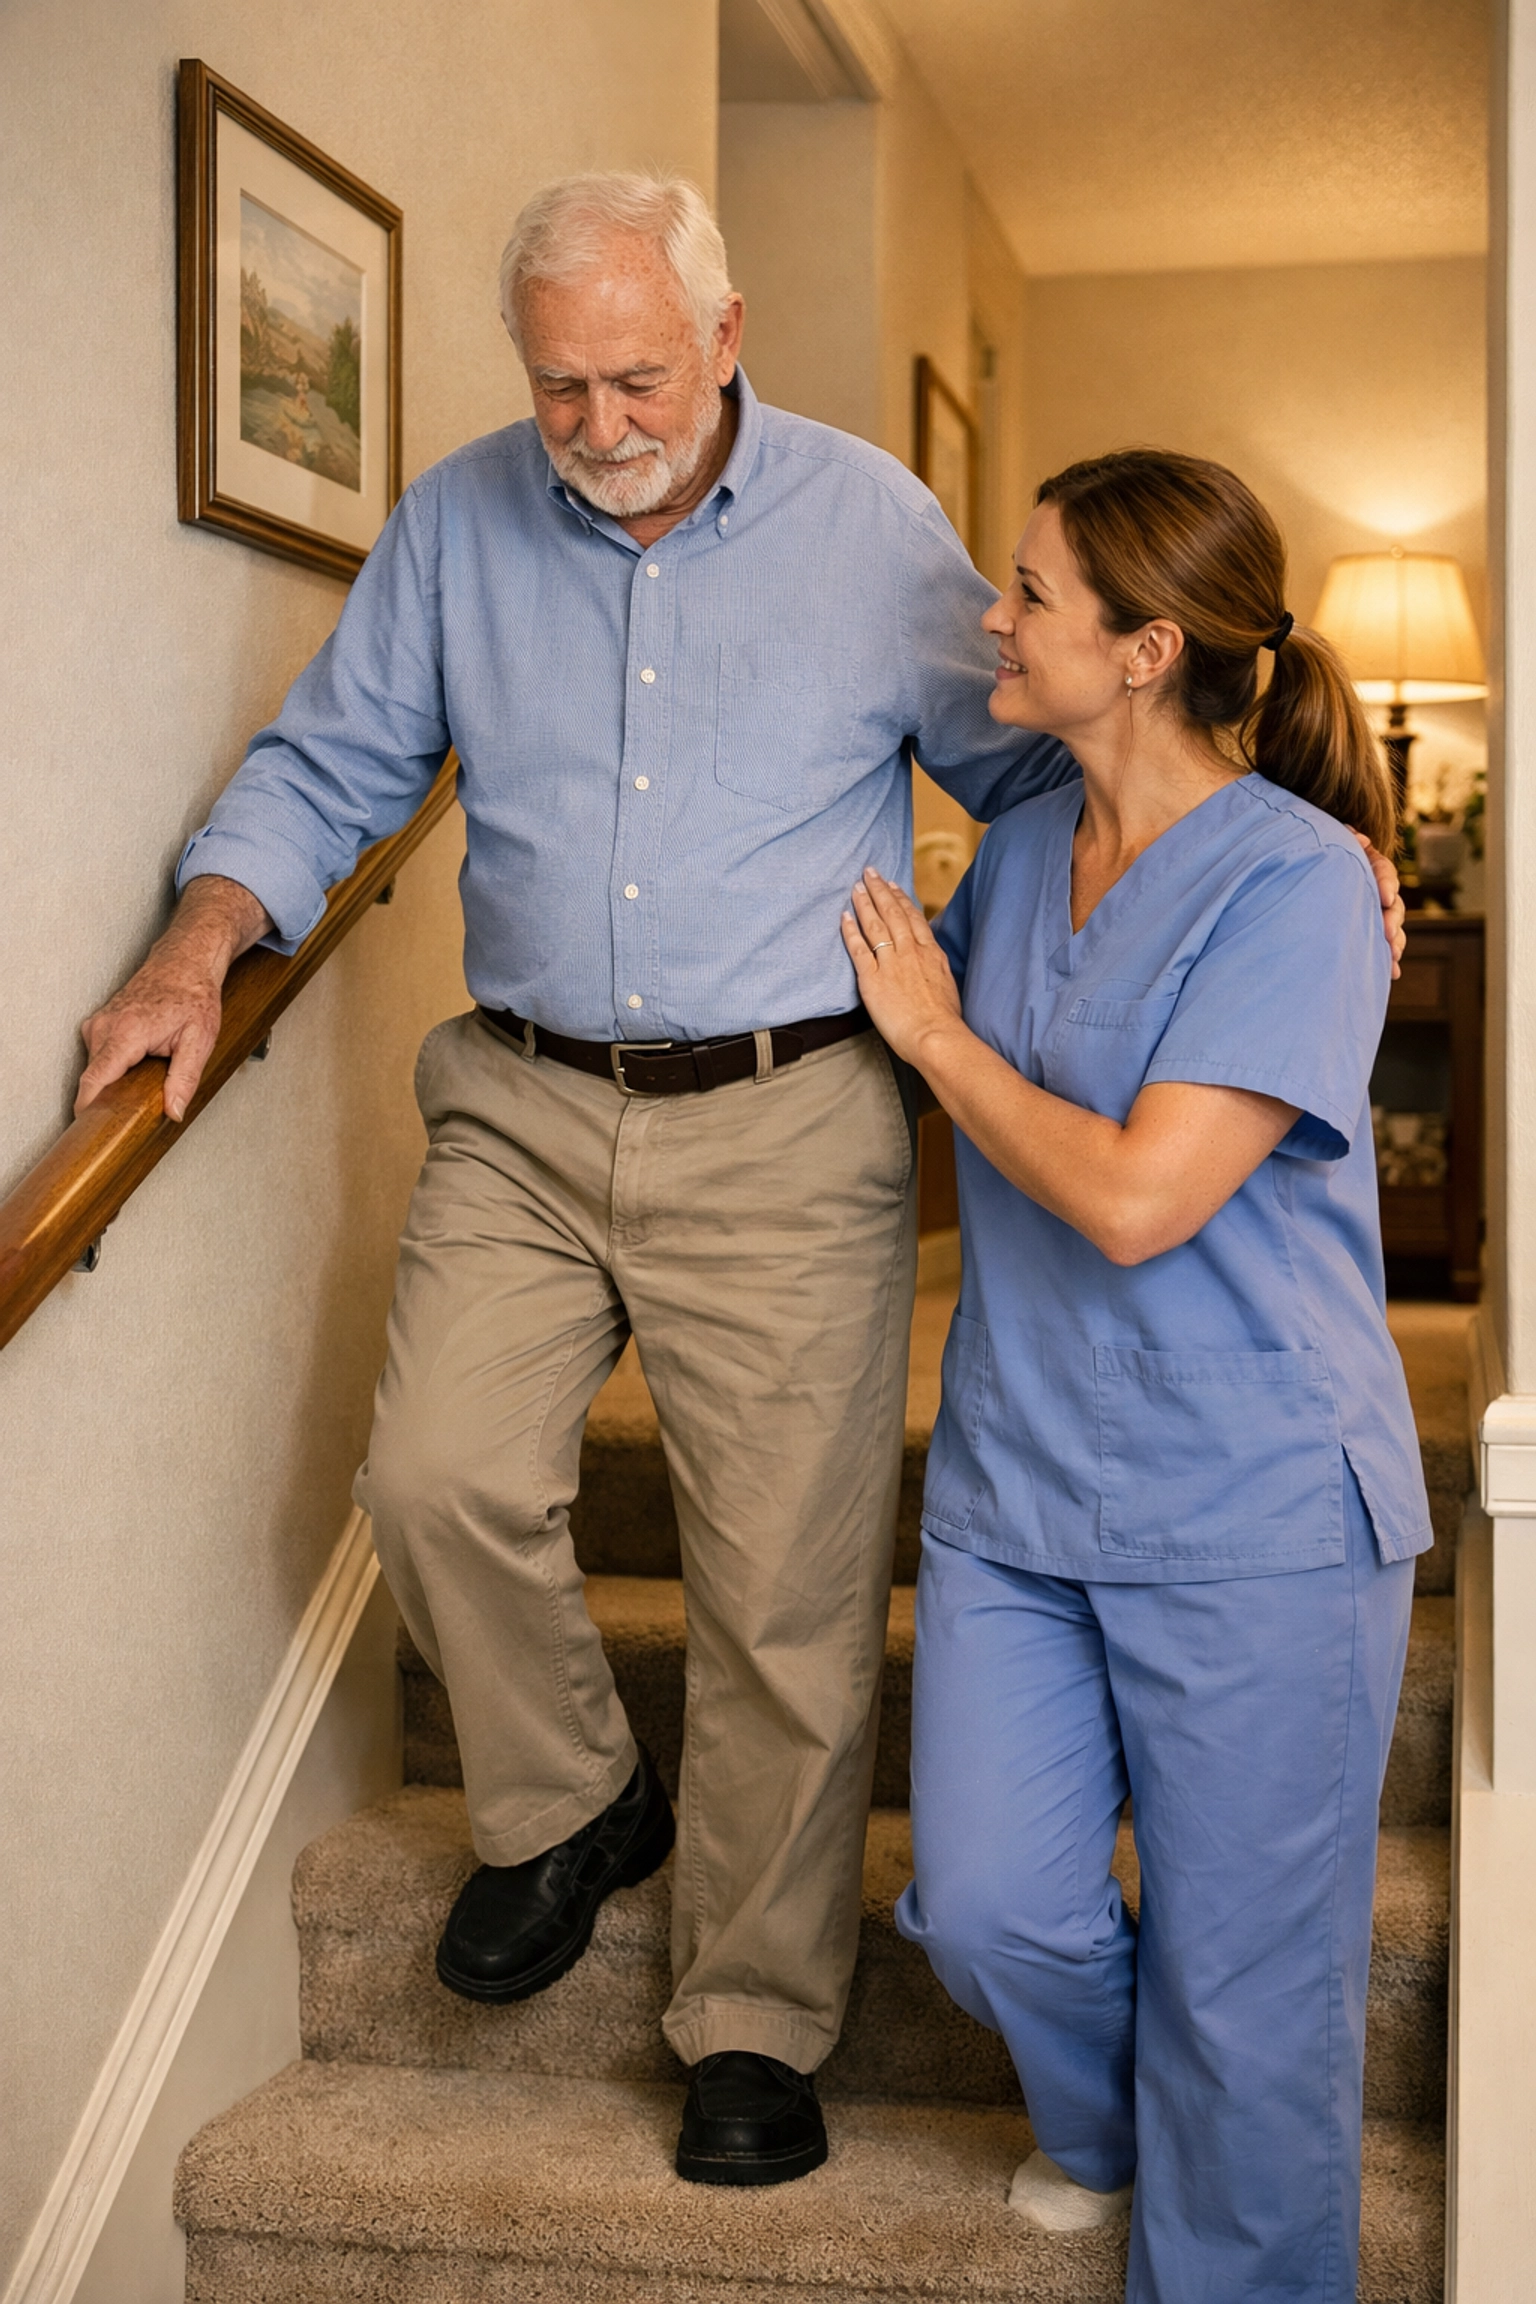
Step 5: Master the Art of Assistance
Physical modifications are only half the battle. How a senior moves and how you assist them also plays a huge role in prevention.
The "Up with the Good, Down with the Bad" Rule
Physical therapists often use this mnemonic to help patients remember which leg to lead with.
- Going Up: Lead with the stronger ("good") leg. The stronger leg does the work of lifting the body weight.
- Going Down: Lead with the weaker ("bad") leg. This allows the stronger leg to stay on the higher step, controlling the descent and acting as a brake.
Proper Guarding Technique
If you are assisting your loved one, positioning is key.
- When they go up: Stand behind and slightly to the side of them. If they lose balance backward, you are there to provide a physical block.
- When they go down: Stand in front of them, one or two steps lower, moving backward as they descend. This allows you to catch them if they trip forward.
- Avoid Pulling: Never pull on their arm or hand. This can actually pull them off balance. Instead, provide a steadying hand on their hip or upper back if they are wearing a gait belt.
Beyond the Steps: Routine Maintenance
Safety is not a "set it and forget it" task. Homes settle, screws loosen, and habits change. Establish a monthly "safety sweep" where you check the following:
- Check the Rails: Give them a firm shake. If they move, tighten the brackets.
- Check the Lighting: Replace any flickering or burnt-out bulbs immediately.
- Inspect the Surfaces: Look for peeling adhesive strips or loose carpet edges.
- Assess the Landing: Ensure the area at the top and bottom of the stairs is also clear of throw rugs, which are notorious for sliding.
When Stairs Are No Longer Safe
Even with all these modifications, there may come a time when the physical toll of climbing stairs is too great. It is important to monitor for signs of "stair avoidance." If your loved one starts skipping meals because they don't want to go down to the kitchen, or if they stop bathing because the shower is upstairs, it may be time to discuss more significant changes.
In these cases, transitioning to single-level living (moving the bedroom to the first floor) or installing a mechanical stairlift may be the best path forward. Safety isn't just about preventing a fall; it's about ensuring that the home remains a place of comfort and accessibility.
Final Thoughts for the Caregiver
Safe-proofing stairs is a journey of small, manageable changes that add up to a major increase in safety. By focusing on the "Five Steps": Handrails, Lighting, Traction, Clutter-Free Paths, and Technique: you are building a foundation of confidence for your loved one.
Remember that your presence and encouragement are just as important as the physical rails you install. A calm, unhurried approach to using the stairs can prevent the "rushing" that often leads to accidents. Take it one step at a time, and don't hesitate to consult with a physical therapist for a professional home safety assessment if you have specific concerns about your loved one's mobility.

