Let's talk about something that might feel uncomfortable but is absolutely essential: knowing how to get up safely after a fall. If you've fallen before, you know that panic-stricken moment when you're on the floor wondering what to do next. And if you haven't fallen yet, preparing yourself with this knowledge now could make all the difference later.
Here's the reality: falls happen. Even with the best prevention strategies in place, there's always a chance. But what many people don't realize is that lying on the floor for extended periods after a fall can be just as dangerous as the fall itself. Prolonged immobility can lead to pressure sores, dehydration, hypothermia, and pneumonia. That's why having a practiced, step-by-step plan for getting up is crucial.
Why Practice Matters More Than You Think
You might be wondering why you need to practice getting up from the floor when you haven't fallen. Think of it like a fire drill. You don't wait until there's an actual emergency to figure out the evacuation route. The same principle applies here.
When you practice these movements regularly, your body develops muscle memory. If you do fall, you won't have to think through each step while you're potentially injured, scared, or disoriented. Your body will know what to do. Plus, regular practice builds the strength and flexibility you need to execute these movements safely.
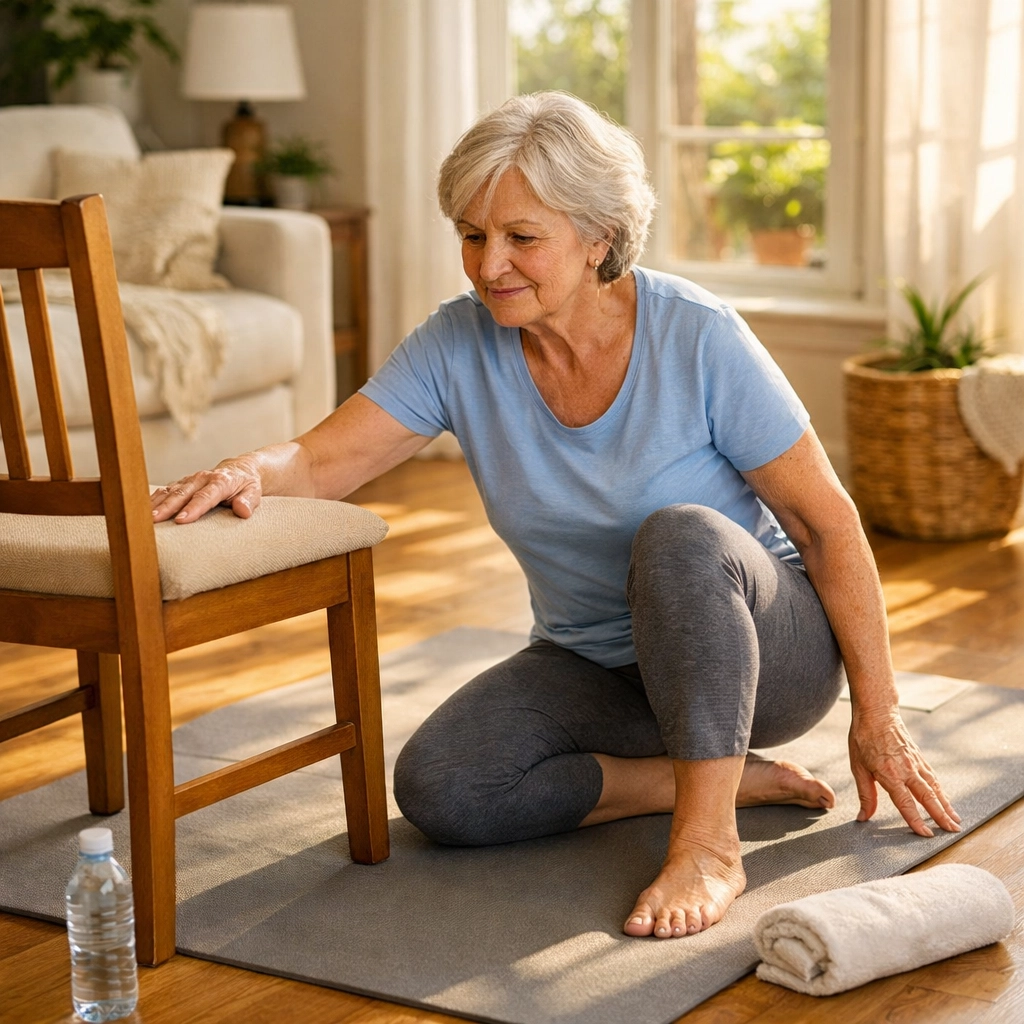
Many physical therapists recommend practicing fall recovery techniques at least once a week. Pick a time when you have assistance nearby, use a soft surface like a yoga mat or carpeted area, and go through the motions slowly and deliberately.
Assessing the Situation First
Before you start moving, take a moment. Yes, even if you're uncomfortable on the floor. This assessment period is critical.
Ask yourself these questions:
- Are you injured? Do a mental scan of your body. Can you move your fingers and toes? Is anything painful?
- Are you bleeding?
- Did you hit your head?
- Do you feel dizzy or confused?
- Is your breathing normal?
If you're seriously injured, in severe pain, or suspect you've broken a bone, don't try to get up. Call for help immediately using your medical alert device, phone, or by calling out to someone nearby.
If you've hit your head or feel disoriented, it's also best to call for assistance. A medical professional should evaluate you before you move.
But if you've determined you're okay and just need to get back on your feet, it's time to use the sequential method.
The Sequential Method: Your Step-by-Step Guide
The sequential method is the most widely taught fall recovery technique. It guides you through a series of positions that gradually bring you from lying down to standing, using stable support along the way.
Step One: Roll to Your Side
From wherever you've landed, your first goal is to roll onto your side. If you're on your back, roll toward your stronger side if you have one.
Bend your knees slightly and turn your head in the direction you want to roll. Use your arms to help push yourself over. Once on your side, rest for a moment. There's no rush.
Step Two: Move to Side-Sitting
From your side-lying position, push yourself up using your upper arm while your lower arm supports your weight. You're aiming for a side-sitting position where both legs are pointing to the same side with your knees bent.
Your bottom leg should be extended somewhat, while your top leg is bent. Use both hands on the floor behind you for support. Take a few breaths here. This position gives you stability while you prepare for the next movement.

Step Three: Get on Hands and Knees
This is where you transition to a more mobile position. From side-sitting, lean forward and place both hands on the floor in front of you. Shift your weight forward onto your hands and bring one knee up, then the other, until you're on all fours.
This crawling position might feel vulnerable, but it's actually quite stable and gives you the mobility to reach support if it's not immediately beside you.
If being on your bare knees is uncomfortable, this is where having that yoga mat or towel helps. Don't let discomfort prevent you from practicing.
Step Four: Crawl to Support
Look around and identify the sturdiest piece of furniture near you. You need something that won't tip or roll: a heavy chair, a couch, a bed frame, or a sturdy coffee table. Avoid wheeled furniture, lightweight chairs, or anything unstable.
Crawl slowly toward this support. Take your time and don't rush. If you feel tired, rest in the crawling position until you're ready to continue.
Step Five: Progress to High Kneel
Once you're at your support surface, place both hands on top of it. Using your arms and core strength, push yourself up so that you're kneeling upright with just your knees on the floor. This is called high kneeling.
Keep both hands on the support surface for stability. Your back should be straight, and you should feel balanced. Rest here for a moment and catch your breath.

Step Six: Move to Half-Kneeling
Now bring one foot forward so it's flat on the floor while your other knee remains on the ground. This is half-kneeling position. Your front knee should be bent at about 90 degrees.
Choose your stronger leg to bring forward first if you have a preference. Keep your hands on the support surface throughout this movement.
This position is like being at the starting line of a race: you're coiled and ready to push up.
Step Seven: Stand Up
This is the final push. Using the support surface and pushing through your front leg, rise to standing. Bring your back leg forward as you stand.
Don't let go of the support immediately. Stand there holding on until you feel stable and balanced. There's no prize for speed here.
Once you're confident in your balance, you can carefully let go of the support, but stay close to stable surfaces as you move around.
The Backward Chaining Alternative
There's another approach called backward chaining that some physical therapists prefer, especially when teaching these skills. Instead of starting from the floor and working up, you start from standing and work your way down, essentially doing the sequence in reverse.
Why would you practice it backward? Because it allows you to master each position before moving to the more challenging one. You get comfortable with the final positions first, then work your way to the beginning.
Start by practicing just the last step: pushing up from half-kneeling to standing. Once that feels secure, add the previous step, and so on. This builds confidence gradually and can be less intimidating than trying to execute the entire sequence at once.
Many people find that practicing both directions: up and down: gives them the most confidence and body awareness.
Important Safety Considerations
Take Your Time
This isn't a race. Each position should be held until you feel stable and ready to move to the next. If you're practicing, spend extra time in each position to really understand how it feels and what muscles you're using.
If you've actually fallen, adrenaline might make you want to get up quickly. Resist this urge. Moving slowly and methodically reduces your risk of re-falling or aggravating an injury.
Don't Practice Alone
When you're practicing these techniques, always have someone nearby. They shouldn't help you unless you ask, but they should be there to assist if you need it or to call for help if something goes wrong.
Consider Your Clothing
Practice in the clothes you typically wear around the house. If you usually wear slippery socks or smooth-soled slippers, you need to know how that affects your ability to get up. You might discover that you need footwear with better traction.
Listen to Your Body
If any position causes pain beyond mild discomfort, stop. Some positions might feel awkward or challenging, but they shouldn't hurt. Pain is your body's warning system: pay attention to it.

Building the Strength You Need
Having the technique down is only part of the equation. You also need the physical strength and endurance to execute these movements, especially if you're on the floor for more than a few minutes.
Exercises to Practice Regularly
Seated Knee Extensions: Sit in a sturdy chair and straighten one leg, holding it parallel to the floor for five seconds. Lower it slowly. Do this ten times on each leg. This builds quadriceps strength, which you need for that final push from half-kneeling to standing.
Calf and Toe Raises: While holding onto a counter or sturdy chair back, rise up onto your tiptoes, then lower back down. Then rock back onto your heels, lifting your toes. Do ten repetitions. This improves ankle strength and balance.
Core Strengthening: Your core muscles are engaged throughout the entire getting-up process. Simple exercises like pelvic tilts, bridges, and modified planks (on your knees) can make a huge difference.
Balance Work: Practice standing on one foot while holding support, gradually increasing the time you can balance. Better balance means you're less likely to fall in the first place.
The CDC recommends doing strength and balance exercises three times per week. Consistency matters more than intensity.
When to Call for Help Instead
There are situations where attempting to get up on your own isn't the right choice:
- You suspect a broken bone or serious injury
- You're experiencing chest pain or difficulty breathing
- You hit your head and feel confused or dizzy
- You've been on the floor for more than 20-30 minutes and feel weak
- You've tried to get up and failed multiple times
- You're in severe pain
In these cases, use your medical alert system or phone to call for emergency assistance. Don't let pride or embarrassment prevent you from getting the help you need.
Making Your Home Fall-Recovery Friendly
As you practice these techniques, you'll start noticing which furniture is actually stable enough to use as support. Consider arranging your most-used rooms so that stable support is always within crawling distance.
Keep a phone accessible at floor level in each room: not just on counters or tables. A cordless phone that you could reach from the floor could be lifesaving.
If you use a medical alert device, wear it consistently. The most advanced system won't help if it's sitting on your nightstand when you fall in the bathroom.
Building Confidence, Not Fear
Learning fall recovery techniques isn't about expecting the worst. It's about being prepared. Just like learning CPR doesn't mean you expect everyone around you to have a heart attack, learning to get up from a fall doesn't mean you expect to fall constantly.
What it does mean is that if a fall happens, you have a plan. You know what to do. That knowledge reduces panic and increases your chances of a safe, independent recovery.
Practice these techniques regularly, maintain your strength through exercise, and continue working on fall prevention strategies. The combination of prevention and preparedness gives you the best possible outcome.
And remember: there's no shame in calling for help when you need it. The goal isn't to prove you can do everything alone. The goal is to stay safe, healthy, and confident in your ability to handle whatever comes your way.

