Here's something most people don't think about until it's too late: knowing how to get up after a fall can be just as important as preventing the fall itself.
Falls happen. Even with the best prevention strategies in place, statistics show that one in four adults over 65 experiences a fall each year. But here's the good news: being unable to get up after a fall often causes more harm than the fall itself. Lying on the floor for extended periods increases the risk of dehydration, pressure sores, hypothermia, and pneumonia. It also creates significant psychological fear that can lead to reduced activity and loss of independence.
That's why practicing a safe method to get up after a fall is one of the most practical things any senior can do right now. Think of it like a fire drill: you hope you'll never need it, but if the moment comes, muscle memory takes over.
Why Practice Before You Actually Need It
The worst time to learn how to get up from the floor is immediately after you've fallen and potentially injured yourself. When you're shaken, possibly hurt, and your adrenaline is pumping, clear thinking becomes difficult.
Practicing these steps when you're calm and uninjured serves several purposes. First, it builds the physical strength and flexibility needed to execute the movements. Second, it creates muscle memory so your body knows what to do even when your mind is stressed. Third, it helps you identify which furniture in your home makes the best support points. And finally, it builds confidence that significantly reduces the fear of falling that plagues many seniors.
The method we're about to walk through has been developed and refined by physical therapists specifically for older adults. It's designed to minimize strain on joints, reduce injury risk, and work for people with varying levels of strength and mobility.

Step 1: Pause and Assess
After a fall, your first instinct might be to jump up quickly out of embarrassment or fear. Resist this urge.
Stay still for at least 30 seconds and take several deep breaths. This pause serves multiple purposes. It allows your blood pressure to stabilize, gives your body time to register any pain or injury, and lets the initial shock wear off so you can think clearly.
During this pause, do a mental scan of your body. Move your fingers and toes. Gently move your arms and legs. Are you experiencing sharp pain anywhere? Did you hit your head? Do you feel dizzy or disoriented? If you notice severe pain, inability to move a limb, or signs of head injury, don't attempt to get up on your own. Call for help instead.
If you determine you're not seriously injured, take a moment to look around. Where's the nearest sturdy piece of furniture? A heavy chair, a couch, or a sturdy table will work. This will be your target destination.
Step 2: Roll Onto Your Side
Once you've assessed that you're able to move, the next step is to roll onto your side. This position is more stable than lying on your back and sets you up for the next movements.
Choose which side to roll toward based on where your target furniture is located and which side feels stronger or less painful. Bend your knees and keep your feet flat on the floor if possible. This creates stability.
Turn your head in the direction you plan to roll: your body naturally follows your head. Then use your arms to push and guide your body onto your side. If you're rolling to your right, push with your left arm. If you're rolling left, push with your right arm.
Take your time with this movement. There's no rush, and moving too quickly can cause dizziness or additional injury. Once you're on your side, rest for a moment in this position before moving to the next step.
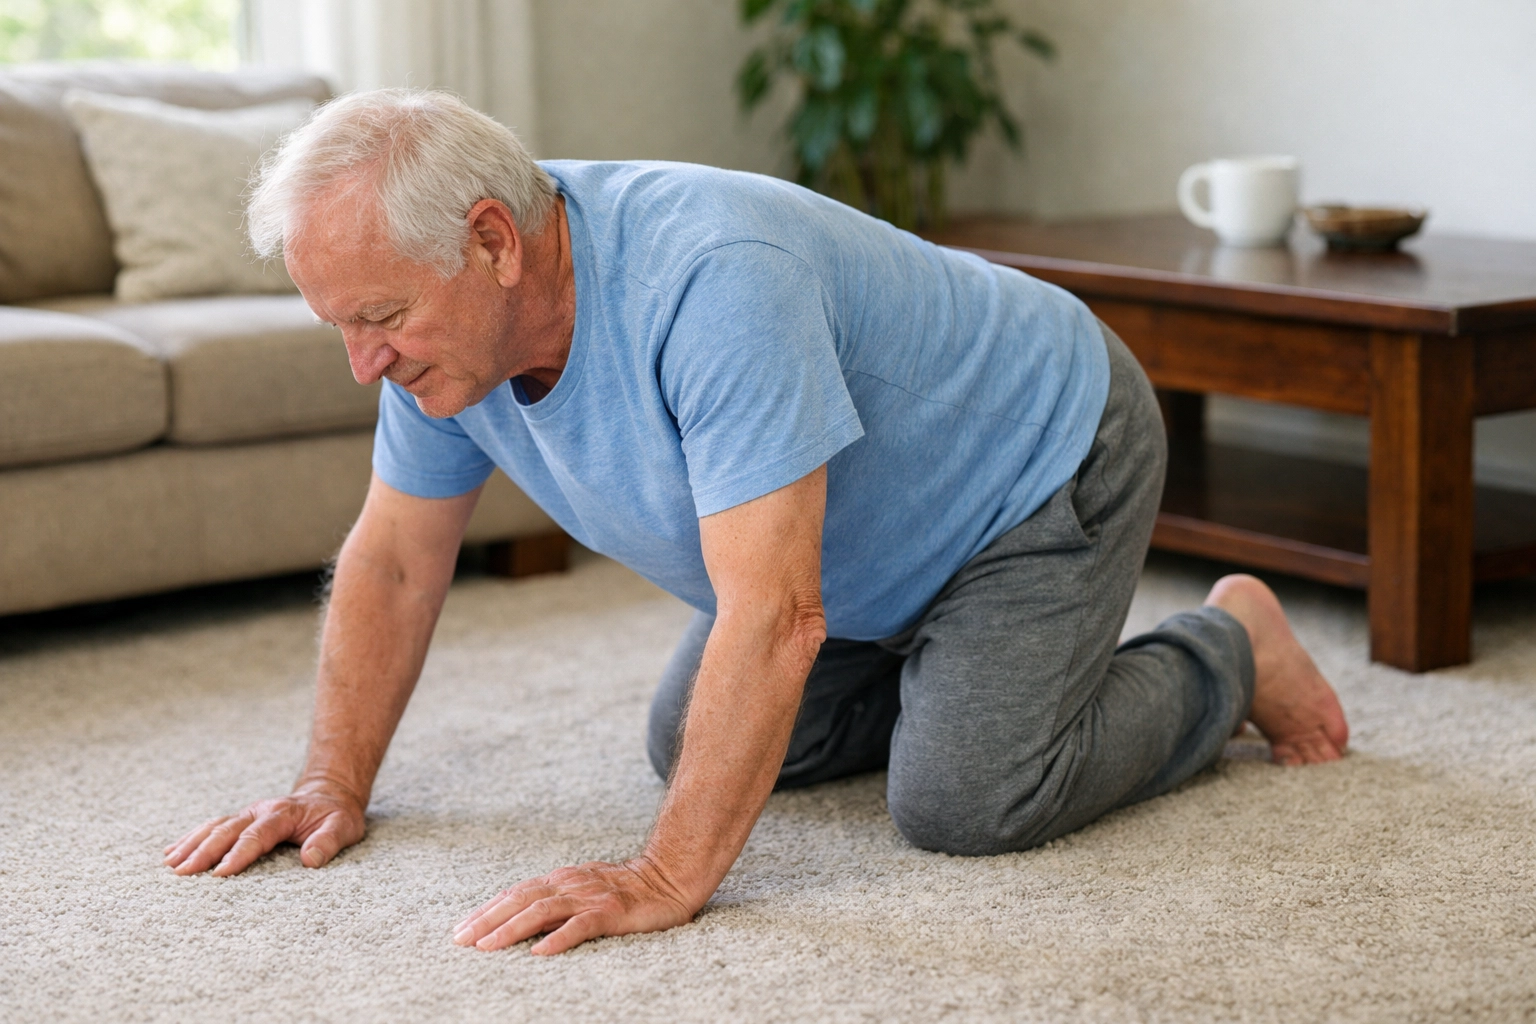
Step 3: Get to Hands and Knees
From your side-lying position, you'll now push yourself up to a hands-and-knees position, also called a quadruped position.
Place both hands flat on the floor in front of you, roughly shoulder-width apart. Press through your hands to lift your upper body while simultaneously bringing your knees underneath you. You're essentially moving from lying on your side to a position that looks like you're about to crawl.
This is often the most physically demanding step of the process because it requires upper body strength and core stability. If you struggle with this movement during practice, it's valuable information: it tells you this is an area where you might benefit from strength training exercises.
Once you're on your hands and knees, pause again. Make sure you feel stable in this position. Your hands should be directly under your shoulders, and your knees should be roughly hip-width apart. This creates a stable base of support.
Some people feel dizzy when moving from lying down to this more upright position. If dizziness occurs, stay still until it passes. Taking slow, deep breaths can help.
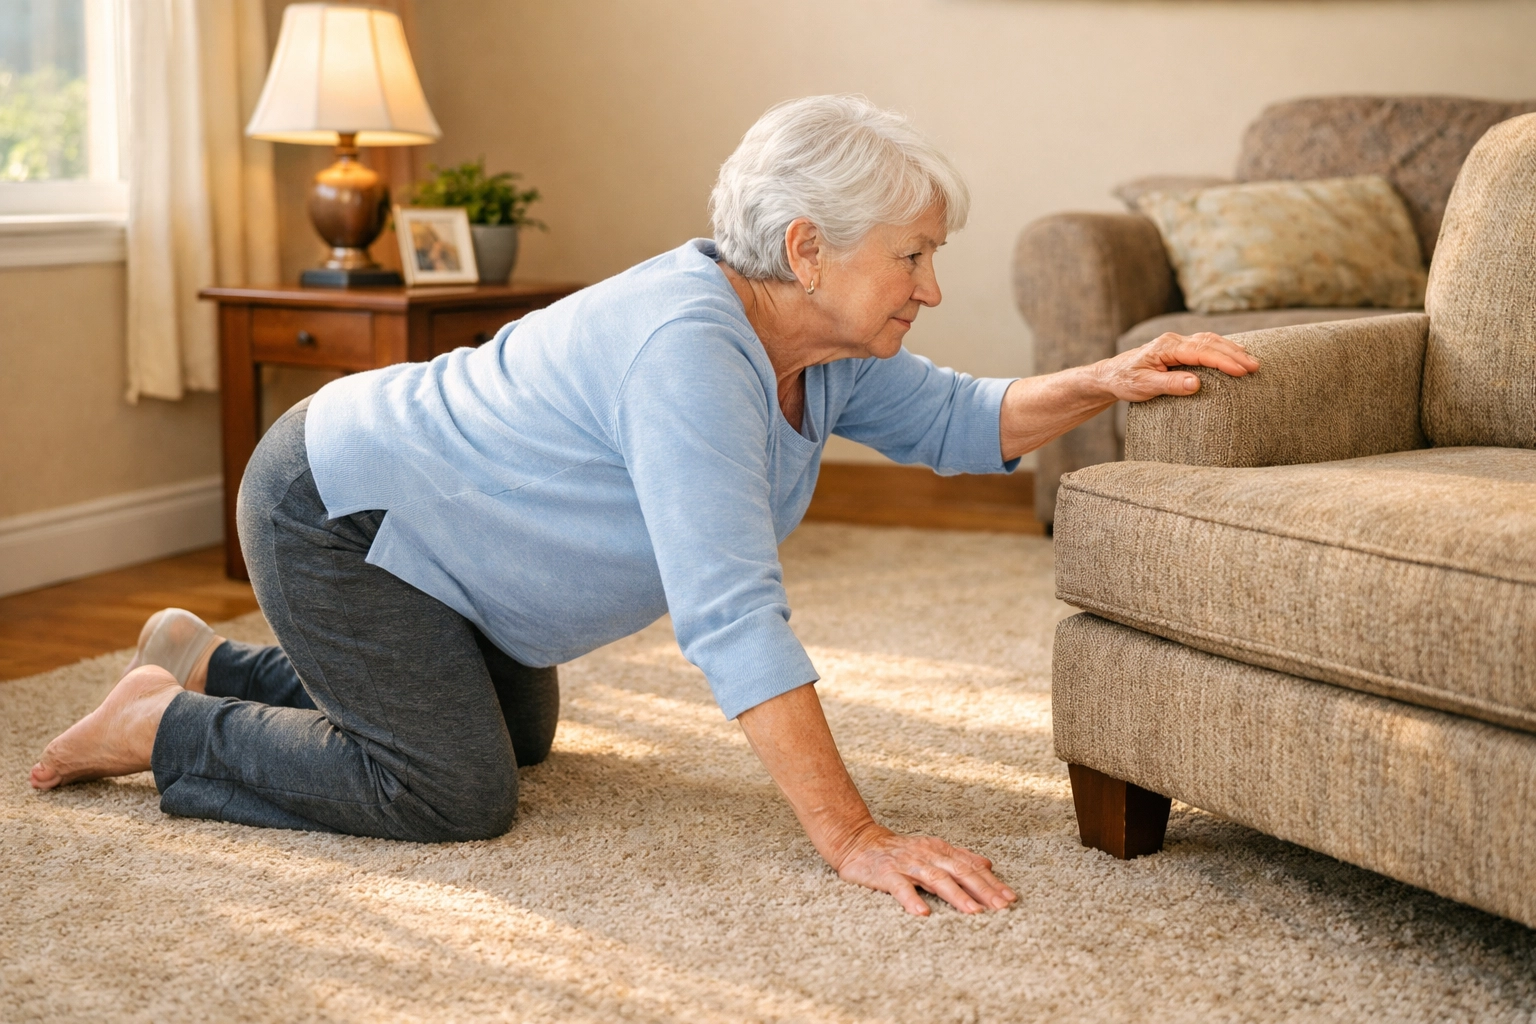
Step 4: Crawl to Your Support
Now you'll crawl toward that sturdy piece of furniture you identified earlier. Keep your movements slow and controlled. Your knees should stay close to the floor, and your weight should be evenly distributed between your hands and knees.
This crawling step is crucial because it allows you to move toward support while maintaining a stable, low center of gravity. It's much safer than trying to stand up from the middle of a room without support.
When choosing your target furniture during practice, look for items that are heavy and stable. A dining room chair, a coffee table, or a sturdy ottoman work well. Avoid furniture with wheels, lightweight pieces that might tip over, or anything that might slide across the floor when you put weight on it.
As you reach the furniture, position yourself so that your stronger leg is closest to it. If you're right-handed, your right leg is typically stronger. If you're left-handed, your left leg usually has more strength. Knowing which is your stronger side helps you plan your rise to standing.
Step 5: Rise to Standing
This final step requires the most strength and coordination, which is exactly why practicing it beforehand is so important.
Place both hands on the furniture, positioning them roughly shoulder-width apart. Your hands should have a firm, secure grip on the furniture surface. If the furniture has arms or a back you can grip, even better.
Now bring your stronger leg forward, placing that foot flat on the floor. Your knee should be bent at roughly a 90-degree angle: this is similar to a lunge position. Your other knee remains on the floor for now.
From this half-kneeling position, push through your hands and your forward leg simultaneously to lift yourself to standing. Think about pressing down through your front foot while straightening your knee. Your hands on the furniture are there for balance and support, but your leg should be doing most of the work.
Once you're standing, don't immediately walk away. Hold onto the furniture and stand still for at least 15 to 30 seconds. This gives your blood pressure time to adjust and allows you to test your balance. Gently shift your weight from side to side and forward to back. This tells you whether you're steady enough to walk.
Only when you feel completely stable should you take your first step. If you use a cane or walker, make sure it's within reach before you begin walking.
Modifications for Different Abilities
The five-step method described above works for many people, but everyone's physical abilities are different. Here are some variations that might work better depending on your specific situation.
For knee pain or weakness: Use a slightly higher surface for your support, such as a dining room chair seat rather than a coffee table. This reduces the distance you need to rise and places less strain on knee joints. You might also use a sturdy step stool as an intermediate height: get to hands and knees, then push up to place your hands on the stool, then move to hands on a chair, gradually increasing your height.
For upper body weakness or shoulder problems: Focus on finding support surfaces that are higher off the ground so you don't need to lift your body as far. You might also keep a sturdy stool or chair in central locations of your home specifically for this purpose. When rising, shift more weight into your legs and use your hands primarily for balance rather than pushing.
For balance concerns: Keep a cordless phone or medical alert device in your pocket at all times. Even if you can physically get up, having help available provides peace of mind. Also consider placing stable furniture strategically throughout your home so you're never more than a few crawls away from support.
If you use assistive devices: Position your walker or cane within reach before practicing this sequence. Some people find it helpful to use their assistive device as an additional support point when rising from half-kneel to standing, treating it like an extra hand.
Common Mistakes to Avoid
When practicing this sequence, watch out for these common errors that can make the process harder or less safe.
Don't try to get up too quickly. Speed increases your risk of re-falling or aggravating an injury. Take your time with each step, resting between movements as needed.
Don't attempt to stand directly from lying on the floor without going through the intermediate steps. This requires exceptional strength and balance that most people don't have, especially after the disorientation of a fall.
Don't use furniture that might slide, tip, or roll. Test your potential support furniture before relying on it during practice. Push on it firmly: if it moves at all, find something sturdier.
Don't skip the pause-and-assess step at the beginning. Those 30 seconds could prevent you from turning a minor fall into a major injury by moving before you should.
Don't practice only once and assume you'll remember. Like any physical skill, this requires regular practice to build and maintain muscle memory. Consider practicing once a week or even once a month.
When to Call for Help Instead
Sometimes the smart decision is to stay put and call for assistance rather than attempting to get up on your own. Call for help if:
- You experience severe pain anywhere, especially in your hips, back, or head
- You cannot move a limb or it appears deformed
- You feel extremely dizzy or disoriented
- You hit your head during the fall
- You're bleeding significantly
- You attempted to get up once and couldn't complete the sequence
This is not a sign of weakness or failure. It's intelligent judgment. Medical professionals would much rather respond to a call for help than treat injuries that resulted from an unsafe attempt to get up alone.
Building Your Confidence Through Practice
The psychological benefit of practicing this sequence cannot be overstated. Many seniors develop such intense fear of falling that they severely restrict their activities, leading to muscle weakness, social isolation, and decreased quality of life. This fear often stems not from the fall itself, but from uncertainty about what would happen afterward.
When you know you have a plan and the physical ability to execute it, that fear diminishes. You can move through your daily life with greater confidence, maintaining the activity levels that keep you strong and independent.
Start your practice on a soft surface like a carpeted area or even in bed. As you become more comfortable with the movements, you can practice on harder surfaces that more closely resemble where an actual fall might occur.
Consider practicing with a friend or family member present, especially at first. They can provide encouragement, help you identify which furniture works best, and serve as an emergency backup if needed during practice.
Remember that this skill, like any physical ability, requires maintenance. If you practice monthly now, you'll be far better prepared should you ever need these skills in a real situation. The few minutes invested in practice could one day mean the difference between a minor incident and a life-threatening emergency.
Your independence matters. Taking the time to master this simple sequence is one of the most practical investments you can make in maintaining that independence for years to come.

