Stairs are a fundamental part of most homes, but for many of us, they represent one of the most significant challenges as we age. It isn’t just about the physical exertion of climbing; it’s about the underlying risks that we often overlook because we’ve been using those same stairs for decades. When a task becomes second nature, we stop paying attention to the small details that keep us safe.
At Fall Guys Products, we see the home as a sanctuary. However, statistics consistently show that the staircase is one of the most common locations for serious falls. Most of these incidents aren’t caused by a single catastrophic failure of the home’s structure, but rather by a series of small, avoidable mistakes.
I’m Brian Kerr, and I want to walk you through the seven most common mistakes people make with stair safety and, more importantly, how you can fix them today to ensure your home remains a safe place for everyone.
1. Rushing and "Multi-tasking" on the Stairs
The most common mistake isn't environmental, it’s behavioral. We often treat the stairs as a transit zone where we try to save time. You might be carrying a laundry basket, checking your phone, or trying to answer the doorbell.
When you rush, your center of gravity shifts forward. If you miss a step or lose your footing while moving quickly, your momentum makes it much harder to recover. Furthermore, carrying objects, especially those that block your view of your feet, increases the risk of a misstep.
How to Fix It: The "Two Points of Contact" Rule
Make a conscious decision to slow down. Treat the stairs as a focused activity rather than a transition.
- Maintain two points of contact: This means either two feet on a step before moving to the next, or one hand firmly on the rail and one foot on a step.
- The "Empty Hands" Policy: Avoid carrying heavy or bulky items that obscure your vision. If you must move items between floors, consider using a small backpack or installing a "stair basket" that you only carry when you have a hand free for the rail.
- Pause at the Top and Bottom: Before you begin your ascent or descent, take one second to ensure your footing is clear and you have a firm grip on the handrail.
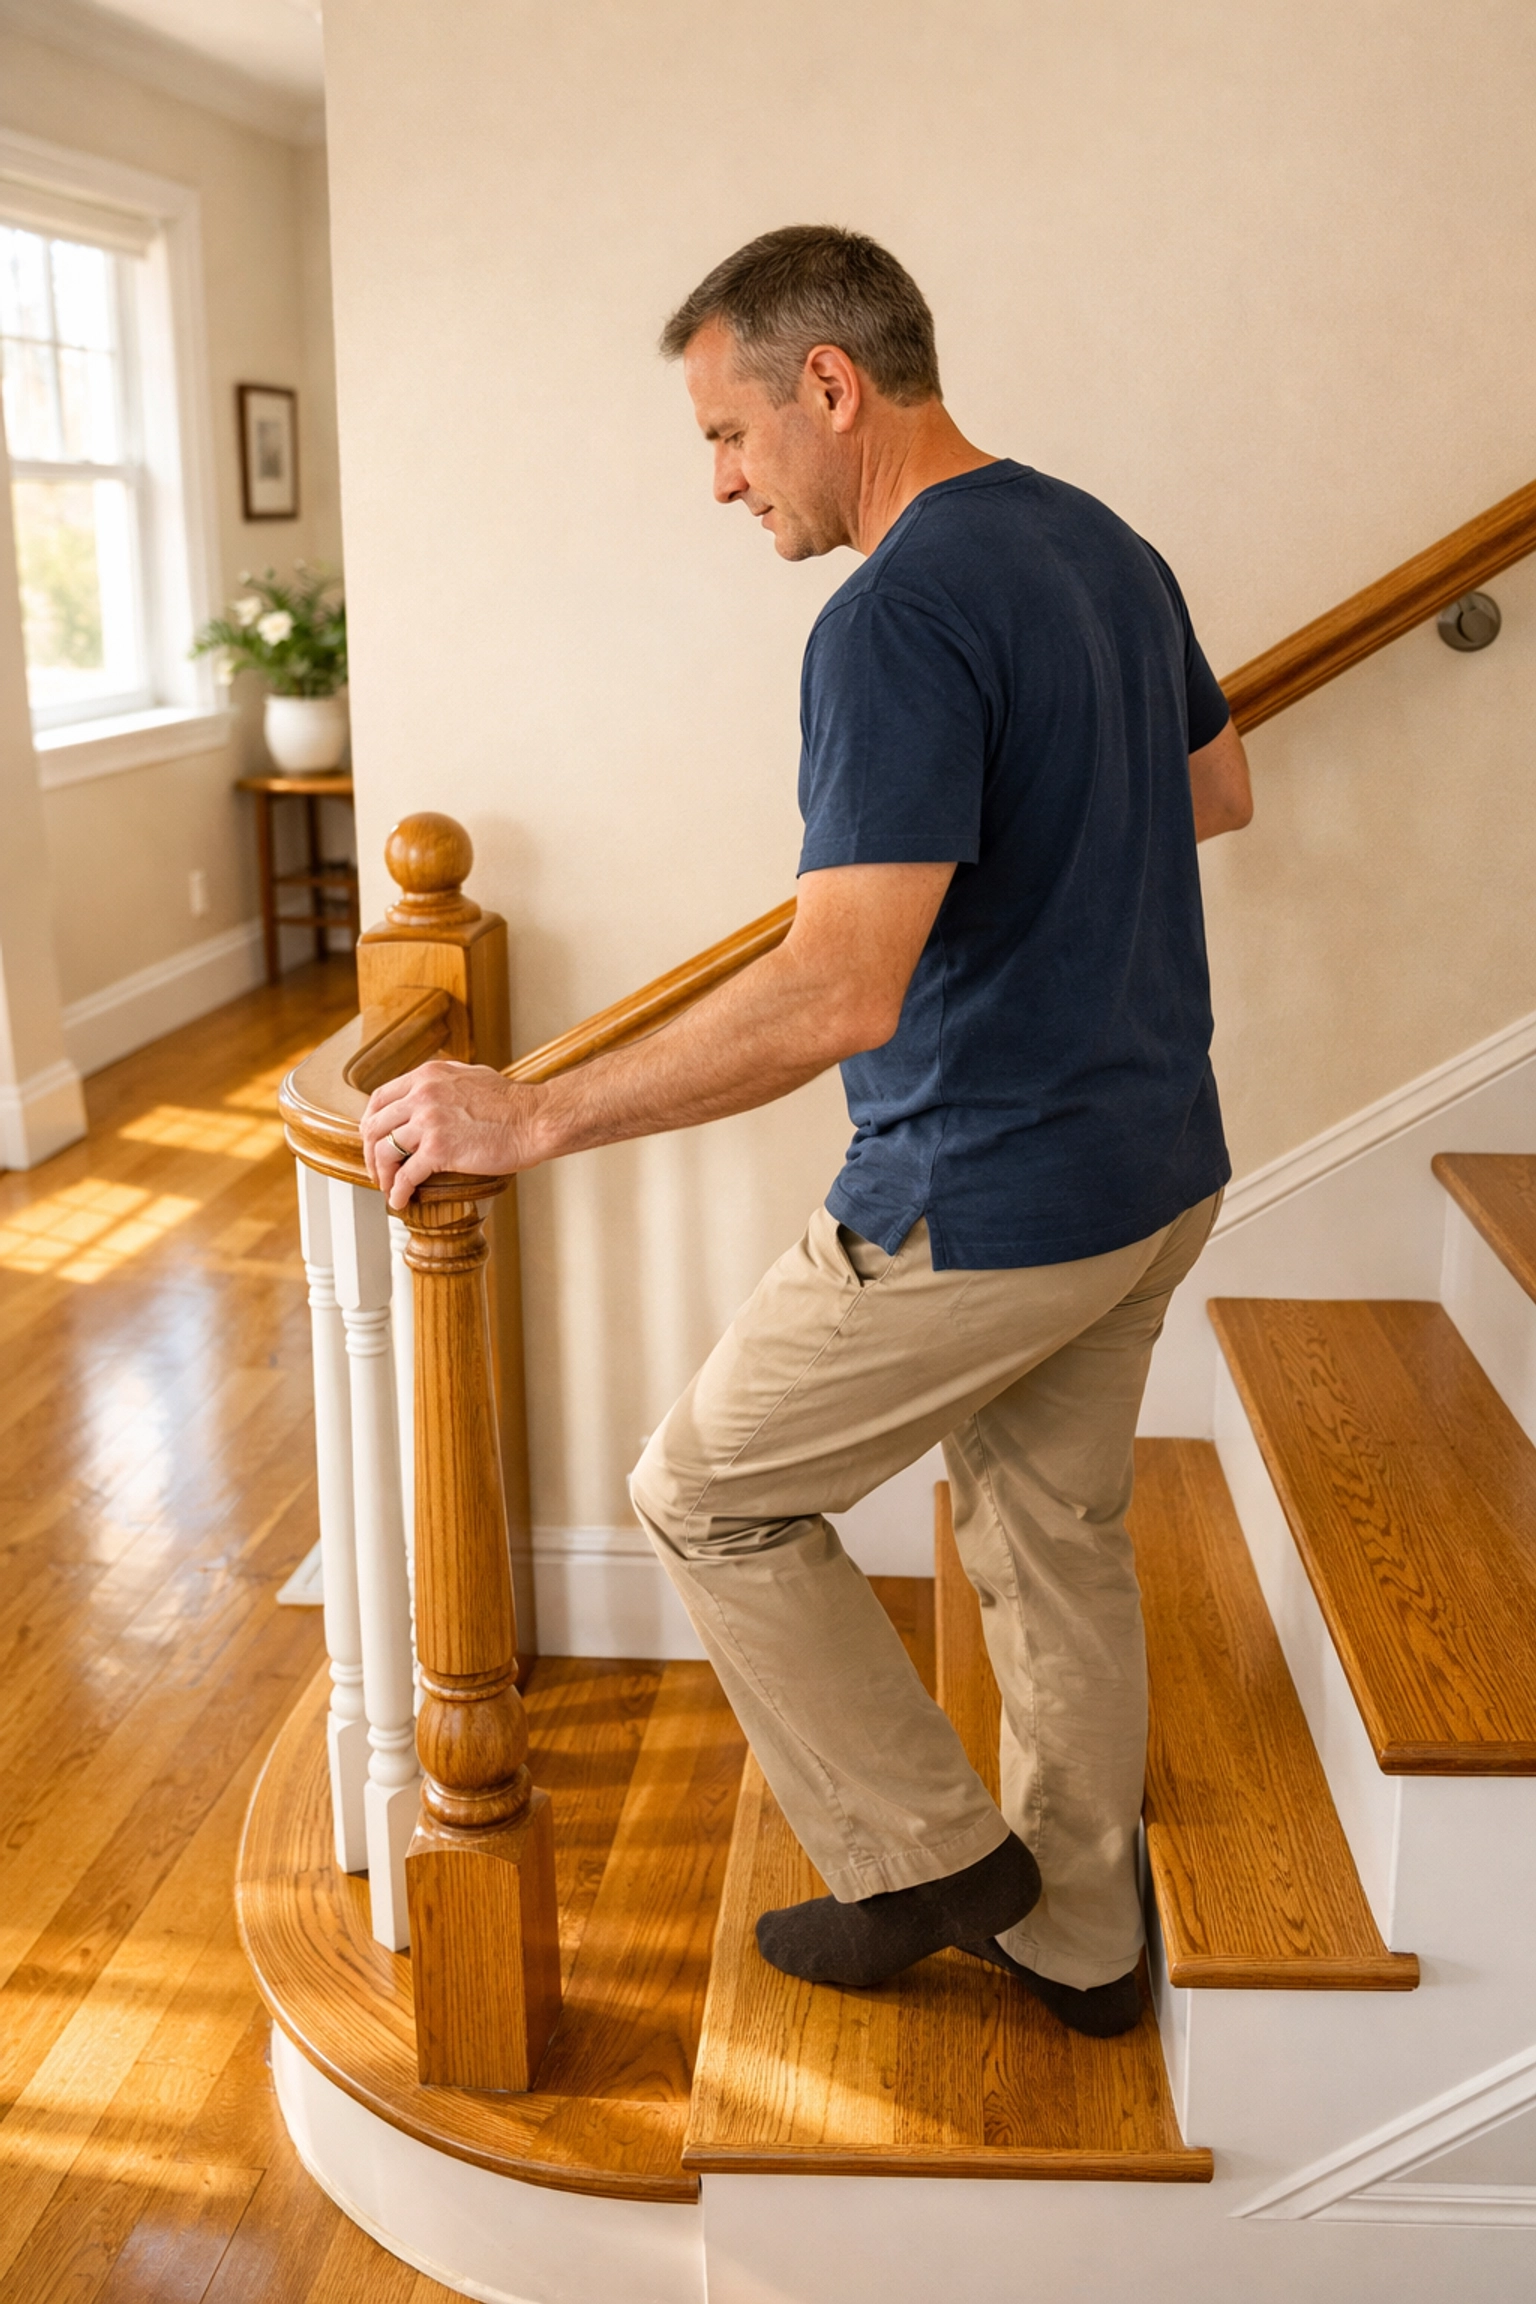
2. Neglecting Handrail Functionality for "Style"
In many homes, handrails are treated more like architectural accents than safety devices. You might have a handrail that is too wide to grip, one that is too decorative (with ridges or sharp edges), or one that stops a few inches before the actual end of the staircase.
A handrail is only useful if you can wrap your hand all the way around it. If your handrail is a flat "2×4" style board or an oversized decorative beam, you can't get a secure "power grip." In the event of a slip, a flat rail only allows your hand to slide off, whereas a rounded rail allows you to squeeze and stabilize yourself.
How to Fix It: Prioritize "Graspability"
- The Circle Test: A safe handrail should be round or oval, with a diameter between 1.25 and 2 inches. You should be able to comfortably touch your thumb to your fingers when gripping it.
- Extend the Rail: Ensure the handrail extends at least 12 inches beyond the top and bottom steps. Many falls occur on the very last step because the handrail "ran out" before the person reached level ground.
- Check the Brackets: Give your handrail a firm shake. If it wiggles even slightly, the wall brackets need to be tightened or moved to a wall stud. A handrail that gives way during a fall can actually cause more harm than having no rail at all.
3. Treating Stairs Like Extra Storage Space
We’ve all done it: leaving a pair of shoes, a book, or a bag on the bottom step to "take up later." This is a recipe for disaster. Clutter on stairs creates a "trip hazard" that is often exacerbated by poor lighting or a momentary lapse in concentration.
Even a small object can catch a heel or cause a foot to land at an angle, leading to a rolled ankle or a tumble. Furthermore, the psychological distraction of navigating around objects makes you less focused on the mechanics of walking.
How to Fix It: The Zero-Tolerance Zone
- Clear the Path: Establish a strict rule that nothing, not even for a minute, is allowed to sit on the treads of the stairs.
- Landing Baskets: If you find that items tend to accumulate near the stairs, place a dedicated basket on the floor at least three feet away from the first step. You can collect items there and carry the basket up once it’s full and you are feeling steady.
- Cord Management: Check for any hallway runners or extension cords that might be creeping toward the top or bottom of the stairs. Secure them with cord covers or reroute them entirely.
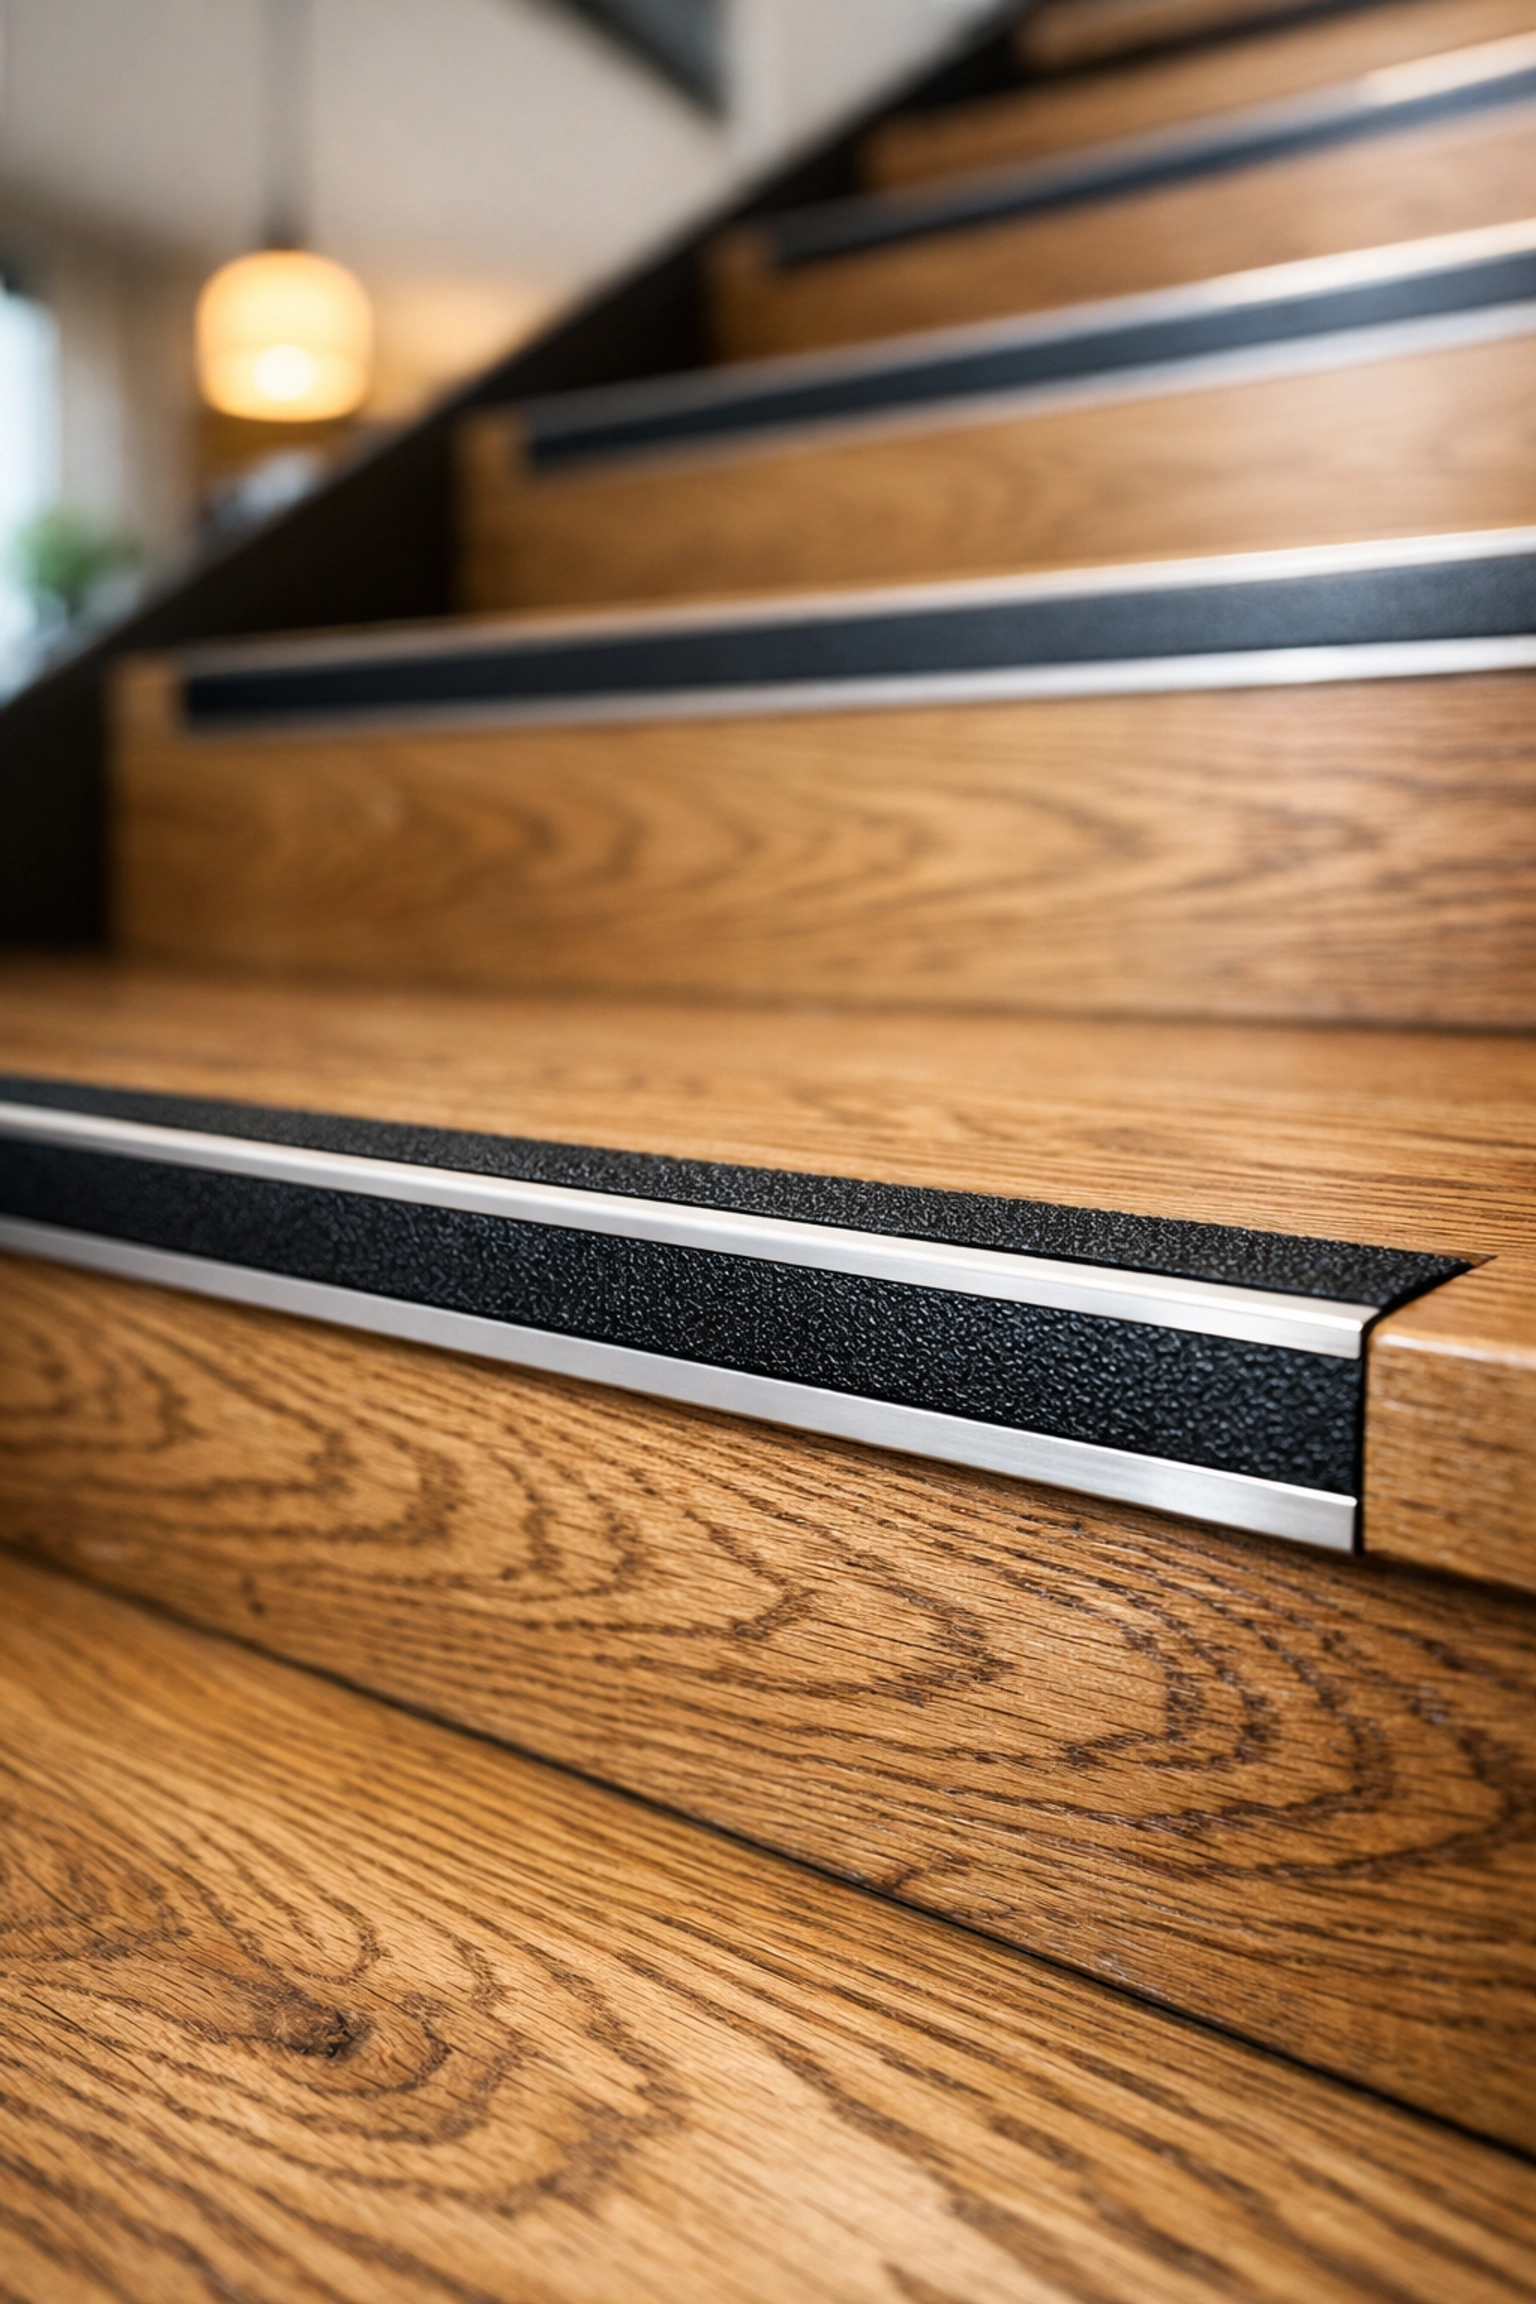
4. Overlooking Low-Contrast Step Edges
As we age, our depth perception and contrast sensitivity can decline. This makes it difficult to see where one step ends and the next begins, especially on stairs that are all one color, such as all-white carpet or dark hardwood.
If you can't clearly see the "nose" (the front edge) of the step, you are more likely to "overstep" or "understep," both of which can lead to a fall. This is particularly dangerous on the descent, where the stairs can look like a flat, slanted blur.
How to Fix It: Create Visual Landmarks
- Contrast Strips: Apply a strip of high-contrast, anti-slip tape to the edge of each step. For example, if you have dark wood stairs, use a light grey or yellow strip.
- Paint the Nose: If you have wooden stairs, you can paint a thin, one-inch line of a contrasting color along the edge of each tread.
- Texture Changes: For carpeted stairs, ensure the carpet is pulled tight and consider using a different color or pattern for the landing to signal the end of the staircase.
5. Poor Lighting and Shadow Patterns
Many stairwells are lit by a single bulb at the top or bottom. This creates deep shadows on the middle steps, making it impossible to judge the depth of the treads. Furthermore, older light fixtures often use low-wattage bulbs that don't provide enough "lumen output" for aging eyes, which require significantly more light to see clearly than younger eyes.
Another lighting mistake is the placement of switches. If you have to walk halfway across a dark room to turn on the stair light, the risk has already begun.
How to Fix It: Layered and Automated Lighting
- Motion-Activated LED Strips: One of the best modern fixes is installing battery-operated, motion-sensor LED strips under the handrail or along the baseboards of the stairs. They light up the path automatically as soon as you approach.
- High-Lumen, No-Glare Bulbs: Swap out old bulbs for "Daylight" LED bulbs. They provide a crisp, white light that improves contrast without the yellow dinginess of old incandescent bulbs.
- Two-Way Switches: Ensure there are light switches at both the top and bottom of the stairs. If your home isn't wired for this, you can buy "smart" wireless switches that stick to the wall and control a smart bulb in your existing fixture.
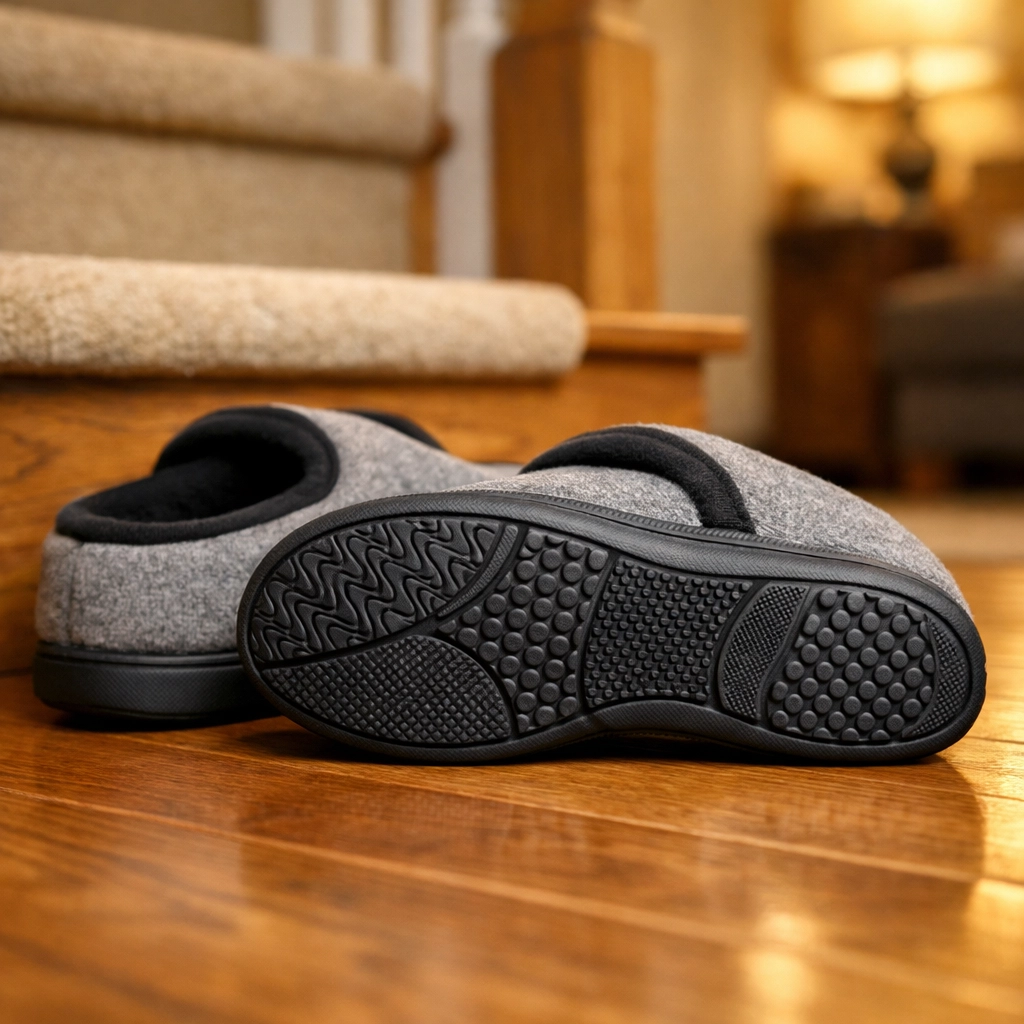
6. Wearing Inappropriate Footwear (or Just Socks)
What you wear on your feet is just as important as the stairs themselves. Many people feel "safe" walking in socks or smooth-bottomed slippers inside the house. However, on hardwood or polished stone stairs, socks provide almost zero traction. They essentially turn the stairs into a slide.
Conversely, wearing heavy outdoor boots can make you clumsy, as they lack the "proprioception" (the ability to feel the surface under your feet) needed to navigate steps safely.
How to Fix It: The "Indoor Shoe" Habit
- Non-Slip Soles: Invest in a dedicated pair of "indoor shoes" with rubber, non-slip soles. These should be kept exclusively for inside use to keep them clean and grippy.
- Avoid Loose Slippers: If you prefer slippers, ensure they have a closed back. Scuffs or "mules" that flip-flop on your feet can easily slip off mid-step, causing a trip.
- Grip Socks as a Minimum: If you absolutely must walk in socks, use "grip socks" that have rubberized patterns on the bottom. However, shoes are always the safer choice for stair navigation.
7. Ignoring Subtle Wear and Tear
Stairs undergo a lot of stress. Over time, wooden treads can warp, carpets can come loose and create "bubbles," and the "nosing" of the steps can become rounded and slippery from years of foot traffic.
We often ignore a "squeaky" board or a slightly loose carpet transition, thinking it's just a cosmetic issue. In reality, these are early warning signs of a failing surface. A loose carpet "bubble" acts like a rug on a hardwood floor, it can slide under your foot and take your legs right out from under you.
How to Fix It: The Monthly Inspection
- The "Kick" Test: Once a month, walk your stairs and give the front of each carpeted step a gentle kick. If the carpet moves or feels loose, it needs to be re-stretched and tacked down by a professional.
- Check for "Rounding": Look at the edges of wooden steps from the side. If the edges have become significantly rounded or smooth, they need to be refinished with an anti-slip coating or covered with a rubber tread.
- Tighten the Hardware: Check every screw on your handrail brackets and every nail on your banisters. If you find gaps opening up between the stairs and the wall, it may indicate structural settling that needs to be addressed to keep the path level.
A Final Thought on Safety
Making these fixes isn't just about preventing a fall today; it's about maintaining your independence for the long haul. Most of the solutions mentioned above, clearing clutter, improving light, and adding contrast, can be done in a single afternoon with minimal cost.
Stair safety is a combination of a well-maintained environment and mindful habits. By acknowledging these common mistakes and taking steps to correct them, you can turn a potential hazard back into just another part of your home.
Take a look at your stairs this afternoon. Can you see the edges clearly? Is the handrail rock-solid? Is the path clear? If the answer to any of those is "no," today is the perfect day to make a change. Stay safe, stay mobile, and remember that a little bit of prevention goes a long way.

