For many of us, the stairs in our homes are something we navigate dozens of times a day without a second thought. They are simply a functional path between the kitchen and the bedroom. However, as we age or care for those who are aging, the staircase transforms from a simple architectural feature into one of the most significant risk factors for falls in the home.
According to various safety studies, the majority of household falls occur on level ground, but the falls that occur on stairs are statistically more likely to result in serious injury. The physics of a staircase: gravity combined with momentum: means that a simple trip can escalate quickly.
The good news is that most stair-related accidents aren't "freak occurrences." They are usually the result of specific environmental factors or habits that can be corrected. By identifying the common mistakes homeowners and caregivers make, we can create a much safer environment. Here are seven mistakes you might be making with your stair safety and, more importantly, how you can fix them.
1. The "Guessing Game" of Inconsistent Step Heights
Human movement relies heavily on "proprioception": your brain’s subconscious map of where your limbs are in space. When you walk up a flight of stairs, your brain quickly calculates the height and depth of the first two steps and then puts your legs on "autopilot" for the rest of the climb.
The mistake occurs when the steps are not uniform. If one riser (the vertical part) is even a half-inch taller than the others, or if a tread (the horizontal part) is shallower, it breaks that subconscious rhythm. This "rhythm break" is a primary cause of trips. You expect the floor to be there, but it isn't, or your toe catches an edge you didn't anticipate.
The Fix:
Ideally, stairs should have a uniform riser height and tread depth. If you are renovating or building, ensure your contractor adheres to strict consistency. If you are living with existing inconsistent stairs, the fix involves visual cues. Use high-contrast anti-slip tape on the edge of every step to highlight the transition. This forces the brain out of "autopilot" and back into active observation.
2. Neglecting Adequate and "Layered" Lighting
One of the most common mistakes is having a single, dim light bulb at the top or bottom of the stairs. This creates long shadows that can obscure the edge of the steps, making it difficult to judge exactly where to place your foot.
Furthermore, as we age, our eyes require significantly more light to see clearly, and our ability to distinguish depth in low-contrast environments diminishes. A staircase that looks "fine" to a 30-year-old may look like a dark, blurry slope to someone over 70.
The Fix:
You need "layered" lighting. This means having light sources that illuminate the stairs from multiple angles to eliminate shadows.
- Motion-Sensing LEDs: Install battery-operated, motion-sensing LED lights along the baseboards or under the lip of each tread. These light up the path exactly where you are walking without needing to fumble for a switch.
- Switch Access: Ensure there are light switches at both the top and the bottom of the flight.
- High CRI Bulbs: Use bulbs with a high Color Rendering Index (CRI). This helps colors appear more vibrant and edges more distinct.
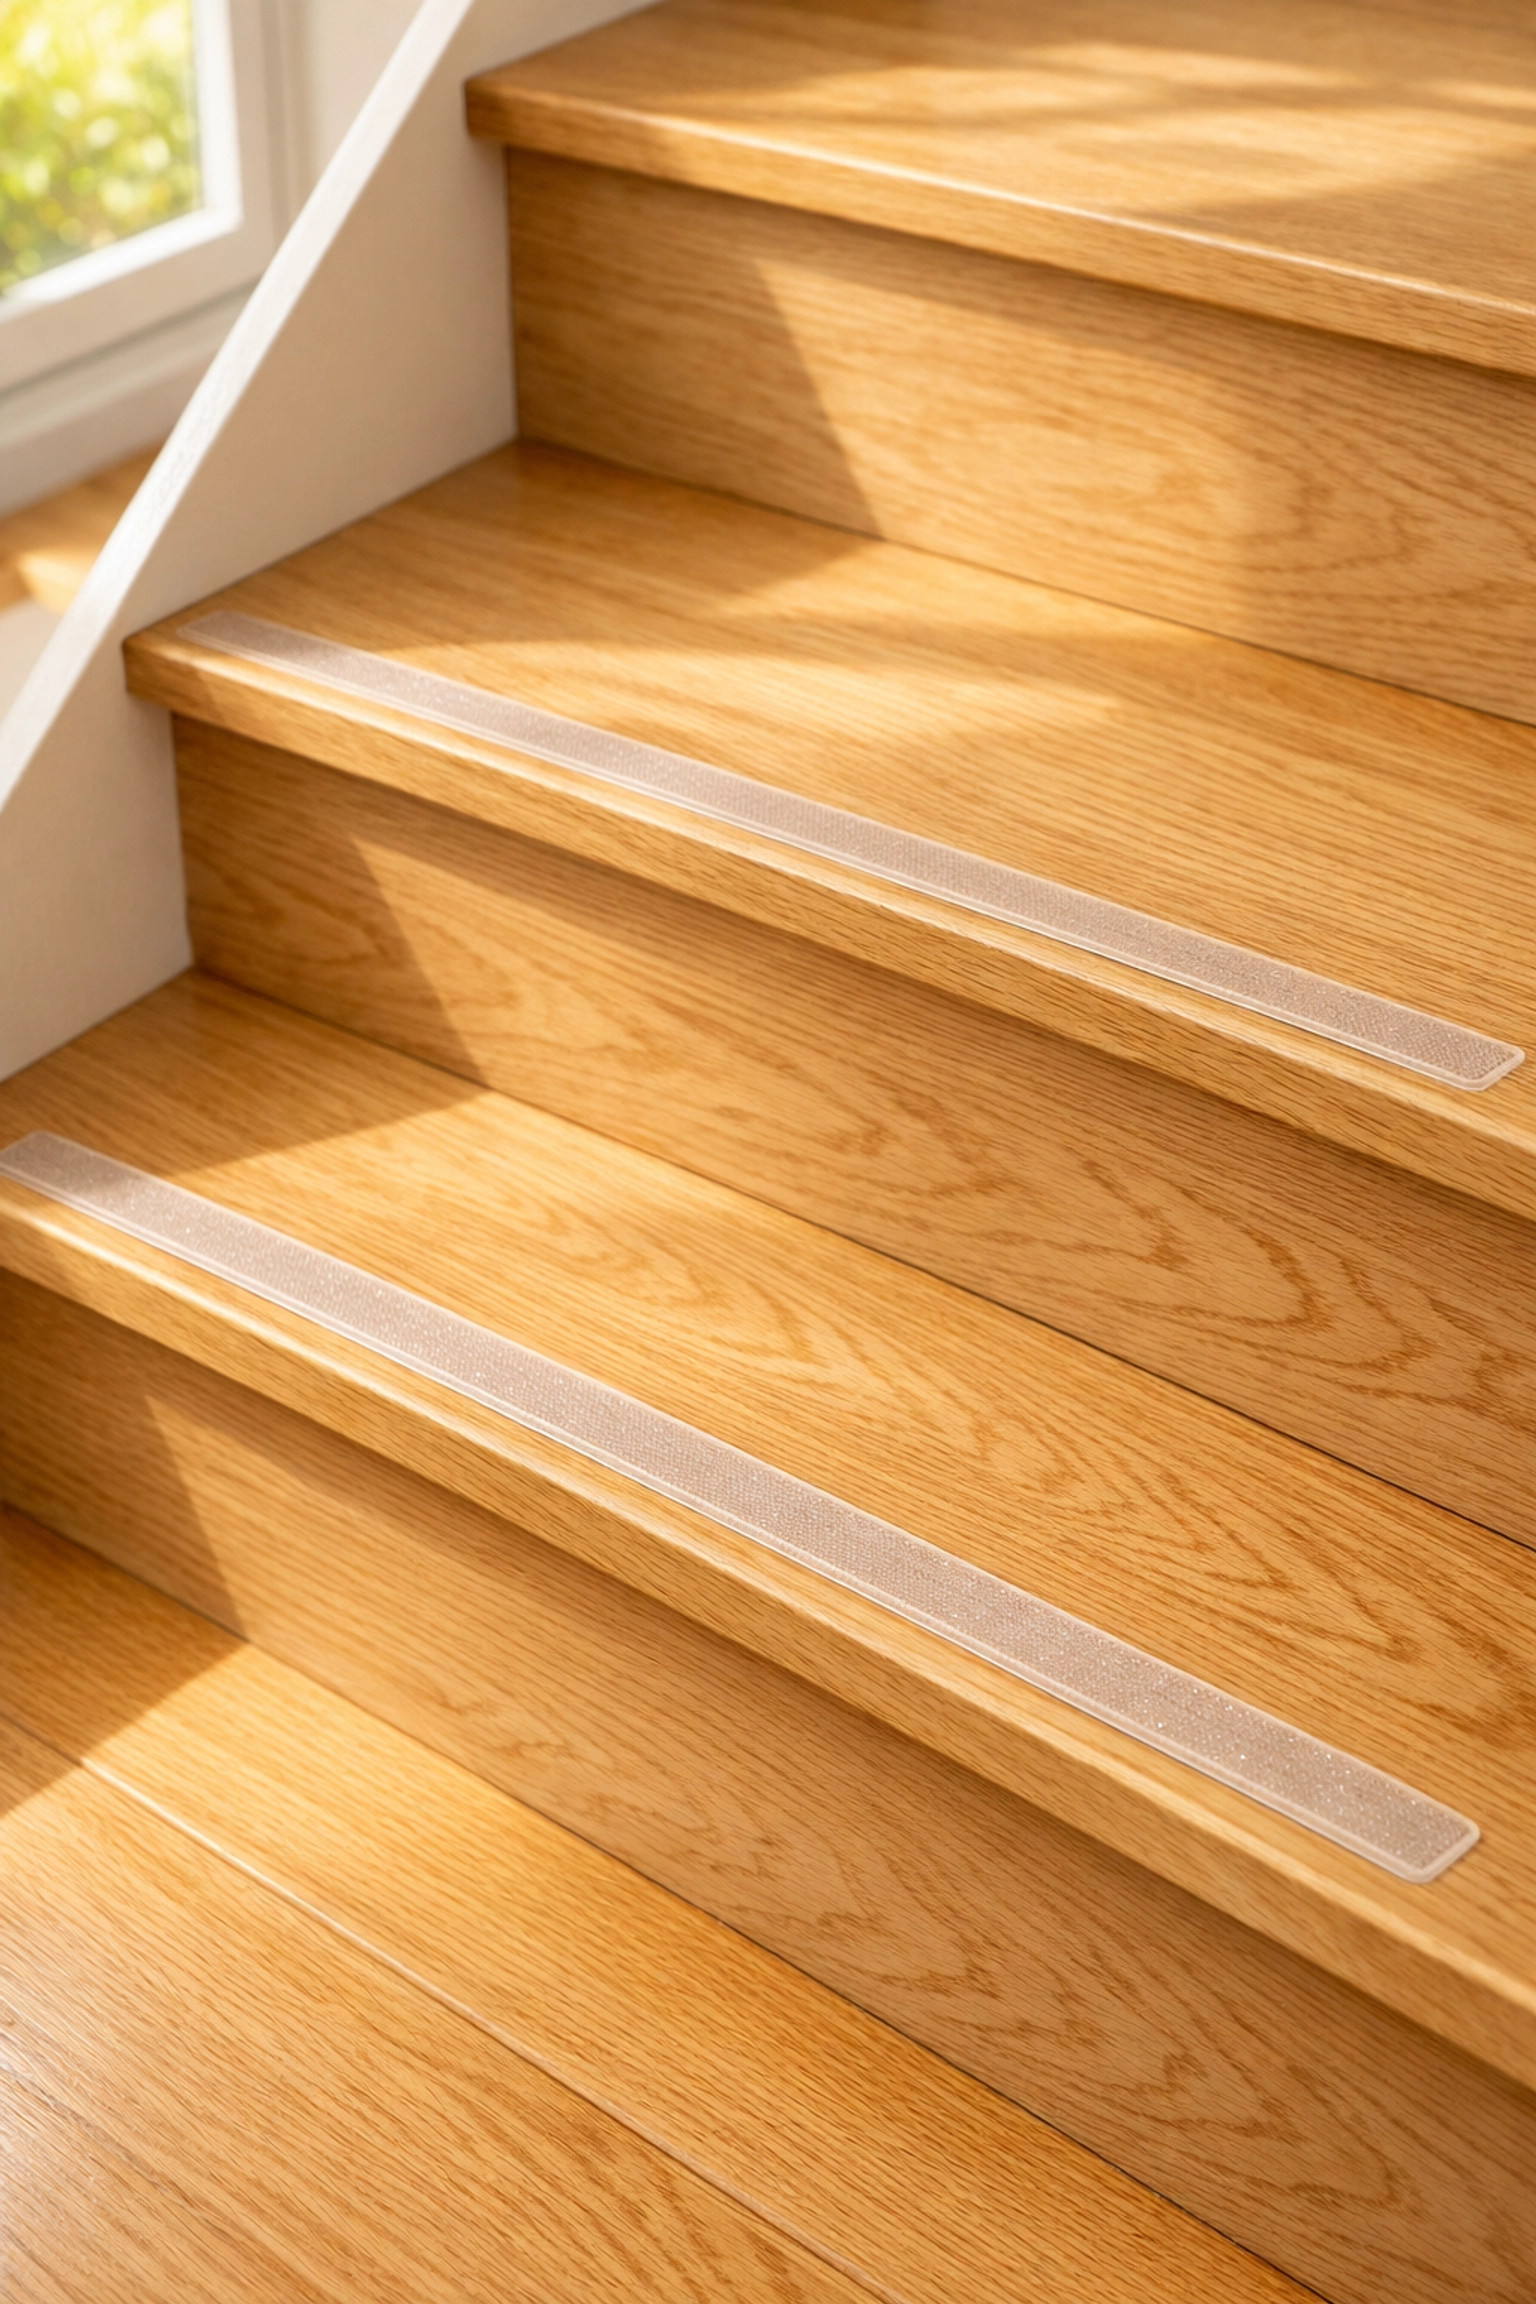
3. Prioritizing Aesthetics Over Grip (Slippery Surfaces)
Polished hardwood, sleek tile, and high-gloss finishes are beautiful, but they are often the enemy of stair safety. When you combine a smooth surface with socks or smooth-soled slippers, you’ve essentially created an indoor slide.
Many people make the mistake of thinking that because they "know their stairs," they don't need extra traction. However, moisture from a humid day or a small spill can turn a familiar wooden step into a hazard in an instant.
The Fix:
You don't have to sacrifice style for safety, but you do need to increase friction.
- Transparent Anti-Slip Tape: There are high-quality, adhesive-backed tapes that are virtually clear. They provide a gritty texture for your feet while allowing the beauty of the wood to show through.
- Stair Treads: Individual carpet or rubber treads can be placed on each step. If using carpet, ensure it is low-pile and firmly attached; loose, "shag" carpet can actually increase trip risks.
- Non-Slip Coatings: Specialized transparent paints or sprays can add a subtle texture to the wood or tile without changing its appearance.

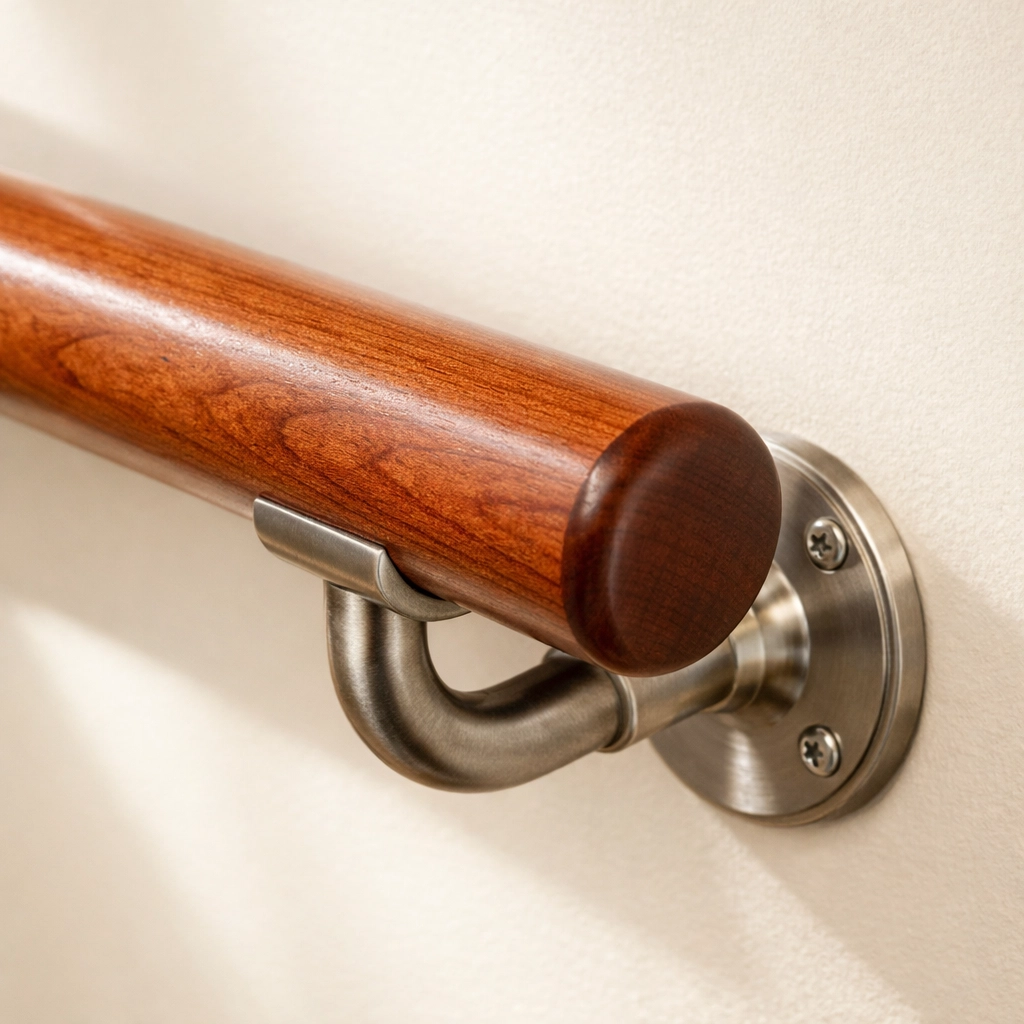
4. Missing or Inadequate Handrails
A handrail shouldn't just be a decorative element; it needs to be a functional tool that can support your full body weight in an emergency. Common mistakes include having a rail on only one side, having a rail that is too thick to "power grip," or having a rail that stops a few inches before the staircase actually ends.
A "power grip" is when your fingers can completely encircle the rail. If the rail is too wide or too close to the wall, you can only use a "pinch grip," which is much weaker and more likely to fail if you start to slip.
The Fix:
- Double Rails: If possible, install handrails on both sides of the stairs. This allows for support regardless of which hand is stronger or which side of the body may be affected by an injury or stroke.
- The Circular Profile: Choose a handrail with a rounded profile that is easy to wrap your hand around.
- Extension: Ensure the handrail extends at least 12 inches beyond the top and bottom steps. This allows the user to stabilize themselves before they even begin the ascent or descent.
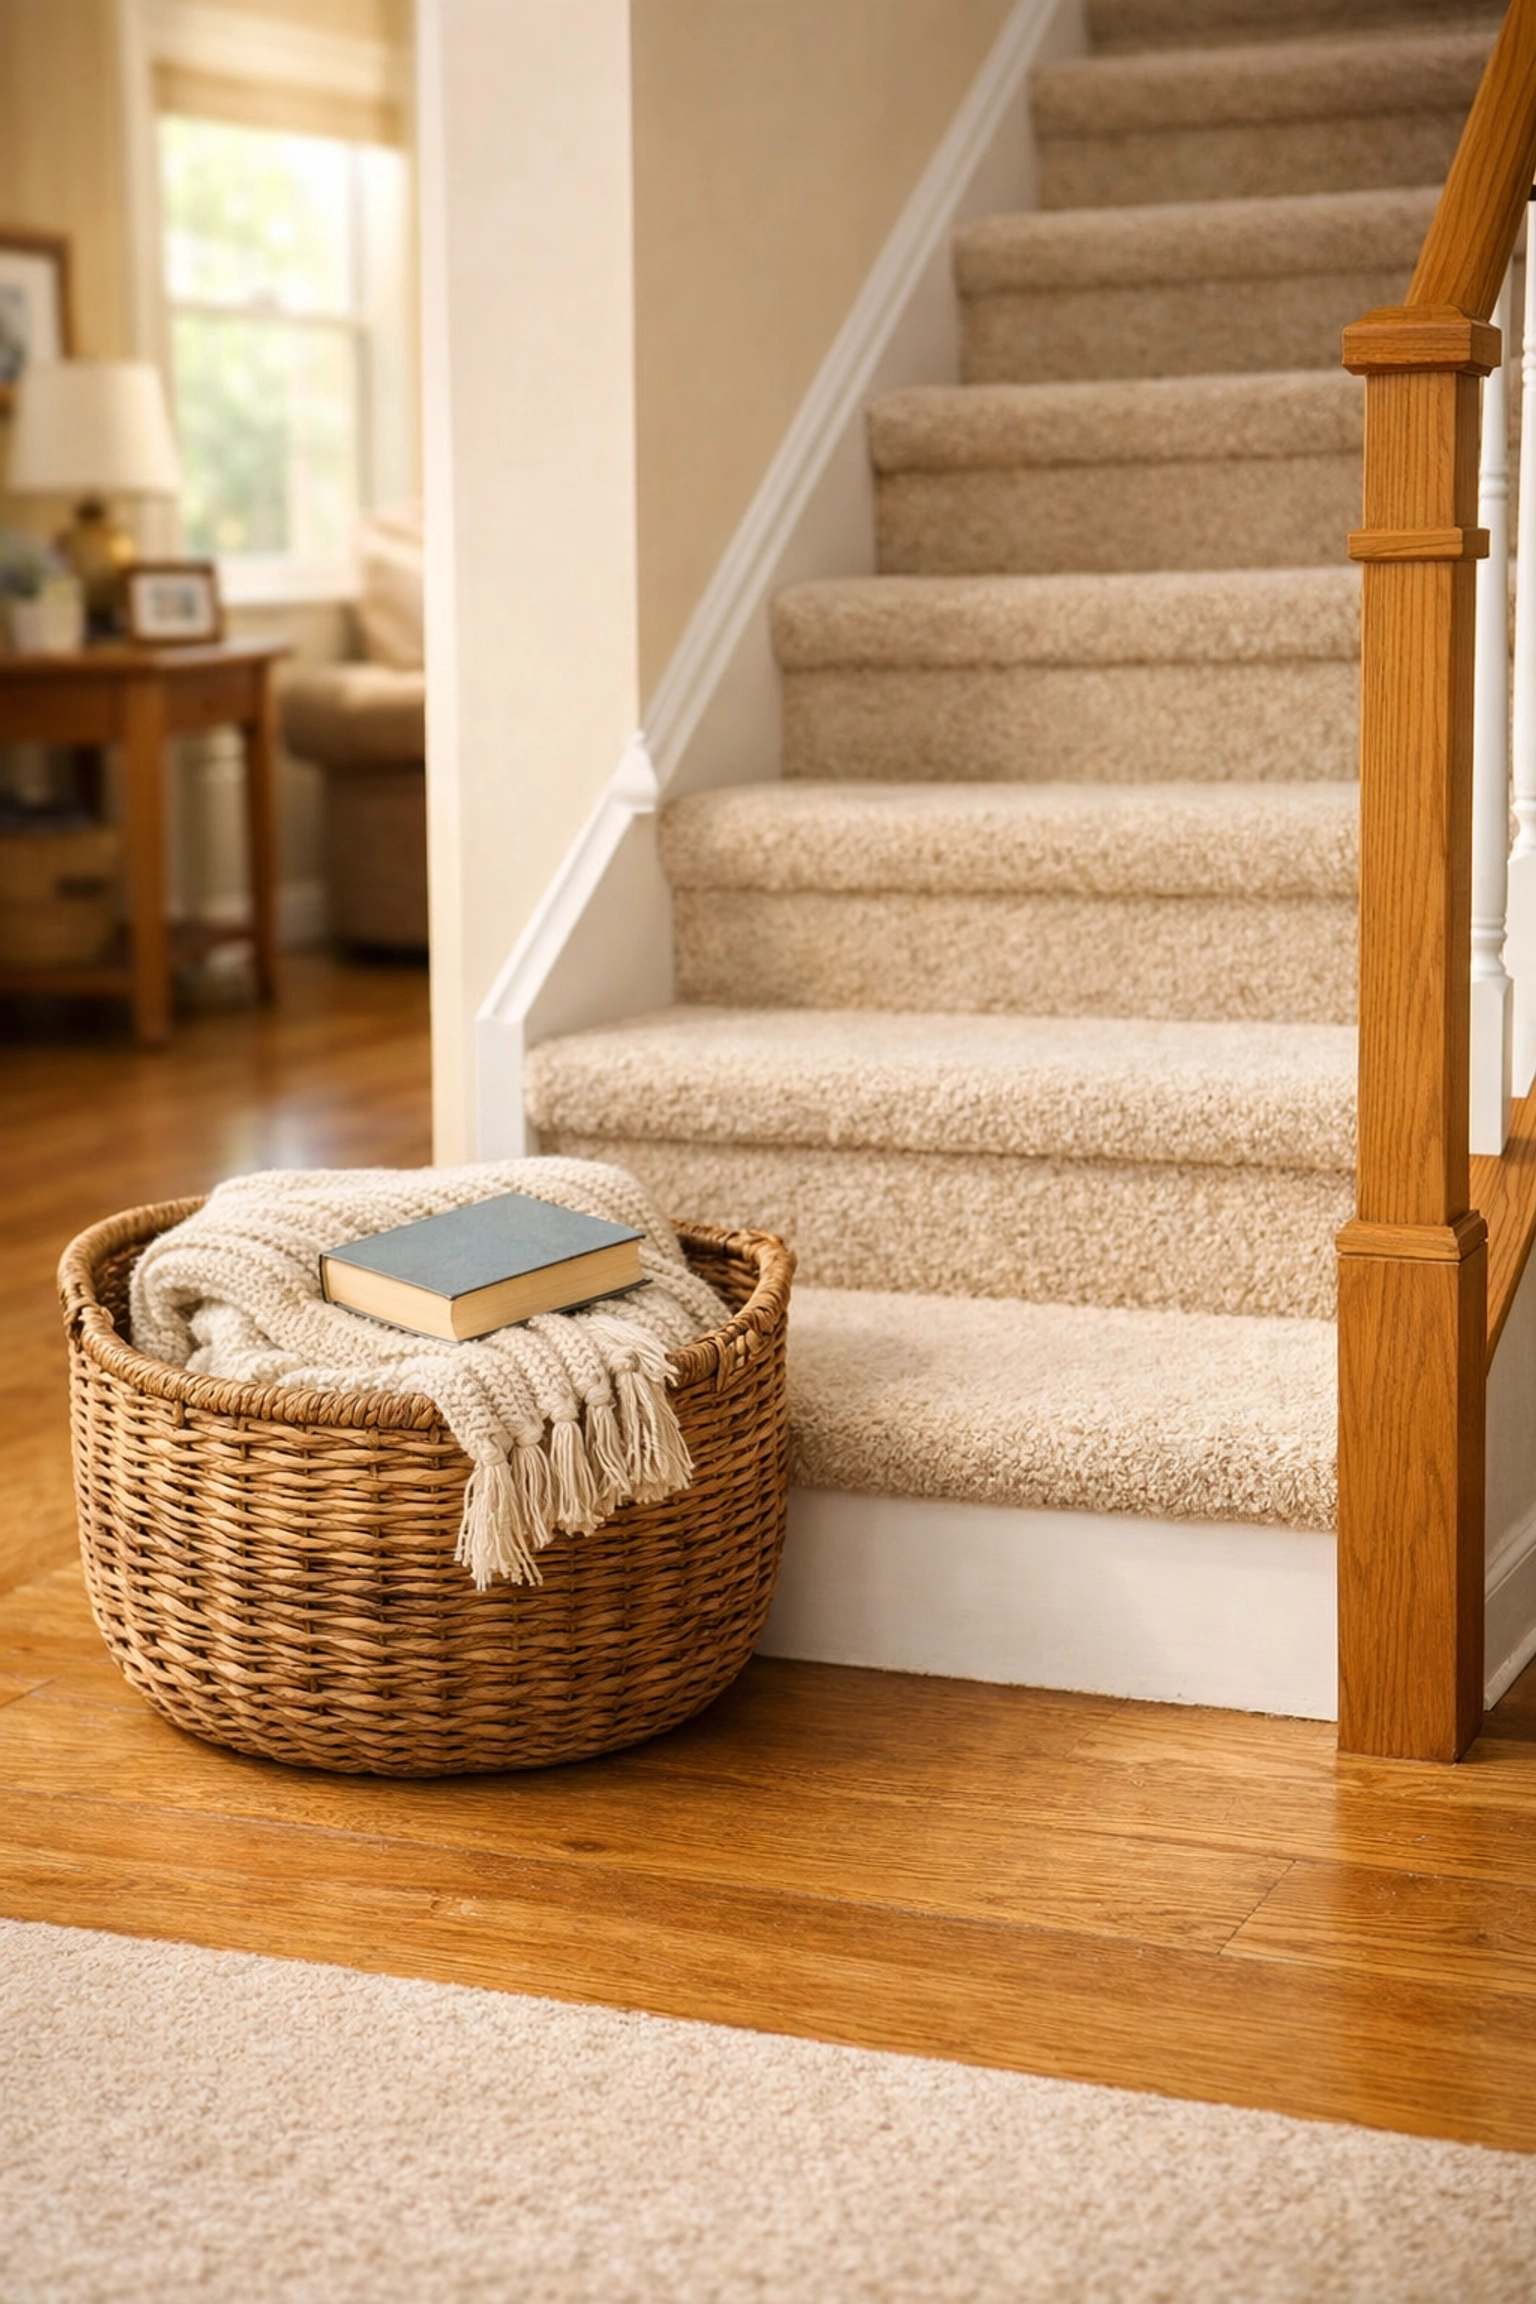
5. Using the Stairs as "Temporary Storage"
We’ve all done it: we place a stack of books, a laundry basket, or a pair of shoes on the bottom few steps, intending to take them up "on the next trip." This is perhaps the most preventable mistake on this list, yet it remains a leading cause of domestic accidents.
Stairs are narrow by design. Any object placed on a step reduces the available "landing zone" for your foot. If you are carrying something else and your vision of the floor is partially blocked, you may not see the object until it’s too late.
The Fix:
Establish a "Zero-Tolerance Policy" for stair clutter.
- The "Basket System": If you have items that need to go up or down, place a dedicated basket at the base or top of the stairs: but off to the side, away from the walking path.
- Clear the Path: Make it a habit to check the stairs every evening before bed to ensure no stray toys or shoes have migrated there during the day.
6. The "Bottom-of-Flight Illusion"
The transition from the last step to the flat floor is where many accidents occur. This is often due to the "bottom-of-flight illusion," where the last step blends visually with the landing or the hallway floor. If the flooring on the stairs is the same pattern or color as the floor at the bottom, the brain may perceive the staircase as ending one step earlier than it actually does.
Missing the last step often results in a "jarring" landing that can cause ankle sprains or cause the person to lose their balance and fall forward into the hallway.
The Fix:
Create a visual "stop sign."
- Contrast Striping: Apply a strip of high-contrast tape or a different colored tread only to the very last step. This signals to the brain that the descent is concluding.
- Landing Rugs: Place a thin, non-slip rug at the base of the stairs that is a completely different color than the stairs themselves. (Ensure the rug is "trip-proofed" with a rubber backing or double-sided tape so it doesn't become a hazard itself).
7. Ignoring Structural Wear and Tear
Stairs endure a tremendous amount of stress over the years. Over time, wood can warp, nails can loosen, and treads can become slightly tilted. Many people make the mistake of ignoring a "squeaky" board or a slight "give" when they step down.
A loose tread is essentially a moving platform. If your foot lands on a board that shifts even a fraction of an inch, your center of gravity shifts with it. This unexpected movement is often enough to cause a fall, especially for those with slower reaction times.
The Fix:
Perform a "Stair Audit" every six months.
- The Shake Test: Grab the handrail and give it a firm shake. It should not move or rattle. If it does, the mounting brackets need tightening or replacing.
- The Weight Test: Step firmly on the front, middle, and back of every tread. Listen for creaks and feel for any shifting.
- Repair Immediately: Use wood screws (which have better "grip" than nails) to secure loose boards. If a tread is cracked, replace it entirely rather than trying to patch it.
Beyond the Environment: Safe Habits
Fixing the physical environment is half the battle. The other half involves how we interact with the stairs. Even the safest staircase in the world can't protect someone who is rushing or distracted.
Take it Slow: The "one-step-at-a-time" method is the gold standard for safety. Place both feet on a single step before moving to the next one. This ensures you always have a stable base.
The Three-Point Contact Rule: Just as rock climbers do, try to maintain three points of contact (two feet and one hand on the rail) as much as possible. If you must carry something, carry it in one arm and keep your other hand free for the rail. If an item is too heavy to carry with one hand, it’s better to ask for help or use a different method to move it.
Proper Footwear: Walking on stairs in socks is one of the highest-risk behaviors in the home. Always wear shoes with a rubber sole or "gripper" socks if you prefer not to wear shoes indoors.
Final Thoughts
Stair safety isn't about fear; it’s about empowerment. By making these small adjustments: improving the light, securing the handrails, and clearing the clutter: you aren't just preventing a fall; you are ensuring that your home remains a place of comfort and independence for years to come.
Safety is often found in the details. Taking the time today to look at your stairs with a critical eye can make all the difference in the world. Walk through your home, check your steps, and implement these fixes. It’s a simple investment that pays dividends in peace of mind.

