Stairs are often the most intimidating part of a home, especially as we get older or begin to care for someone who has mobility challenges. At Fall Guys Products, we hear from families every day who want to know how to make their homes safer without turning them into a sterile hospital environment.
I’m Brian Kerr, the founder here, and I’ve seen firsthand how a few small oversights on a staircase can lead to big problems. The good news is that most stair-related accidents are entirely preventable. Usually, it’s not just one thing that causes a fall; it’s a combination of small mistakes that add up.
In this guide, we’re going to walk through the seven most common mistakes people make with their stairs and, more importantly, the simple, practical ways you can fix them today. Our goal is to help you feel confident and safe in your own home.
1. The "Guessing Game" of Inconsistent Steps
One of the most dangerous things about a staircase isn't necessarily how steep it is, but how unpredictable it is. Our brains are incredibly good at "mapping" a staircase within the first two steps. Once you’ve taken those first couple of strides, your muscle memory takes over, and your feet expect every following step to be exactly the same height and depth.
The mistake happens when steps vary even by a fraction of an inch. If the top step is slightly taller than the middle ones, or if the landing is deeper than the treads, it breaks that rhythm. This is often seen in older homes or DIY renovations where the "nosing" (the edge of the step) wasn't accounted for correctly.
The Fix:
You don't necessarily need to rebuild your entire staircase, but you do need to be aware of these inconsistencies. Use a tape measure to check the "rise" (height) and "run" (depth) of every step. If you find a major discrepancy, a carpenter can often add shims or adjust the treads to make them uniform. Ideally, each step should have a depth of at least 10 inches (25 cm) to ensure your entire foot has a solid place to land.
2. Choosing Style Over Grip: Decorative Handrails
We all love a home that looks beautiful, but sometimes interior design choices work against our safety. A common mistake is installing handrails that are designed for aesthetics rather than function.
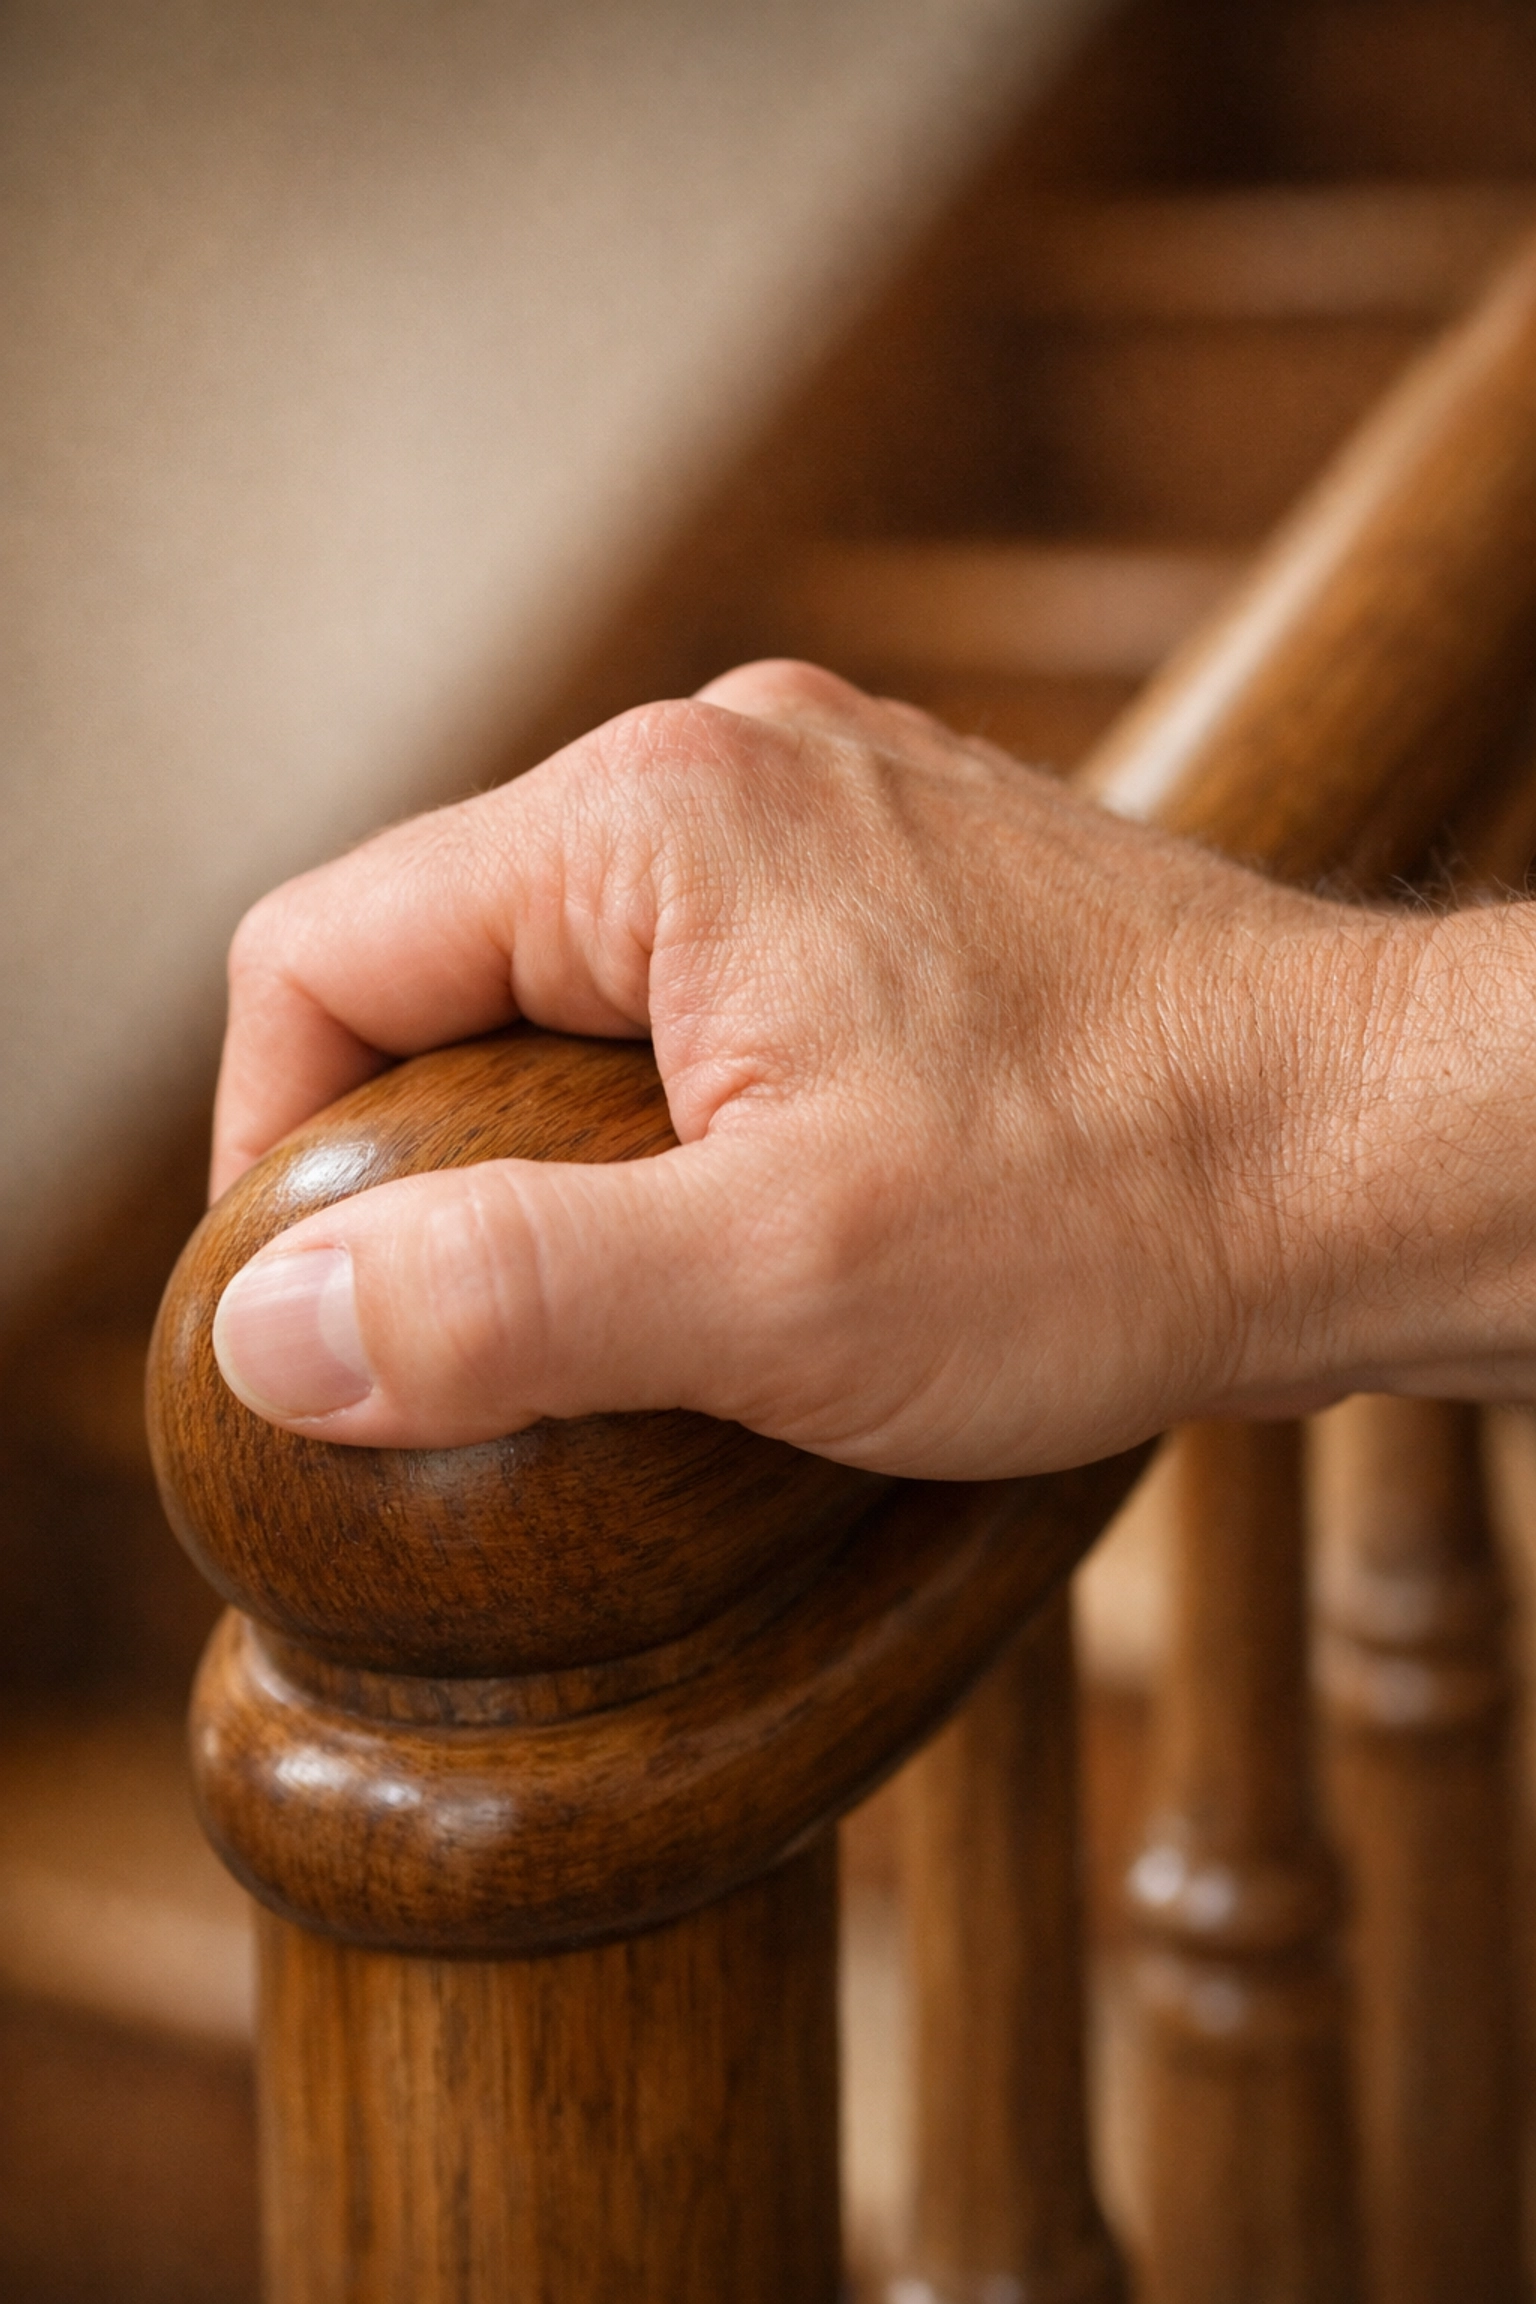
Many modern homes feature rectangular handrails, or very thick, ornate wooden rails. While they look great, they are often too wide or too awkward for a human hand to wrap around securely. In the event of a slip, you need to be able to use a "power grip": where your thumb and fingers can meet on the other side of the rail: to stabilize yourself. If the rail is a 4×4 piece of lumber or a flat board, you can only "pinch" it, which isn't strong enough to arrest a fall.
The Fix:
The ideal handrail is "circular" or "mushromed-shaped" and has a diameter between 1.25 and 2 inches. This allows for a full, secure grip. If your current rails are too bulky, you can actually install a secondary, smaller "graspable" rail alongside the existing one. Also, ensure the rail is mounted about 30 to 36 inches from the floor and extends at least 12 inches past the top and bottom steps so you have support before you even start climbing.
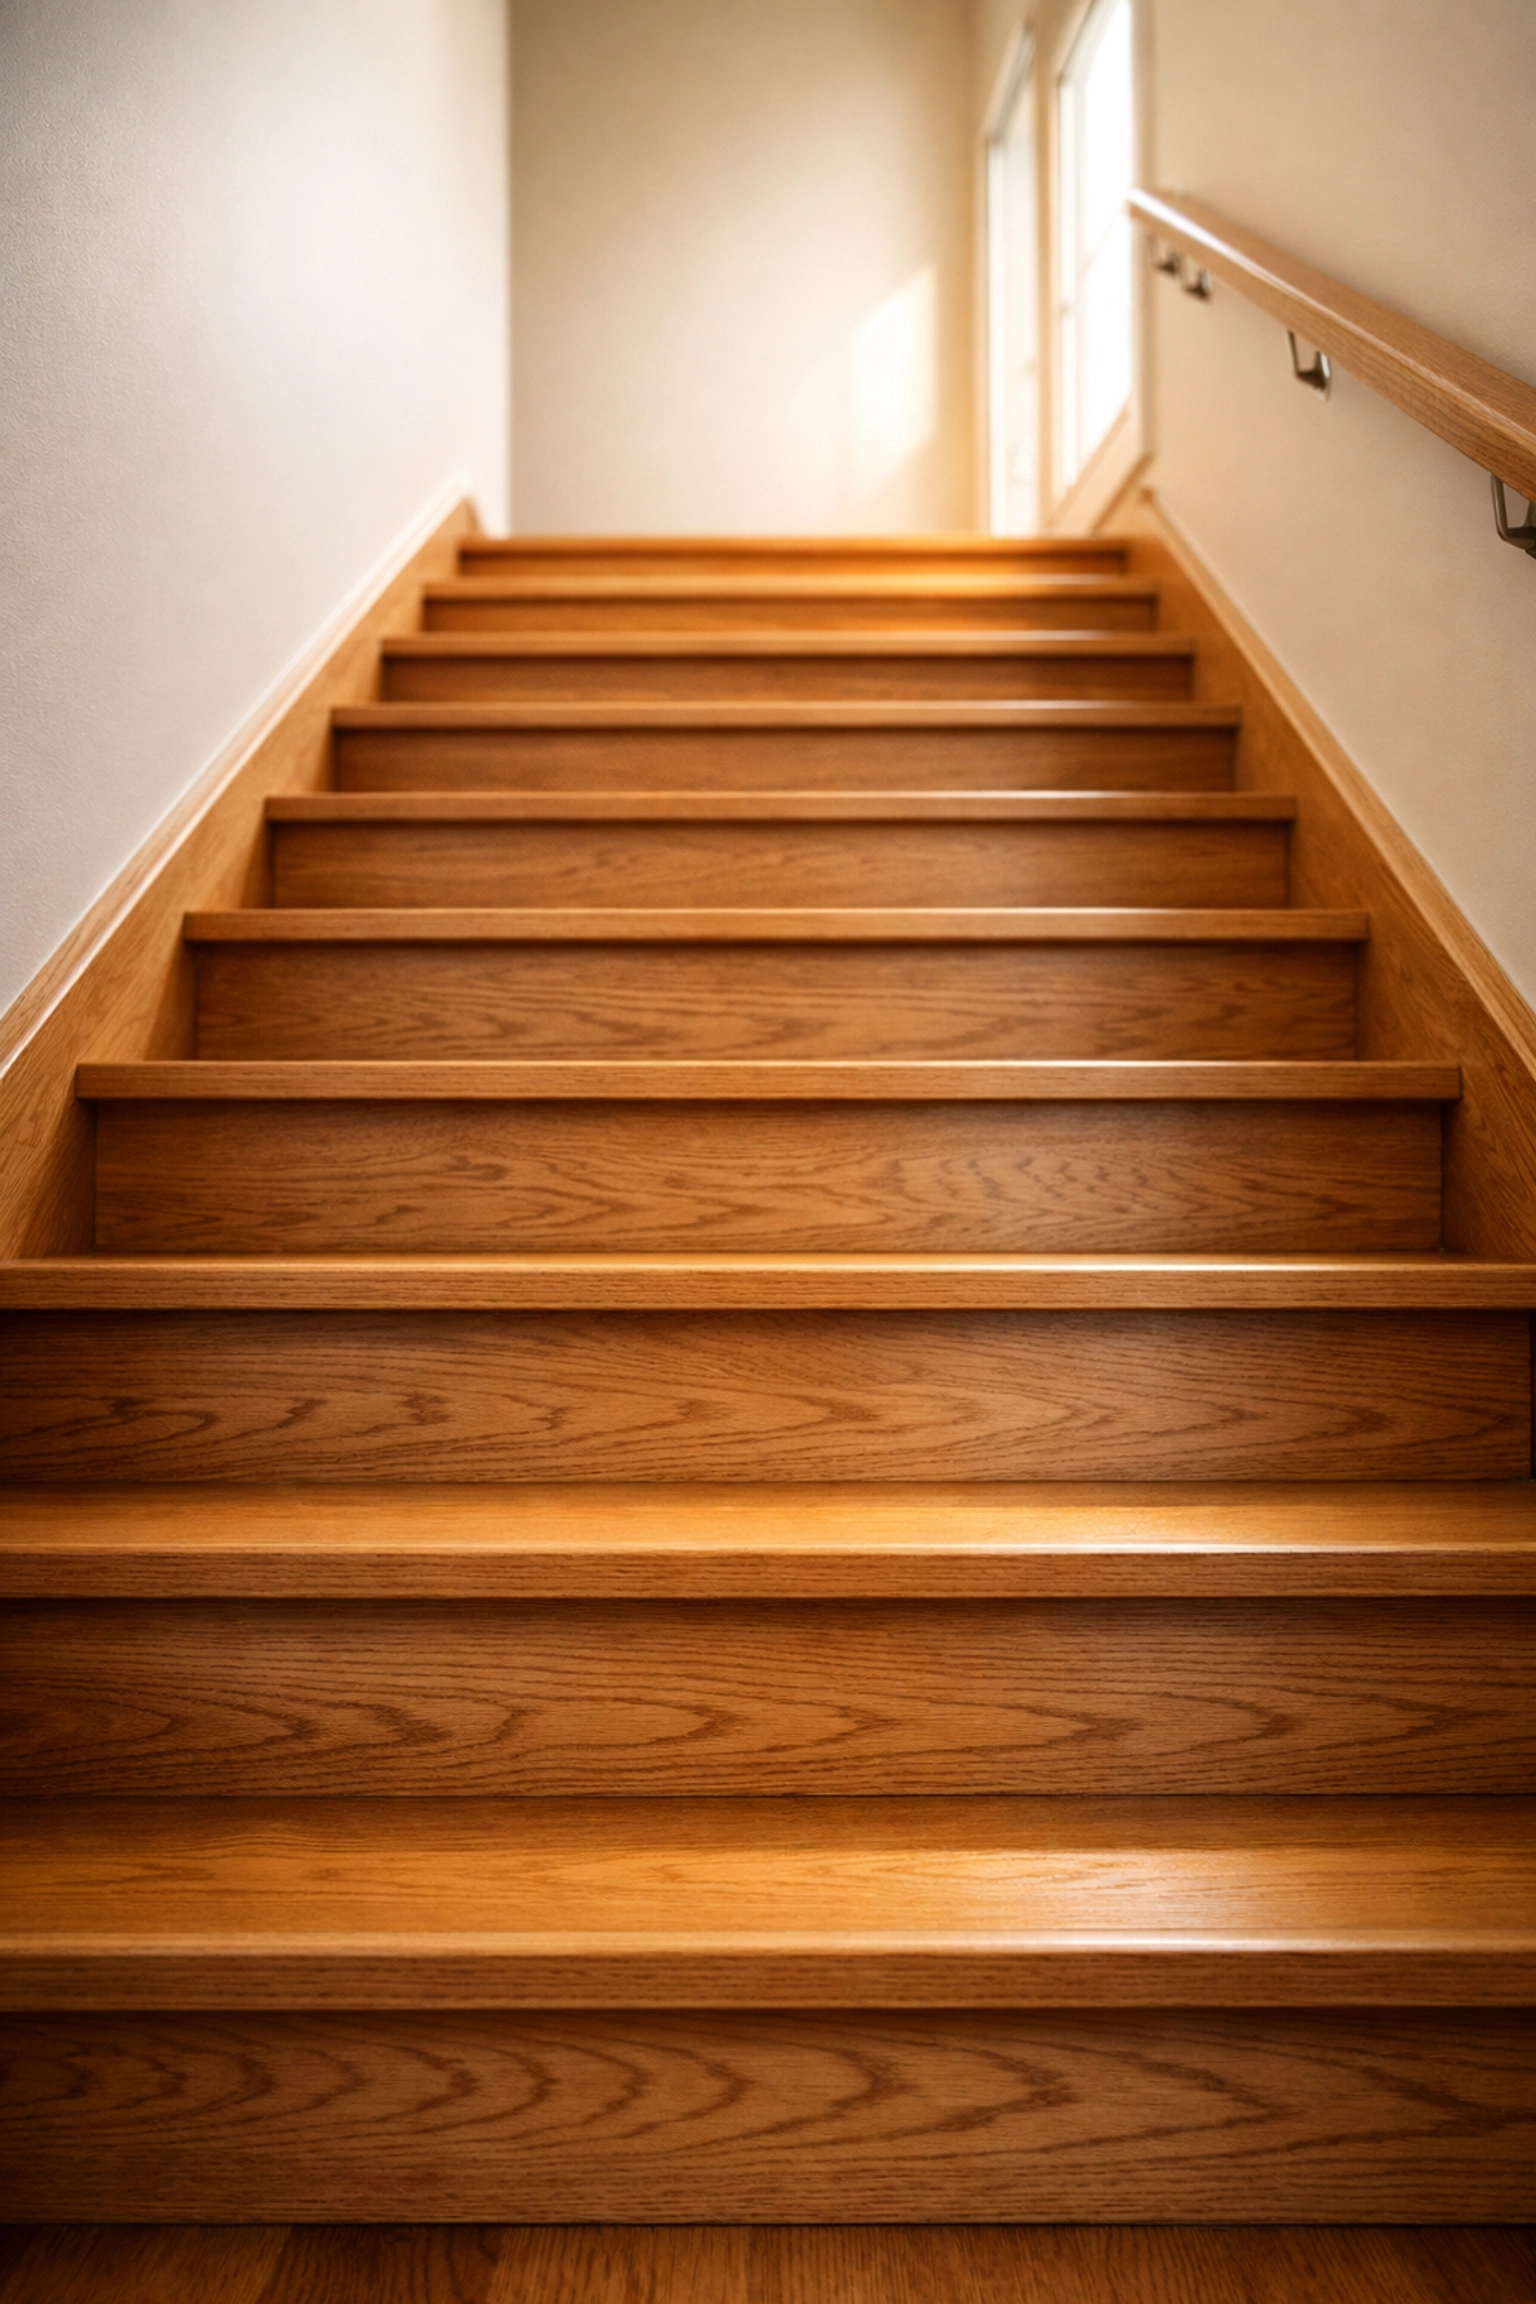
3. The Danger of the "Glossy" Look
Polished hardwood and high-gloss tile are staples of a beautiful home, but on a staircase, they can be as slippery as ice: especially if you’re wearing socks or smooth-soled slippers. Even well-maintained carpet can become a hazard if the pile is too thick, which can cause "toe-catch," or if the carpet becomes loose over time.
The mistake here is prioritizing the shine of the floor over the traction needed for safety.
The Fix:
There are several ways to add traction without ruining the look of your stairs.
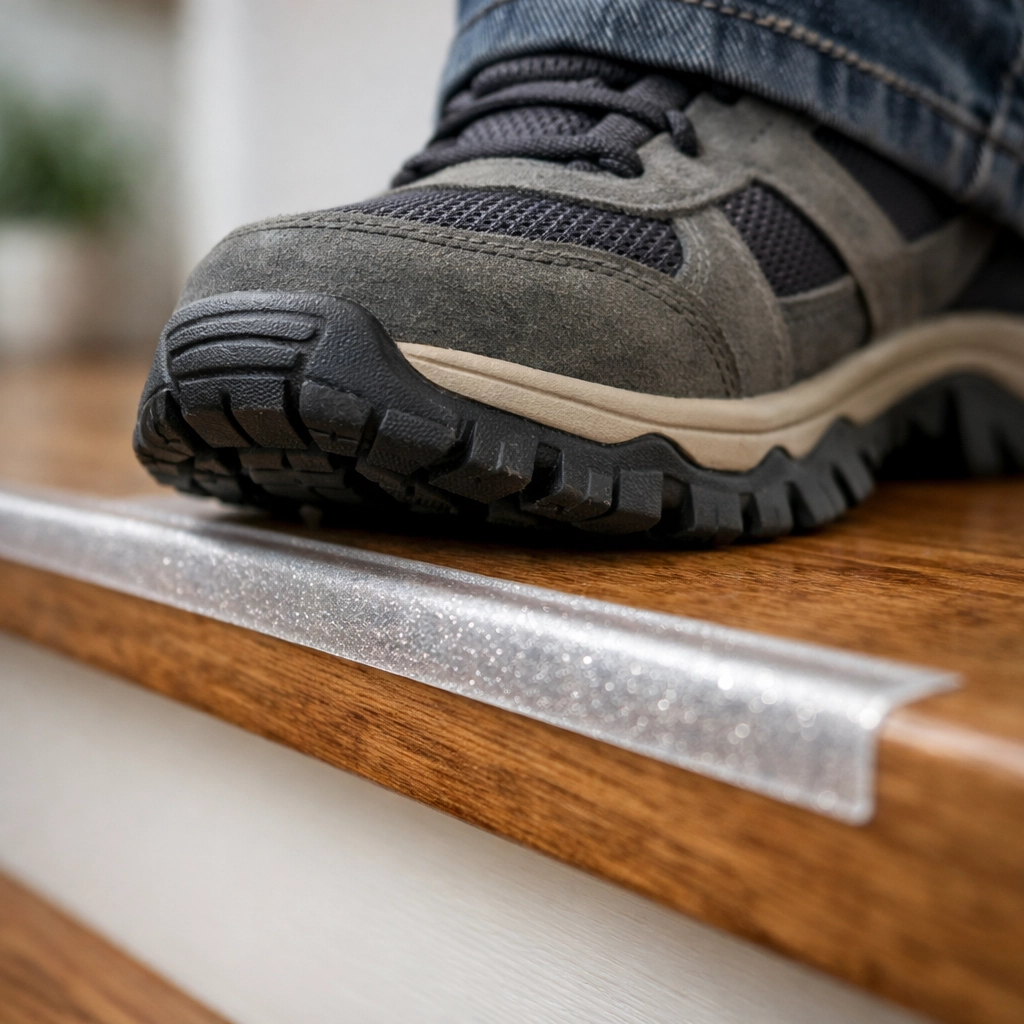
- Non-slip Treads: You can find clear, adhesive anti-slip strips that provide a "sandpaper" feel without hiding the wood grain.
- Carpet Runners: If you prefer carpet, ensure it is a low-pile, industrial-grade material that is tightly secured to every step.
- Friction Paint: For basement or outdoor stairs, adding a "grit" additive to your paint can create a much safer surface.
4. Navigating in the Shadows
Lighting is perhaps the most underrated element of fall prevention. As we age, the amount of light reaching the back of the eye decreases. A 60-year-old often needs three times as much light as a 20-year-old to see the same level of detail.
The mistake many people make is having a single overhead light at the top of the stairs that casts long shadows over the individual steps. If you can’t see exactly where the edge of the step is, you’re much more likely to misplace your foot. Furthermore, many staircases have light switches only at the top or the bottom, forcing people to navigate in the dark to reach the switch.
The Fix:
- Two-Way Switches: Ensure there is a switch at both ends of the stairs.
- LED Strip Lighting: Installing low-voltage LED strips under the lip of each step or along the baseboards provides a clear "runway" that illuminates the path without creating glare.
- Motion Sensors: Battery-operated motion lights are a fantastic, no-drill solution. They turn on automatically when you approach the stairs, which is especially helpful for middle-of-the-night trips to the kitchen or bathroom.
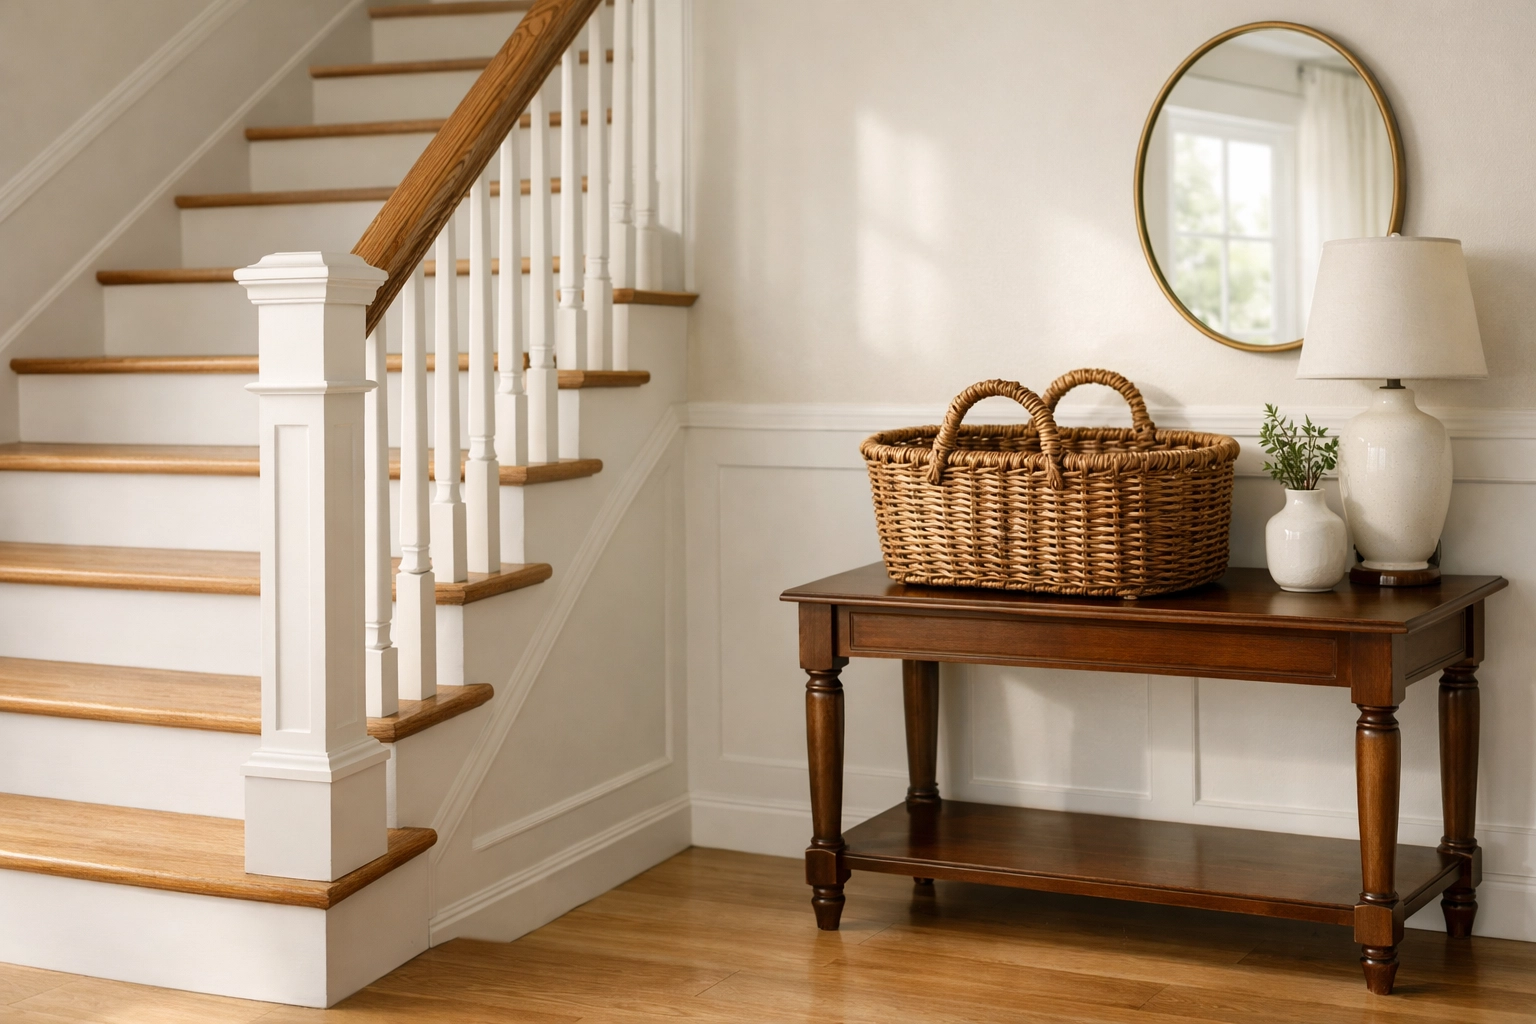
5. Using Stairs as a Staging Area
We’ve all done it: we have a pile of mail, a pair of shoes, or a basket of laundry that needs to go upstairs, so we set it on the bottom two steps to remind ourselves to take it up later.
This is one of the most dangerous habits you can have. Stairs should be a "zero-tolerance zone" for clutter. Even a small item like a stray sock or a piece of mail can cause a slip. In an emergency, or even just a moment of distraction, those items become major tripping hazards.
The Fix:
Create a "stair basket" system, but keep the baskets off the stairs. Place a dedicated basket at the top and the bottom of the staircase on a nearby table or shelf. Put items in the basket throughout the day, and only carry the basket up or down when you have a free hand to hold the railing. If you can’t carry the basket and hold the rail at the same time, ask for help or make multiple trips with smaller items in your pockets.
6. Neglecting the "Squeaks and Creaks"
Stairs take a lot of abuse over the years. Every time we walk on them, we apply hundreds of pounds of pressure. Over time, nails can loosen, wood can warp, and treads can begin to pull away from the stringers (the sides of the stairs).
The mistake is ignoring those little squeaks or that slight "give" you feel when you step on a certain board. A loose tread can shift just enough to throw off your balance, leading to a fall.
The Fix:
Regularly "audit" your stairs. Once every few months, walk up and down slowly, intentionally stepping on different parts of each tread. If you feel movement or hear loud creaks, it’s time for maintenance.
- Screws over Nails: If a tread is loose, use wood screws instead of nails to secure it; screws have much better staying power and won't "pop" back out over time.
- Wood Glue: For minor gaps, a high-quality wood glue or construction adhesive can reinforce the connection between the step and the frame.
7. The "Bottom-Step Illusion"
Have you ever been walking down a flight of stairs and thought you reached the floor, only to realize there was one more step? Or perhaps you thought there was one more step when you were actually on flat ground? This is what we call the "bottom-step illusion."
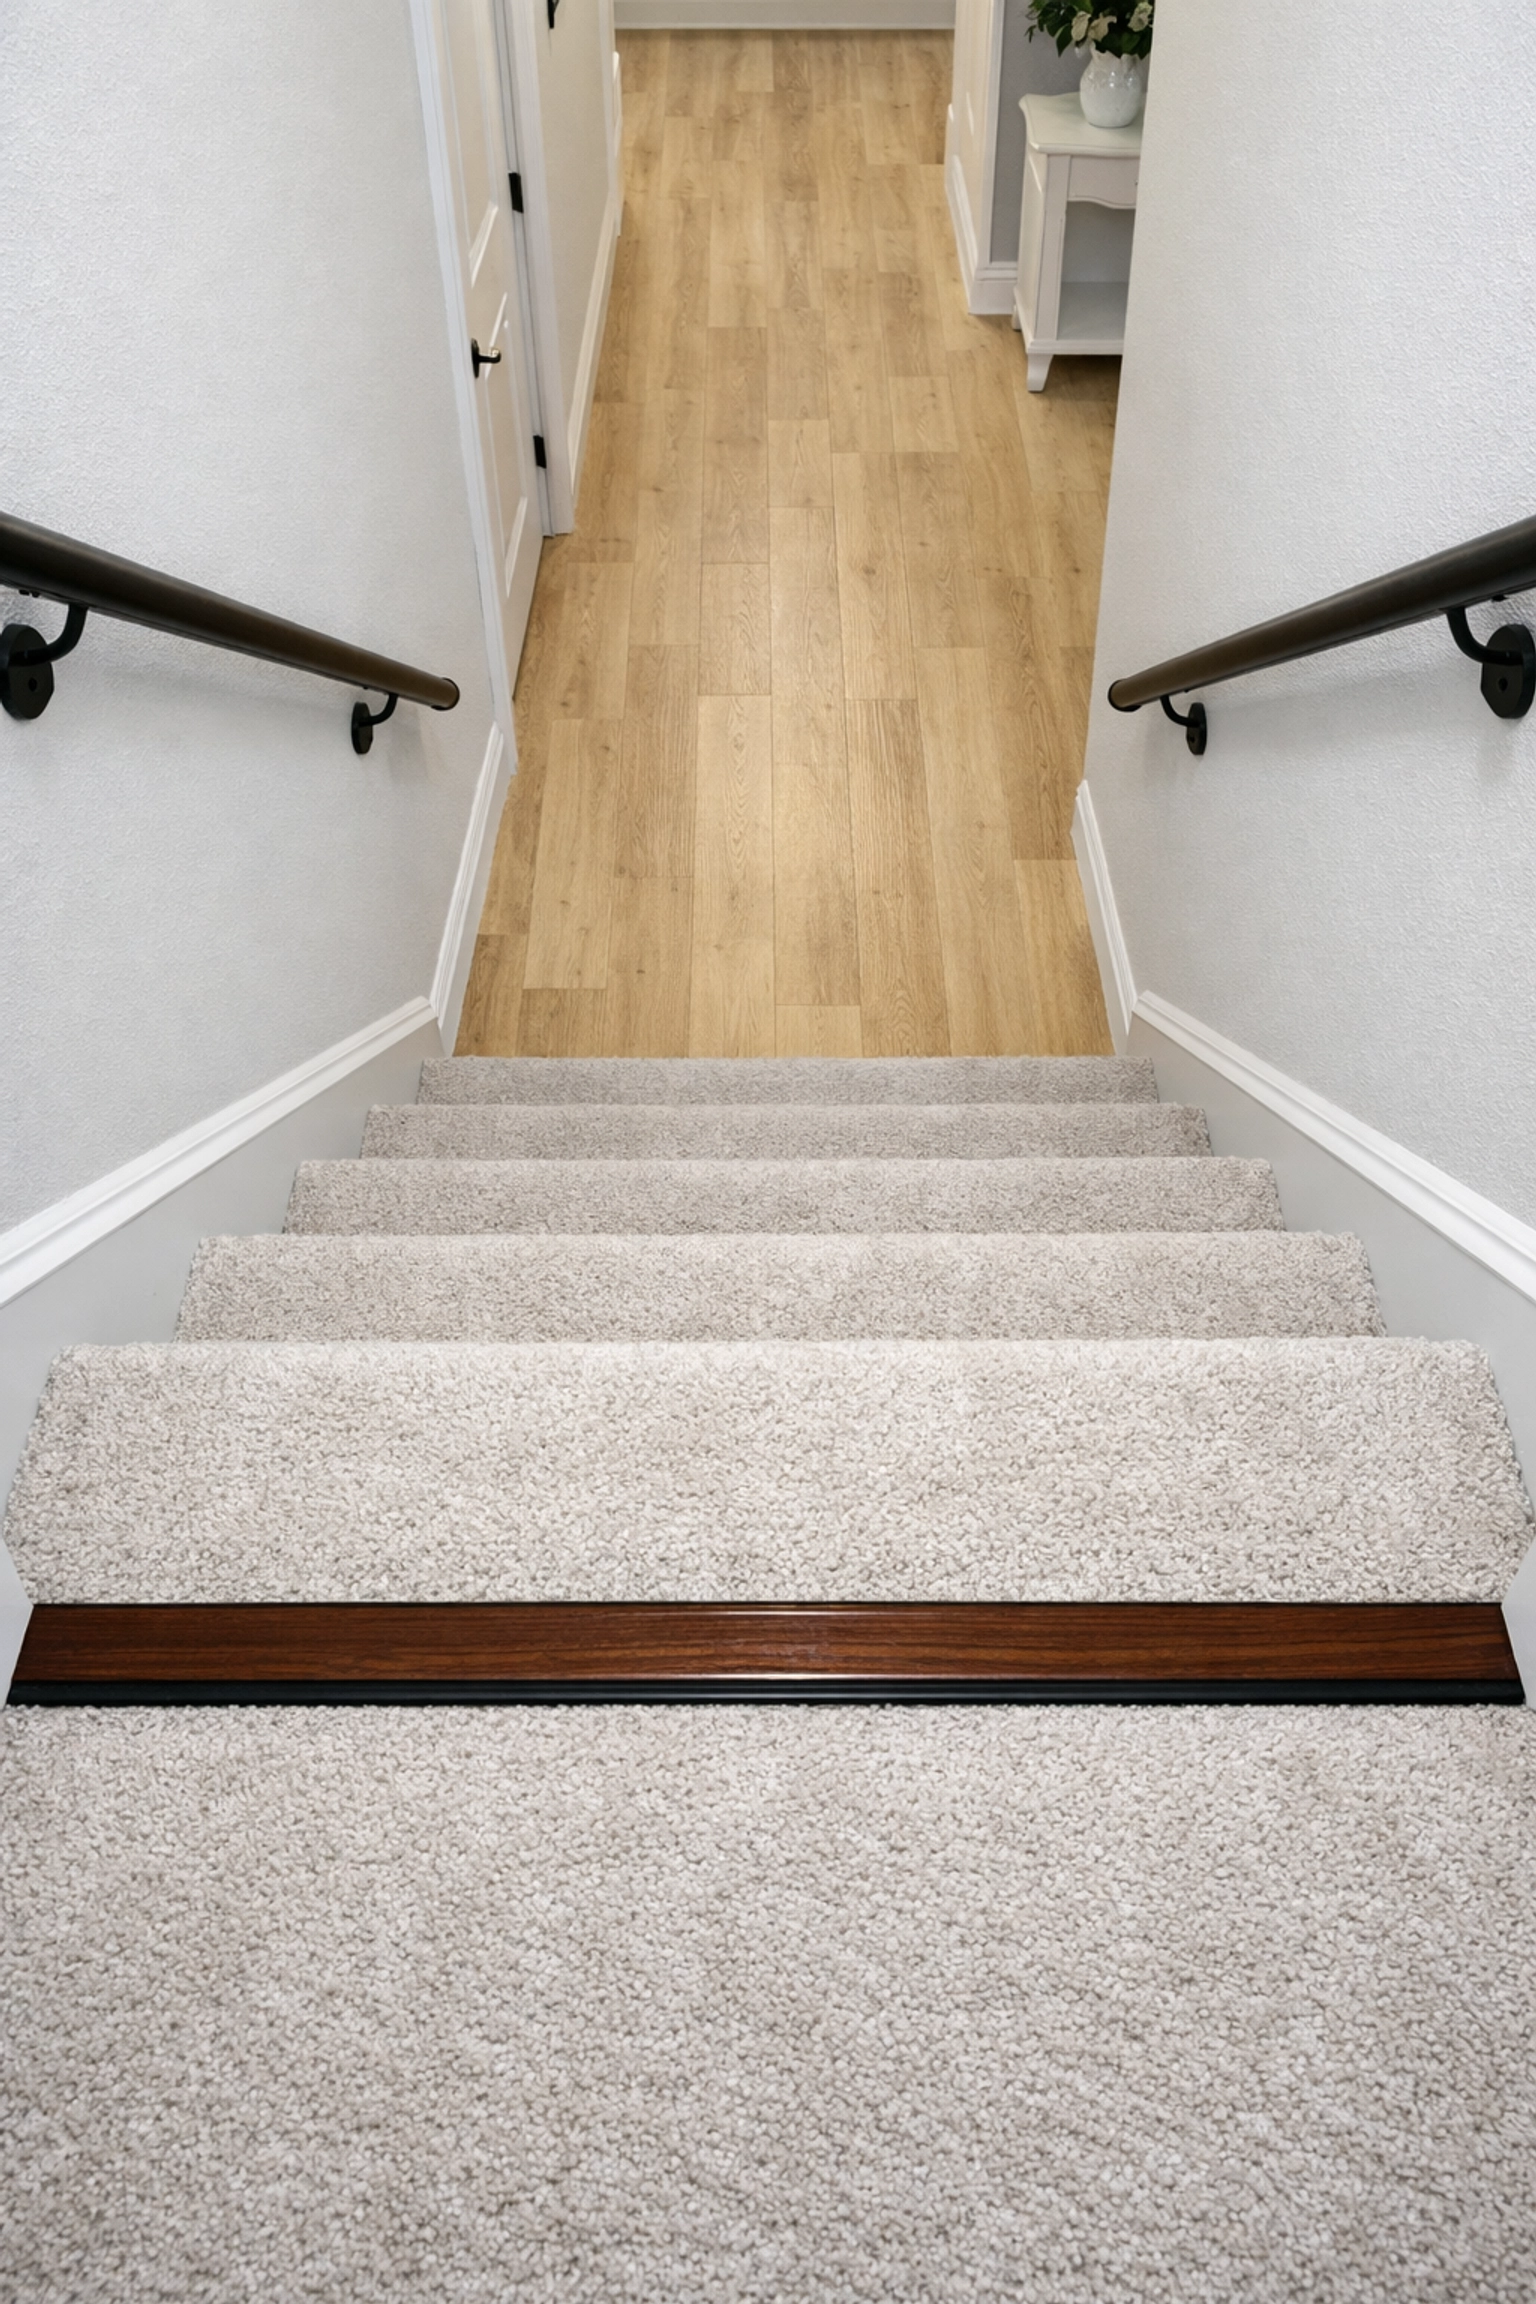
This happens most often when the flooring of the staircase matches the flooring of the landing perfectly. Visually, the last step blends into the floor, making it impossible for the eye to distinguish where the elevation change happens. This is a leading cause of "missed-step" falls, which can be particularly jarring for the hips and spine.
The Fix:
The key here is visual contrast. You want the edge of each step: and especially the transition to the floor: to be very obvious.
- Contrasting Tape: A strip of colored, slip-resistant tape on the edge of the last step can provide a clear visual cue.
- Different Materials: If you are renovating, consider using a slightly different shade of wood or a different pattern for the landing compared to the stairs.
- Paint: A simple line of contrasting paint along the "nose" of each step can make a world of difference for someone with declining vision or depth perception.
Bonus: Safe Stair Habits
Even with the safest physical staircase in the world, our behavior matters. Here are a few final tips for navigating stairs safely:
- The Two-Hand Rule: If possible, have handrails on both sides of the stairs. This allows you to use both hands for stability, which significantly reduces the load on your knees and improves balance.
- Take Your Time: Never rush. The "just one more thing" mentality often leads to rushing up the stairs, which is when most accidents happen.
- Footwear Matters: Avoid walking on stairs in stocking feet. Bare feet are better than socks, but supportive shoes with rubber soles are the safest option.
- Vision Checks: Ensure your glasses are updated. Bifocals can be particularly tricky on stairs because they can distort your depth perception when you look down. If you wear bifocals, take extra care to tilt your head down so you are looking through the top (distance) portion of the lens when navigating steps.
Final Thoughts
Stair safety isn't about one big expensive fix; it’s about paying attention to the details. By fixing these seven common mistakes: ensuring uniformity, improving grip, adding traction, brightening the lights, clearing the clutter, maintaining the structure, and creating visual contrast: you can make your home a much safer place.
At Fall Guys Products, we believe that staying safe at home is the best way to maintain your independence. Take a few minutes today to walk your staircase and see which of these fixes you can implement. It’s a small investment of time that offers huge peace of mind for you and your family.