No-drill grab bars have become a popular safety solution for people who want the stability of a traditional grab bar without permanently altering their walls. Whether you're renting, living in a senior community with strict modification rules, or simply prefer a less invasive installation, these adhesive-mounted bars offer real benefits.
But here's the thing: just because they don't require drilling doesn't mean they're foolproof. In fact, improper installation is the leading cause of adhesive grab bar failures. When installed correctly, these bars can support significant weight and provide reliable assistance. When installed incorrectly, they become a serious safety hazard.
Let's walk through the seven most common mistakes people make with no-drill grab bars, and more importantly, how to avoid them.
Mistake #1: Skipping Proper Surface Preparation
This is the single biggest reason adhesive grab bars fail. Many people treat installation like hanging a picture frame: they find a spot, stick it up, and call it done. But adhesive systems require a specific type of surface to create a strong bond.
The surface needs to be completely flat at all fastening points. Even small gaps or a slight rocking motion can compromise the entire installation. The adhesive needs full contact across its entire surface area to achieve maximum holding strength.
How to Fix It:
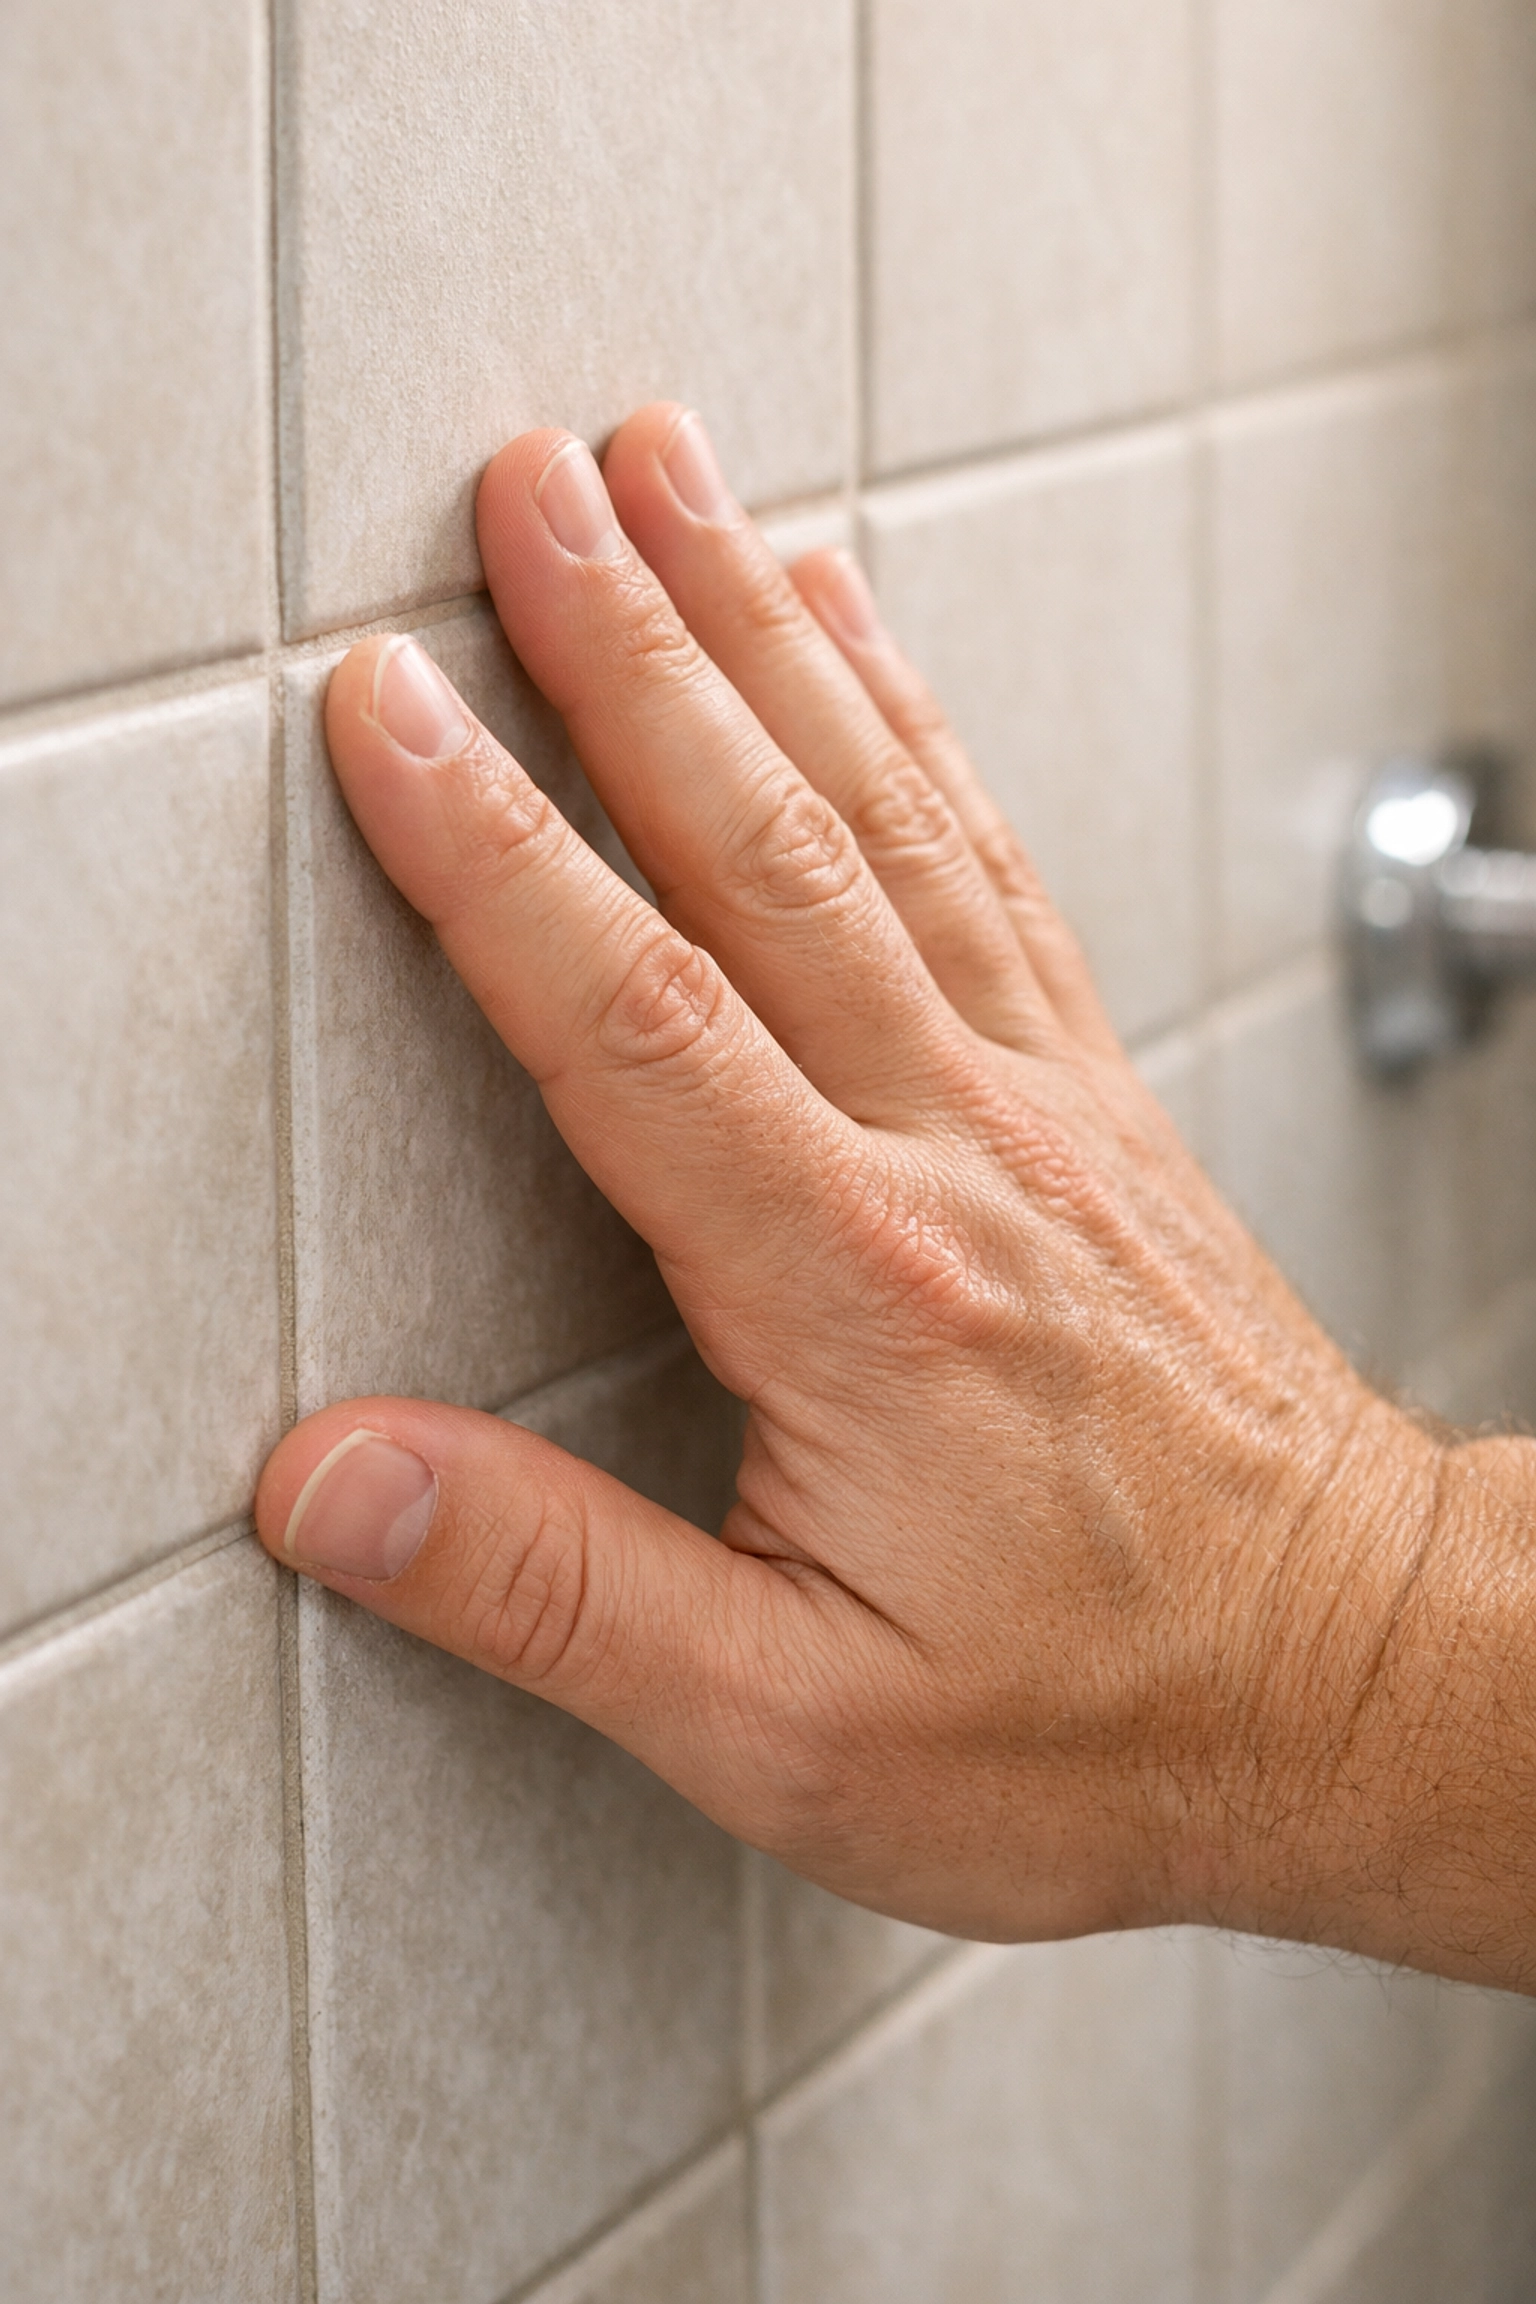
Start by choosing your location carefully. Run your hand across the wall surface where you plan to install the bar. Feel for any texture, bumps, or irregularities. If you're working with tile, check that the tiles themselves are firmly attached and not loose.
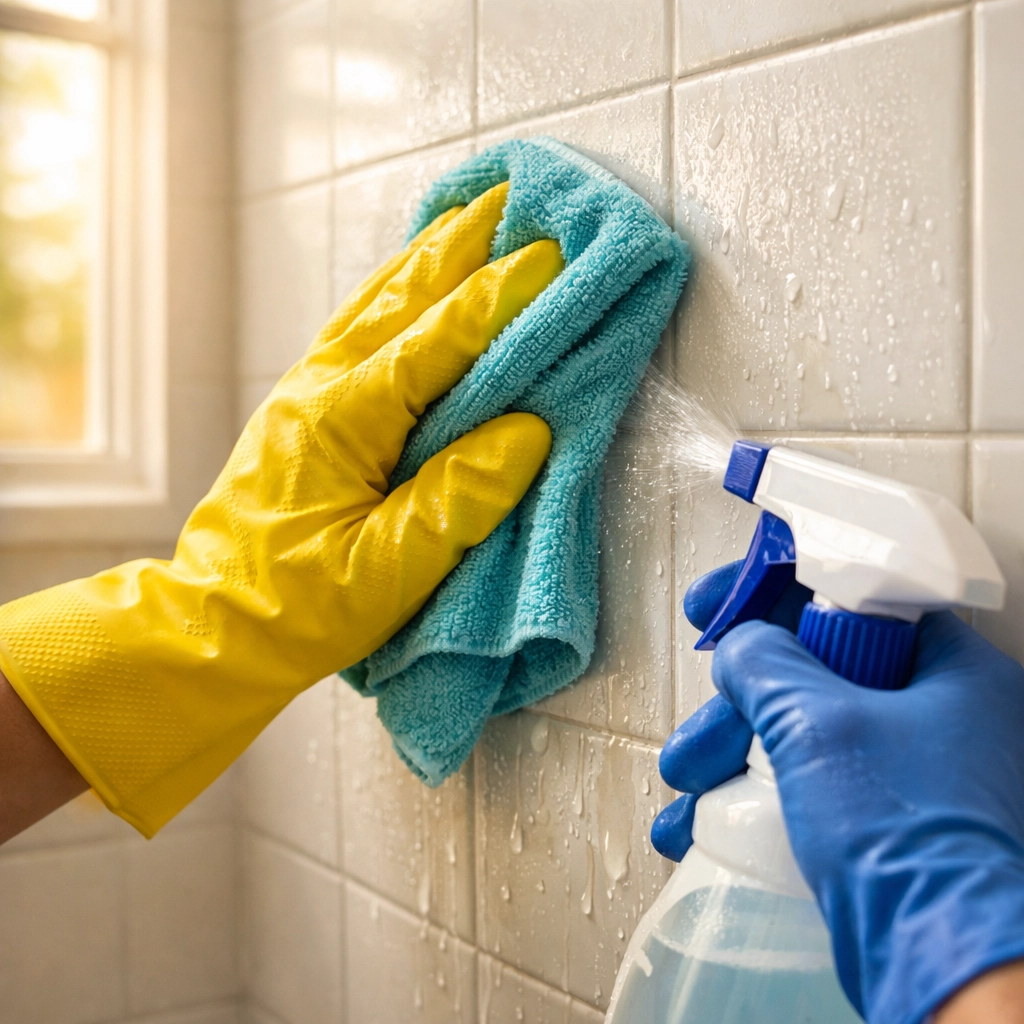
Clean the area thoroughly with rubbing alcohol or a similar degreaser. This removes soap scum, body oils, cleaning product residue, and any other contaminants that prevent proper adhesion. Let the surface dry completely: and we mean completely. Even moisture you can't see can interfere with bonding.
If you're installing over tile, make sure you're working with smooth, glazed ceramic or porcelain. Textured tiles, porous natural stone, or rough surfaces won't provide adequate contact for the adhesive.
Mistake #2: Rushing the Curing Process
Picture this: you've just installed your new grab bar, and you're eager to test it out. You give it a tug, it feels solid, and you consider the job done. But here's what many people don't realize: that initial stick is not the final bond strength.
Most adhesive systems require a minimum curing time of 12 to 24 hours before they reach full strength. During this time, chemical processes are occurring within the adhesive that create the permanent bond. Interrupting this process by applying weight or pressure can permanently weaken the installation.
How to Fix It:
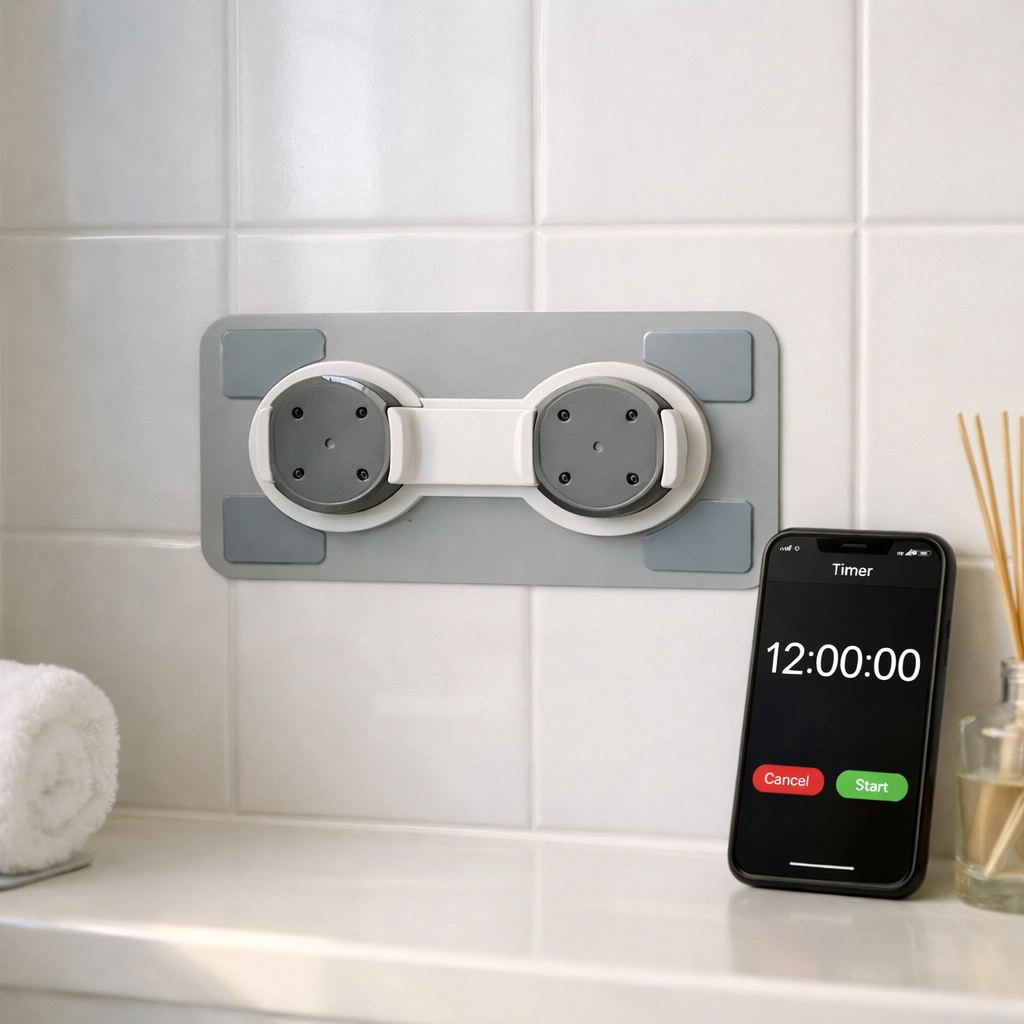
Read the manufacturer's instructions for the specific curing time required. Mark your calendar or set a reminder on your phone. Resist the urge to test the bar during this period.
If you're installing a grab bar in an area that's frequently used, like near a toilet or in a shower, plan your installation timing accordingly. Install it before bed so it can cure overnight, or choose a time when household members can use an alternative bathroom.
Consider placing a piece of tape or a note near the grab bar as a visual reminder not to use it until the curing time has elapsed. This is especially important in households with multiple people who might not know about the installation.
Mistake #3: Installing on Questionable Wall Surfaces
Not all walls are created equal, and not all walls can safely support an adhesive grab bar system. The strength of your installation is only as good as the wall surface itself.
Older walls may have paint that's beginning to separate from the underlying surface. Walls with water damage may have weakened drywall or compromised structural integrity. In these cases, even perfectly applied adhesive won't help: you're essentially gluing something to a surface that's already failing.
How to Fix It:
Before installation, inspect your walls carefully. Look for signs of water damage like discoloration, soft spots, or bubbling paint. Press firmly on the wall in several places to check for movement or weakness.
If the existing paint is old or flaking, consider whether the paint itself will remain attached to the wall. Sometimes the adhesive will bond perfectly to the paint, but then the paint peels away from the wall, taking your grab bar with it.
For walls with glossy paint or finishes, light sanding can help improve adhesion. Just remember to clean away all dust afterward with that alcohol wipe we mentioned earlier.
If you discover wall problems during your inspection, you'll need to address those issues first. This might mean repainting, patching damaged drywall, or in some cases, acknowledging that this particular location isn't suitable for an adhesive system.
Mistake #4: Applying Too Much Pressure During Installation
This mistake is counterintuitive. Most of us have learned that pressing firmly when applying adhesive creates a better bond. But with no-drill grab bar systems, excessive pressure during the initial attachment can actually work against you.
Here's why: when you press down too hard on the mounting adapter after making contact with the wall, you can create air pockets and cavities within the adhesive. These voids significantly reduce the contact area and limit bond strength. Additionally, disturbing the adapter by shifting or pressing after initial contact can introduce gaps that never properly seal.
How to Fix It:
Follow the installation instructions precisely regarding pressure application. Typically, you'll want to press the mounting adapter firmly to the wall, but stop once contact is made across the entire surface.
Avoid the temptation to "make sure it's really stuck" by pressing harder or wiggling the adapter. Once it touches the wall, leave it alone and let the adhesive do its job.
If you make a mistake during this step, don't try to reposition the adapter. Most systems cannot be removed and reattached without completely replacing the adhesive components. It's better to use a new adapter than to compromise the installation.
Work methodically when attaching multiple mounting points. If your grab bar uses two or more adhesive adapters, install them one at a time with careful attention to alignment. Use the grab bar itself as a template to mark positions before applying any adhesive.
Mistake #5: Ignoring the Hardware Installation Details
Once your adhesive adapters are in place and cured, you might think the hard part is over. But the final assembly: attaching the actual grab bar to the mounting adapters: requires attention to detail as well.
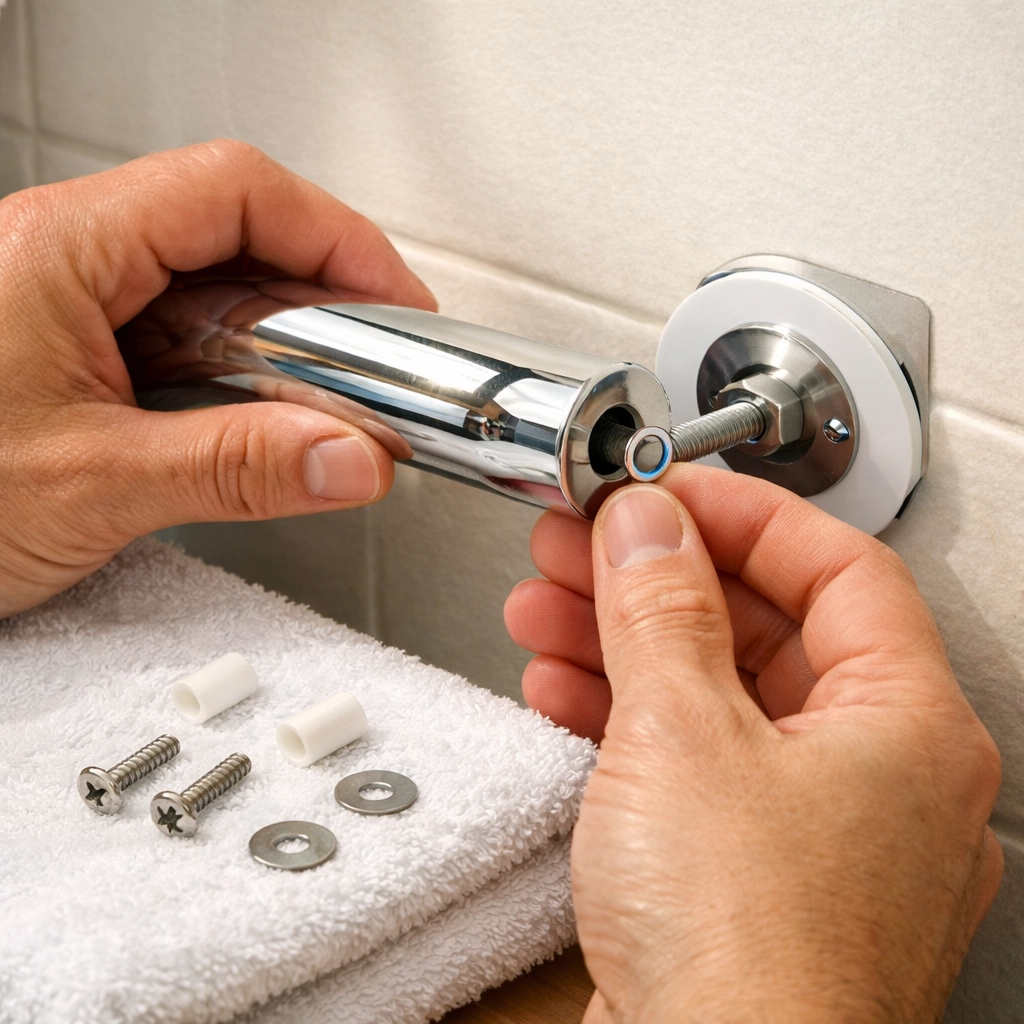
Many systems use specific hardware like screws and spacers. These aren't just random parts thrown in the box. They serve important functions in distributing force and protecting the adhesive bond during use.
How to Fix It:
When reattaching the grab bar to the cured adapters, start by loosely threading all screws before tightening any of them. This ensures proper alignment and prevents binding or stress on individual mounting points.
If your system includes spacers, use them. These components help distribute forces and prevent the grab bar from putting direct pressure on the adapter that could damage the adhesive bond over time.
Check the orientation of your grab bar. If the mounting holes don't line up, you might need to flip the bar over. Some grab bars are reversible, and installing them upside down can cause alignment issues.
Tighten screws to snug: not as tight as you possibly can. Over-tightening can stress the mounting system and potentially pull the adapters away from the wall. The grab bar should feel solid without any play, but you shouldn't be straining to tighten the fasteners.
Mistake #6: Choosing the Wrong Location for Your Needs
This mistake is less about installation technique and more about practical functionality. People often install grab bars in locations that seem logical but don't actually match how they'll use them.
A grab bar positioned too high or too low won't provide effective assistance. A vertical bar placed where you need horizontal support won't help much. The best installation in the world won't matter if the bar isn't where you need it when you need it.
How to Fix It:
Before you commit to a location, physically act out the movements you'll be making. If it's for getting in and out of the shower, step through that motion and identify where your hand naturally reaches for support.
Consider your personal height and mobility patterns. Standard recommendations are useful starting points, but your specific needs might differ. For example, a taller person may need the bar positioned higher than average recommendations suggest.
Think about the direction of force you'll be applying. When standing up from a toilet, you typically pull upward and slightly forward. When stepping into a shower, you might pull horizontally while shifting your weight. The grab bar needs to be positioned and oriented to handle these specific force directions.
Don't forget about clearance. Make sure the grab bar location doesn't interfere with doors, cabinets, or other fixtures. You need enough space to grip the bar comfortably and move around it safely.
Mistake #7: Failing to Test Properly After Installation
After waiting through the curing period and completing the installation, it's tempting to simply start using your grab bar. But proper testing is an important final step that many people skip.
Testing isn't just about checking if the bar is attached: it's about verifying that it's secure enough to provide safe support and identifying any potential issues before you're depending on it in a vulnerable situation.
How to Fix It:
Once the full curing time has elapsed, perform a systematic test. Stand in a secure position where you won't fall if something goes wrong, and grip the bar firmly. Apply gradually increasing pressure in the direction you'll typically use it.
Test multiple directions. Pull down, push up, pull outward from the wall. While no-drill bars aren't typically rated for the same weight capacity as properly installed traditional grab bars, they should feel solid with no movement, flexing, or concerning sounds.
Listen carefully during testing. Creaking, popping, or cracking sounds indicate problems. The bar should be silent when you apply force to it.
Check the mounting points visually after testing. Look for any gaps appearing between the adapters and the wall. The adapters should remain flush against the surface with no lifting at the edges.
Establish a regular inspection routine. Every few weeks, give the bar a firm tug and visually inspect the mounting points. Adhesive bonds can weaken over time, especially in humid environments like bathrooms. Early detection of problems is much better than discovering an issue during a fall.
Understanding the Limitations
While we've focused on proper installation, it's equally important to understand what no-drill grab bars can and cannot do. These systems are engineered to provide support and stability for people with good overall mobility who need occasional assistance with balance.
They're not designed to support someone's full body weight in a fall scenario the way professionally installed, screw-mounted grab bars can. They work best for people who need help with balance while standing, stepping, or making position changes: not for full weight-bearing support.
The environment matters too. Bathrooms with high humidity and temperature fluctuations can gradually weaken adhesive bonds. Regular inspection becomes even more important in these conditions.
Making the Right Choice for Your Situation
No-drill grab bars serve an important purpose for many people. They provide an accessible safety solution when traditional installation isn't possible or practical. When installed correctly: avoiding the mistakes we've covered: they can be reliable safety aids.
However, if you have significant mobility limitations, a history of falls, or need to rely heavily on grab bars for weight-bearing support, traditional screw-mounted grab bars installed into wall studs or with appropriate blocking remain the gold standard for safety and reliability.
There's no shame in reassessing your needs. If you find yourself gripping your grab bar harder than anticipated, relying on it more frequently, or feeling uncertain about its stability, it might be time to consider a more permanent installation or consult with an occupational therapist about your specific safety needs.
The goal isn't just to have a grab bar on the wall: it's to have safety support you can trust when you need it most. Taking the time to install no-drill grab bars correctly, understanding their limitations, and regularly maintaining them helps ensure they serve that purpose effectively.

