For many seniors and homeowners, the idea of drilling into expensive bathroom tile is a major deterrent to installing safety equipment. It is loud, messy, and if you rent your home, it might even be against the rules. This is why no-drill grab bars: which typically use high-strength adhesives or tension systems: have become a popular alternative. They offer a sense of security without the permanent structural changes.
However, because these bars don't rely on the structural integrity of wall studs, the margin for error during installation is much smaller. A small oversight in how you prep the wall or how long you wait for the adhesive to dry can be the difference between a steady handhold and a dangerous fall.
If you are considering these for your home or a loved one’s bathroom, it is important to understand the common pitfalls. Here are seven mistakes people frequently make with no-drill grab bars and exactly how to fix them to ensure your bathroom remains a safe environment.
1. Mistaking "Suction Cups" for "Permanent No-Drill" Solutions
One of the most common mistakes is confusing temporary suction-cup bars with professional-grade no-drill adhesive bars. Suction cup bars are intended only for balance assistance: meaning they can help you steady yourself while standing, but they are not designed to hold your full body weight if you actually slip.
Suction is prone to failing over time as air slowly leaks into the vacuum seal. In contrast, true no-drill grab bars use a high-performance structural adhesive (often a specialized German-engineered glue or a high-bond tape system) that creates a semi-permanent chemical bond with the tile.
How to Fix It:
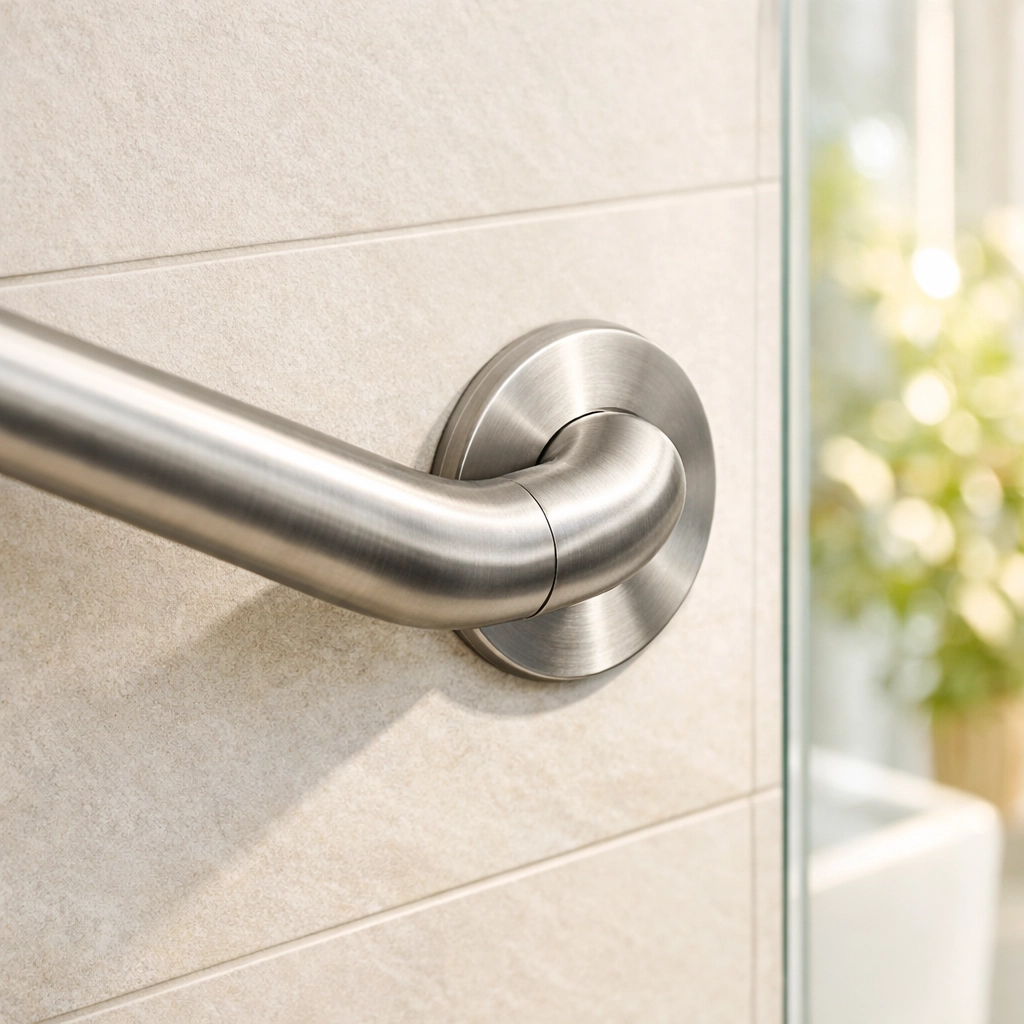
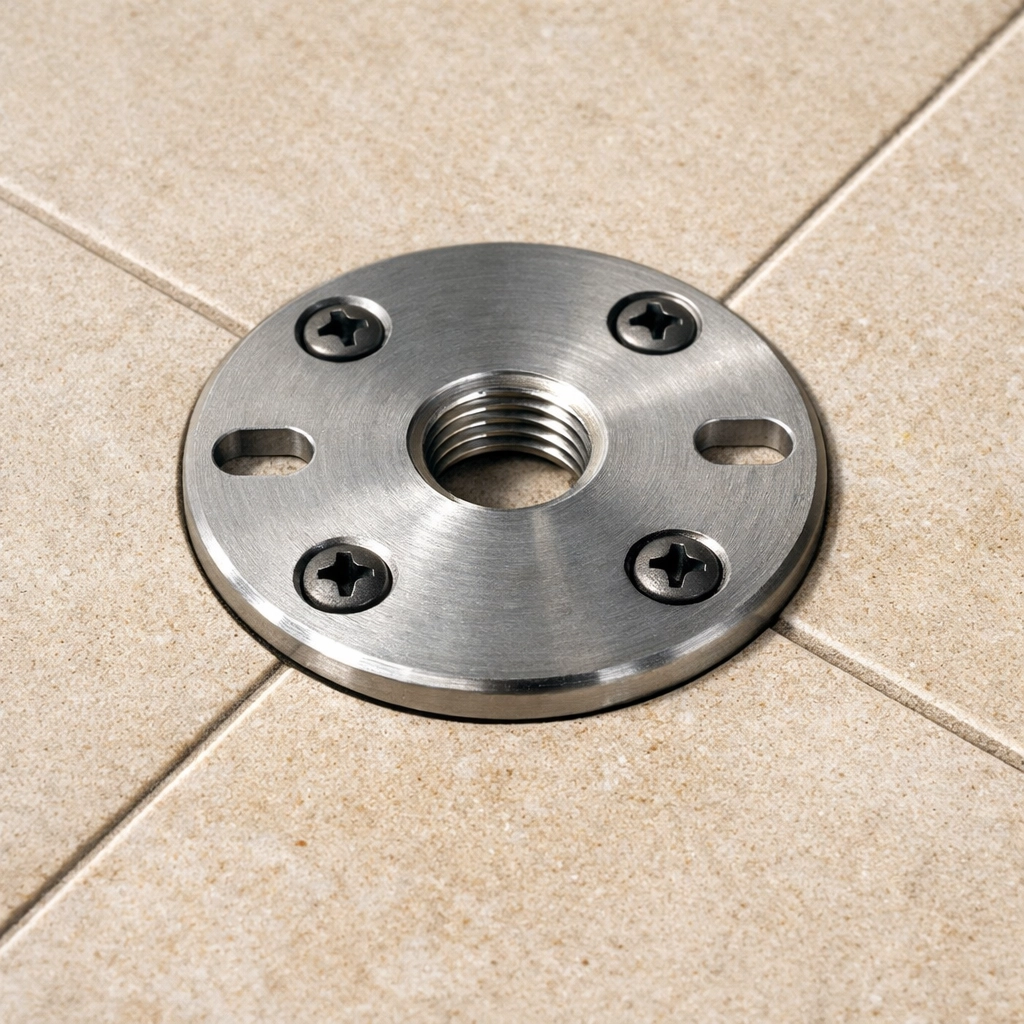
Before you buy, check the weight rating and the mounting technology. If the bar relies on a lever and a rubber cup, it is a suction bar and should be used with extreme caution. If your goal is true fall prevention where the bar might need to support a significant portion of your weight, look for adhesive systems that utilize a mounting plate and structural glue.
2. Inadequate Surface Preparation
You might look at your shower wall and think it looks clean, but "bathroom clean" and "chemically clean" are two different things. Even if the tile looks shiny, it is likely coated in a thin layer of soap scum, body oils, or residue from household cleaners.
Standard glass cleaners or multi-purpose sprays often leave behind a microscopic film or "scenting" oils. If you apply an adhesive or a suction plate over this film, the bar isn't actually sticking to the tile; it’s sticking to the soap scum. Over time, that layer will peel away from the tile, taking the grab bar: and potentially the person holding it: down with it.
How to Fix It:
The gold standard for cleaning a surface for a no-drill grab bar is 90% (or higher) Isopropyl alcohol. You should scrub the area vigorously with a clean, lint-free cloth and the alcohol. Avoid using "moisturizing" wipes or anything with a scent. Once cleaned, let the surface air dry for at least 10 to 15 minutes to ensure all moisture has evaporated before beginning the installation.
3. Ignoring the Grout Lines
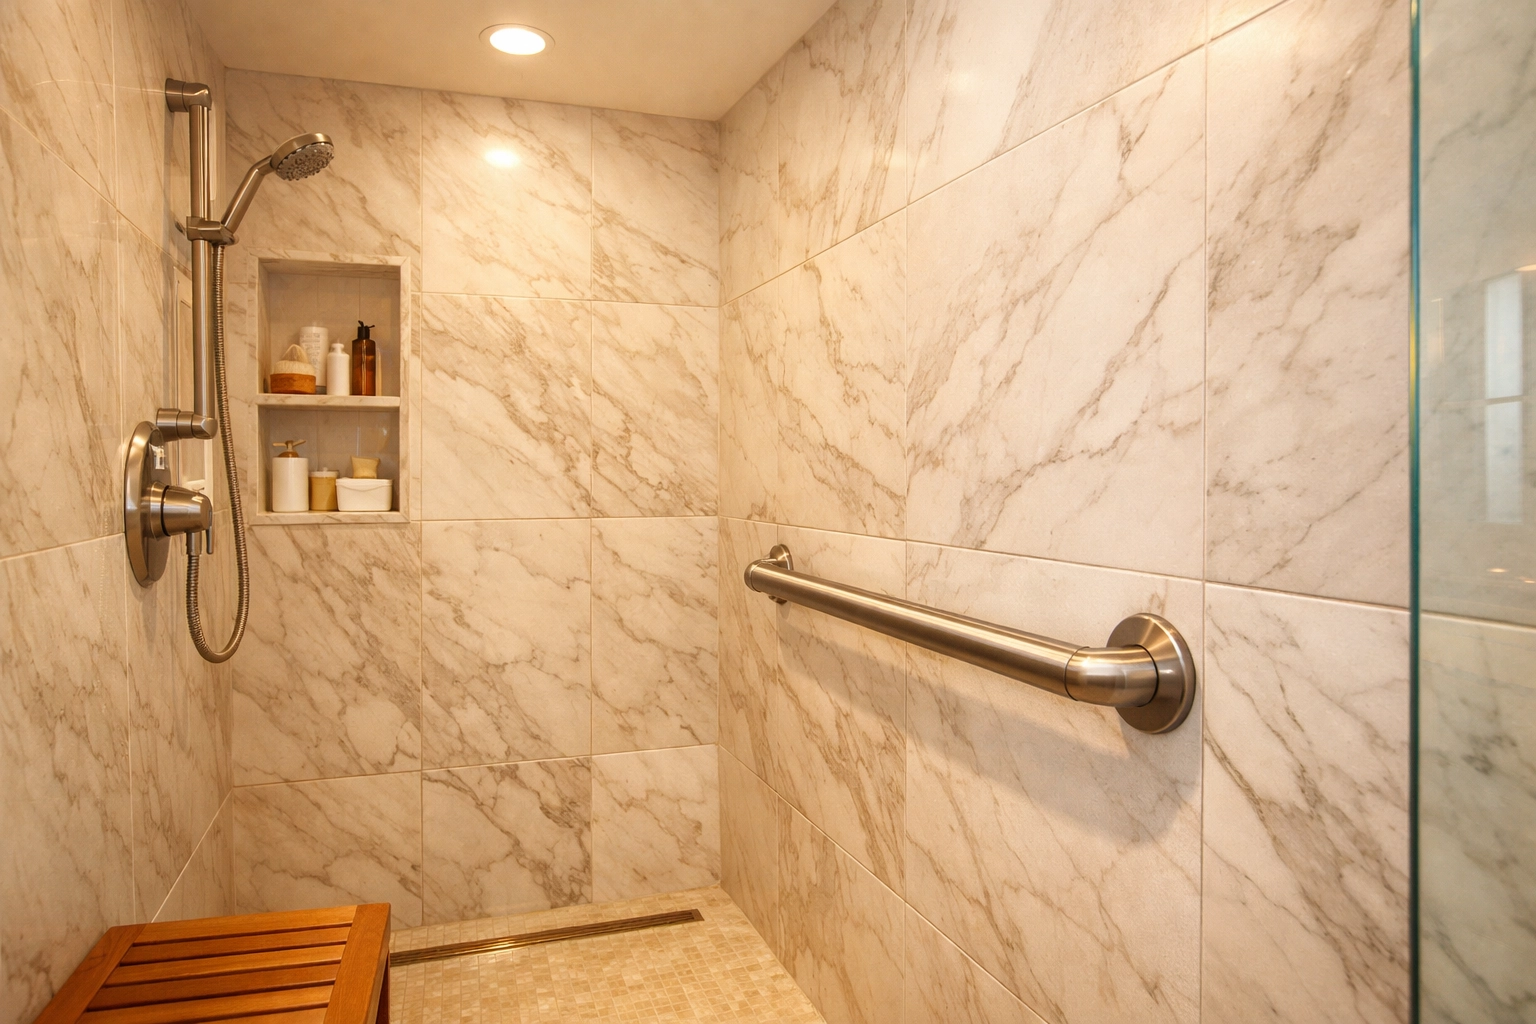
This is a physical limitation that many people overlook. For a no-drill bar to work, it requires a perfect, airtight, and flat seal against a non-porous surface. If you place a mounting plate or a suction cup over a grout line, you are creating a "bridge."
Grout is porous, meaning it breathes. If air or moisture can get under the mounting plate through the grout line, the adhesive will eventually degrade, or the vacuum seal will pop. Furthermore, grout is often recessed, meaning the mounting plate won't have 100% contact with the surface, significantly reducing its weight-bearing capacity.
How to Fix It:
Always measure your tiles before purchasing a no-drill bar. Ensure the mounting plates are smaller than the individual tiles so they can sit entirely on the flat, smooth surface of the tile without touching the grout. If your bathroom has very small tiles (like 1-inch mosaics), no-drill bars are generally not a safe option, and you should consider a floor-to-ceiling tension pole or a traditional bolt-down bar instead.
4. Failing to Respect the Curing Time
We live in a world of "instant," but chemical bonds take time to reach their full strength. One of the most dangerous mistakes is installing an adhesive grab bar and using it for a shower just a few hours later.
When you apply a structural adhesive, it needs to undergo a chemical reaction to harden. Humidity in the bathroom can actually slow this process down. If you pull on the bar too early, you break the internal bonds of the glue before they’ve fully set. Even if the bar feels "sturdy" to a light touch, the internal structure might be compromised.
How to Fix It:
Read the manufacturer’s instructions carefully. Most high-quality no-drill systems require a minimum of 24 hours to cure, and some require up to 72 hours depending on the humidity levels. Do not use the shower during this time. The steam and moisture from a hot shower can interfere with the drying process. Mark the bar with a piece of blue painter's tape that says "DO NOT USE" to remind other family members to stay away until the time is up.
5. Installing on the Wrong Material
No-drill grab bars are designed for specific surfaces: usually natural stone, porcelain, or ceramic tile. They do not work on every wall.
A frequent mistake is trying to install an adhesive grab bar on painted drywall, wallpaper, or plastic shower inserts that have too much "flex." If you stick a powerful adhesive to wallpaper, the bar is only as strong as the wallpaper's glue. If you pull on the bar, the wallpaper will simply peel off the wall. Similarly, thin plastic surround-shells can flex and bow when pulled, which can cause the adhesive to "pop" off the surface.
How to Fix It:
Only use no-drill adhesive bars on solid, rigid, non-porous surfaces like tile or stone. If you have a fiberglass or plastic shower surround, you must ensure the manufacturer explicitly states the bar is compatible with that material. In most cases, if the surface has any "give" when you press on it with your thumb, it is not a candidate for an adhesive-based safety bar.
6. Overestimating Weight Capacity
Every grab bar has a weight limit, but with no-drill bars, that limit is often misunderstood. There is a difference between "static weight" (gently leaning on the bar) and "dynamic weight" (catching yourself during a fall).
If a bar is rated for 250 lbs, that doesn't mean it can handle a 250-lb person falling from a foot away and grabbing it with all their force. The impact force of a fall can easily double or triple the effective weight placed on the mounting system. Many people install these bars and then put too much trust in them, using them as a "trapeze" to pull their entire body weight up from a seated position in a bathtub.
How to Fix It:
Always look for a bar that has a weight rating significantly higher than the user’s actual weight. Furthermore, treat no-drill bars as "balance aids" rather than "full-body hoists." If the user requires significant assistance to stand up (requiring them to pull with their full strength), a traditional bar drilled into studs or a floor-mounted transfer pole is a much safer and more reliable choice.
7. The "Set It and Forget It" Mentality
Perhaps the most dangerous mistake is assuming that once the bar is up, it is safe forever. Unlike a bar bolted into a wooden stud, an adhesive or suction-based bar is subject to environmental stress. Changes in temperature, constant exposure to steam, and the vibration of the house can eventually weaken the bond.
Over time, adhesives can become brittle, and suction cups can lose their elasticity. If you don't check the bar regularly, the first time you realize it has weakened is when it comes off the wall in your hand.
How to Fix It:
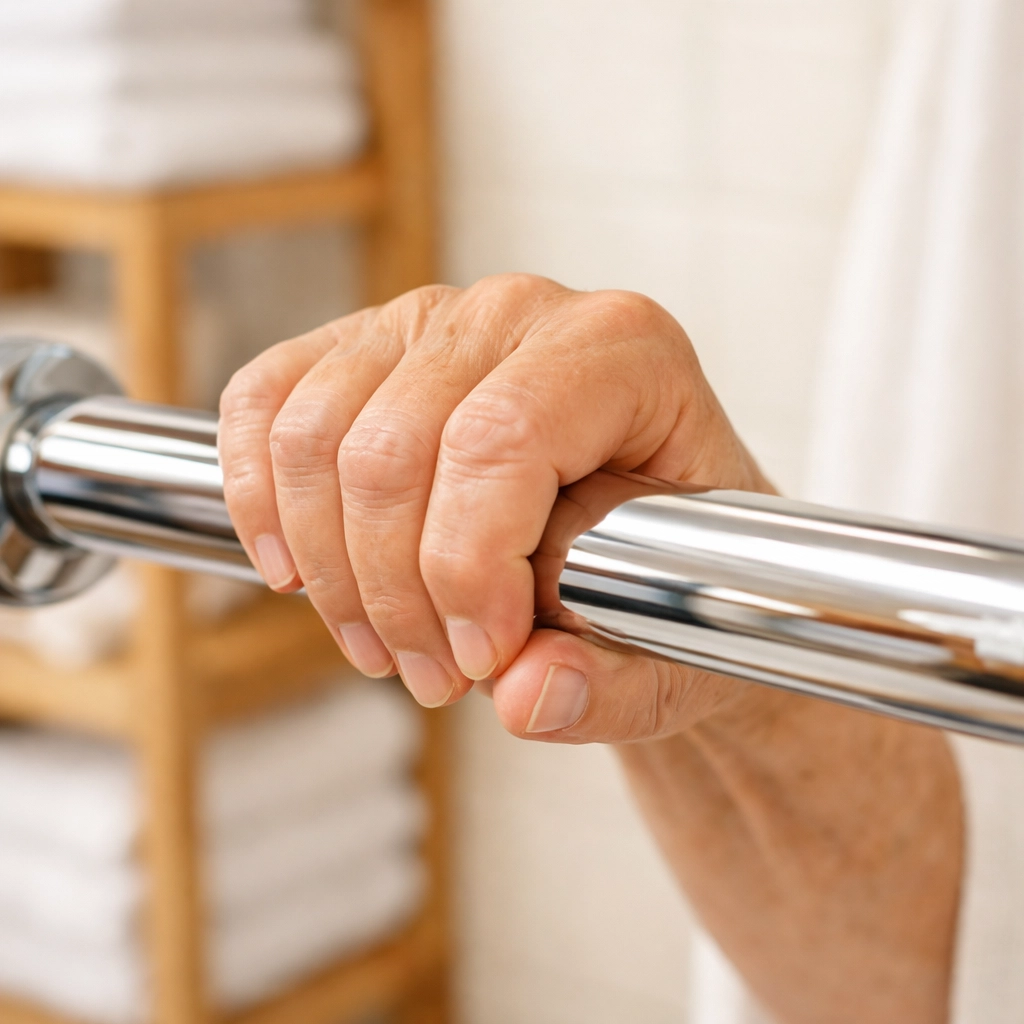
Perform a "tug test" every single time you enter the shower. Before you put your weight on the bar, give it a firm (but controlled) pull in multiple directions to ensure it feels rock solid. For adhesive bars, inspect the edges of the mounting plate for any signs of lifting or "gapping." If you see any space between the adhesive and the tile, or if the bar feels like it has any "jiggle" at all, it should be removed and re-installed immediately.
Choosing the Right Path for Bathroom Safety
No-drill grab bars are a fantastic innovation that has made bathroom safety accessible to people who can't perform major renovations. They provide a vital layer of protection in one of the most high-risk areas of the home. However, their effectiveness is entirely dependent on the quality of the installation and the appropriateness of the environment.
By avoiding these seven mistakes: cleaning the surface correctly, respecting the grout lines, and allowing for proper curing time: you can significantly increase the reliability of your safety equipment.
Remember, the goal of any mobility aid is peace of mind. Taking the extra twenty minutes to prep the tile properly and the extra day to let the adhesive set ensures that when you or your loved one reaches for that bar, it stays exactly where it’s supposed to be. Safety is never something to rush; doing it right the first time is the best way to prevent a mishap later.

