The bathroom is often the most used room in the house, but for many seniors and those with limited mobility, it is also the most challenging. High thresholds, slippery tiles, and low seating can turn a simple morning routine into a series of risks. Safety rails: often called grab bars: are the gold standard for preventing slips and helping with balance.
However, simply having a rail in the bathroom doesn’t automatically make the space safe. In my years of looking at home setups, I’ve seen many well-intentioned installations that actually create a false sense of security. If a rail isn't installed correctly or positioned for the way you actually move, it can fail exactly when you need it most.
Let’s walk through the seven most common mistakes people make with bathroom safety rails and, more importantly, how you can fix them to ensure your home remains a place of confidence and independence.
1. Mounting Directly into Drywall Without Studs
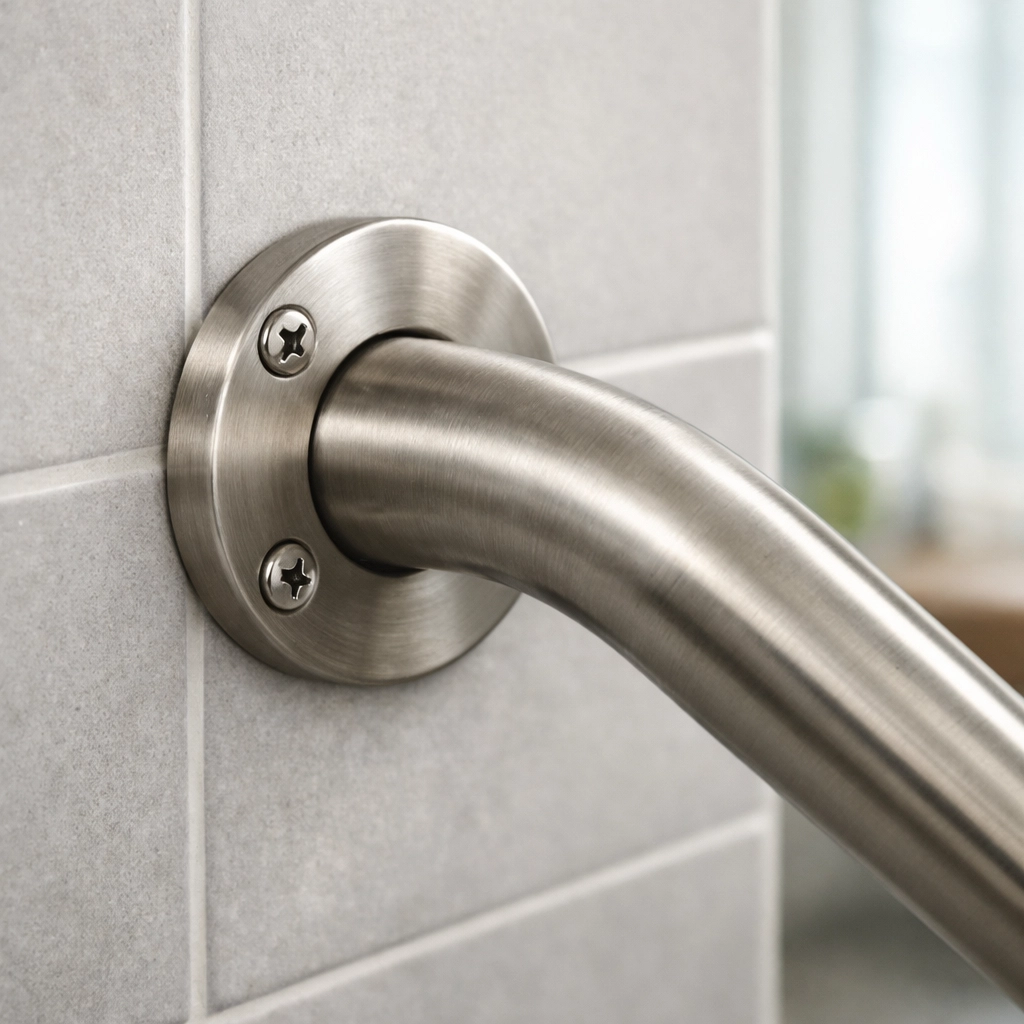
The most dangerous mistake I see is a safety rail mounted directly into drywall or plaster using standard plastic anchors. While those anchors are fine for a towel rack or a picture frame, they are not designed to hold a human being's weight during a fall. If you slip and grab a rail that is only secured to drywall, the entire bar can pull out of the wall, potentially causing a more severe injury as you lose your balance and fall with the metal bar in your hand.
How to Fix It:
Safety rails should always be anchored into the wooden studs behind your wall.
- Use a Stud Finder: Use a deep-scan stud finder to locate the center of the wooden beams.
- Target the Center: Aim for the center of the stud, not the edge, to ensure the screws have maximum "bite."
- Use Specialized Anchors: If a stud isn’t available in the exact spot you need the bar, do not settle for standard anchors. Instead, use specialized, high-capacity hollow-wall anchors specifically designed for grab bars. These anchors distribute the weight across a larger area of the wall and are rated for the necessary poundage.
2. Relying on Suction-Cup Rails
It’s tempting to buy suction-cup rails. They are inexpensive, require no drilling, and can be moved around. However, in the world of fall prevention, "portable" and "safety" rarely go together when it comes to weight-bearing support. Suction cups rely on a perfect vacuum seal. Over time, steam, soap scum, and even microscopic grout lines allow air to seep in, breaking the seal.
A suction-cup rail might feel sturdy when you give it a light tug, but it can pop off the wall instantly if you apply your full body weight during a sudden slip.
How to Fix It:
Treat suction-cup rails as temporary balance aids only: or better yet, replace them with permanent, bolt-down rails. If you are a renter and cannot drill into the walls, look into floor-to-ceiling transfer poles or "no-drill" grab bars that use professional-grade structural adhesives (which are much stronger than suction). For permanent safety, a rail bolted into a stud is the only way to ensure the bar will catch you if you fall.
3. Installing at the "Standard" Height Instead of Your Height
There is a general guideline that horizontal grab bars should be 33 to 36 inches from the floor. While this is the ADA (Americans with Disabilities Act) standard for public buildings, your home should be tailored to you. If a bar is too high, you’ll have to reach upward, which can throw off your center of gravity. If it’s too low, you may have to stoop, making it harder to push yourself up from a seated position.
How to Fix It:
Before you drill any holes, perform a "dry run."
- For the Shower: Stand where you usually do. Reach out naturally for balance. Where does your hand land? That is likely where the bar should be.
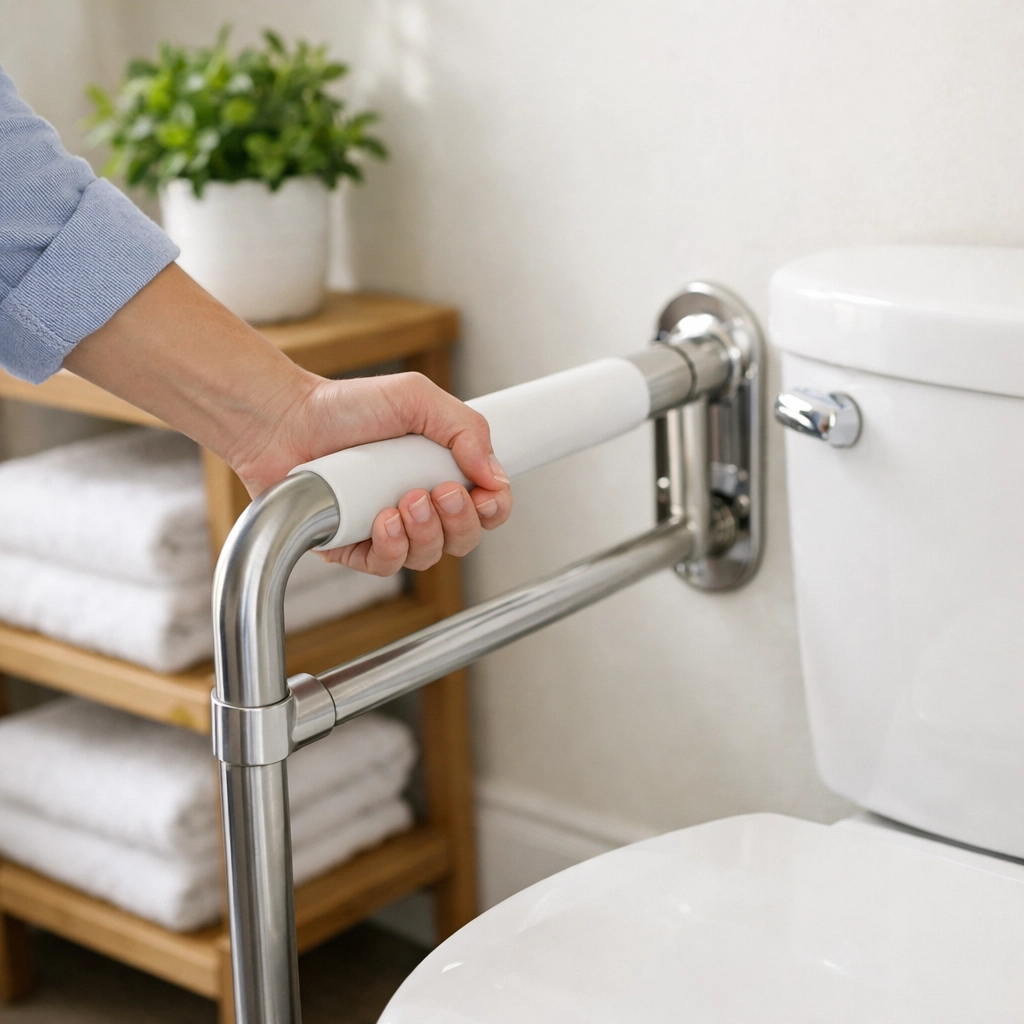
- For the Toilet: Sit down and stand up several times. Identify the exact moment you feel you need a boost. A diagonal rail often works best here because it follows the natural path of your hand as you move from sitting to standing.
- Mark with Tape: Use painter's tape to mark these spots and live with them for a day or two to make sure they feel right before the final installation.
4. Neglecting the "Entry and Exit" Points
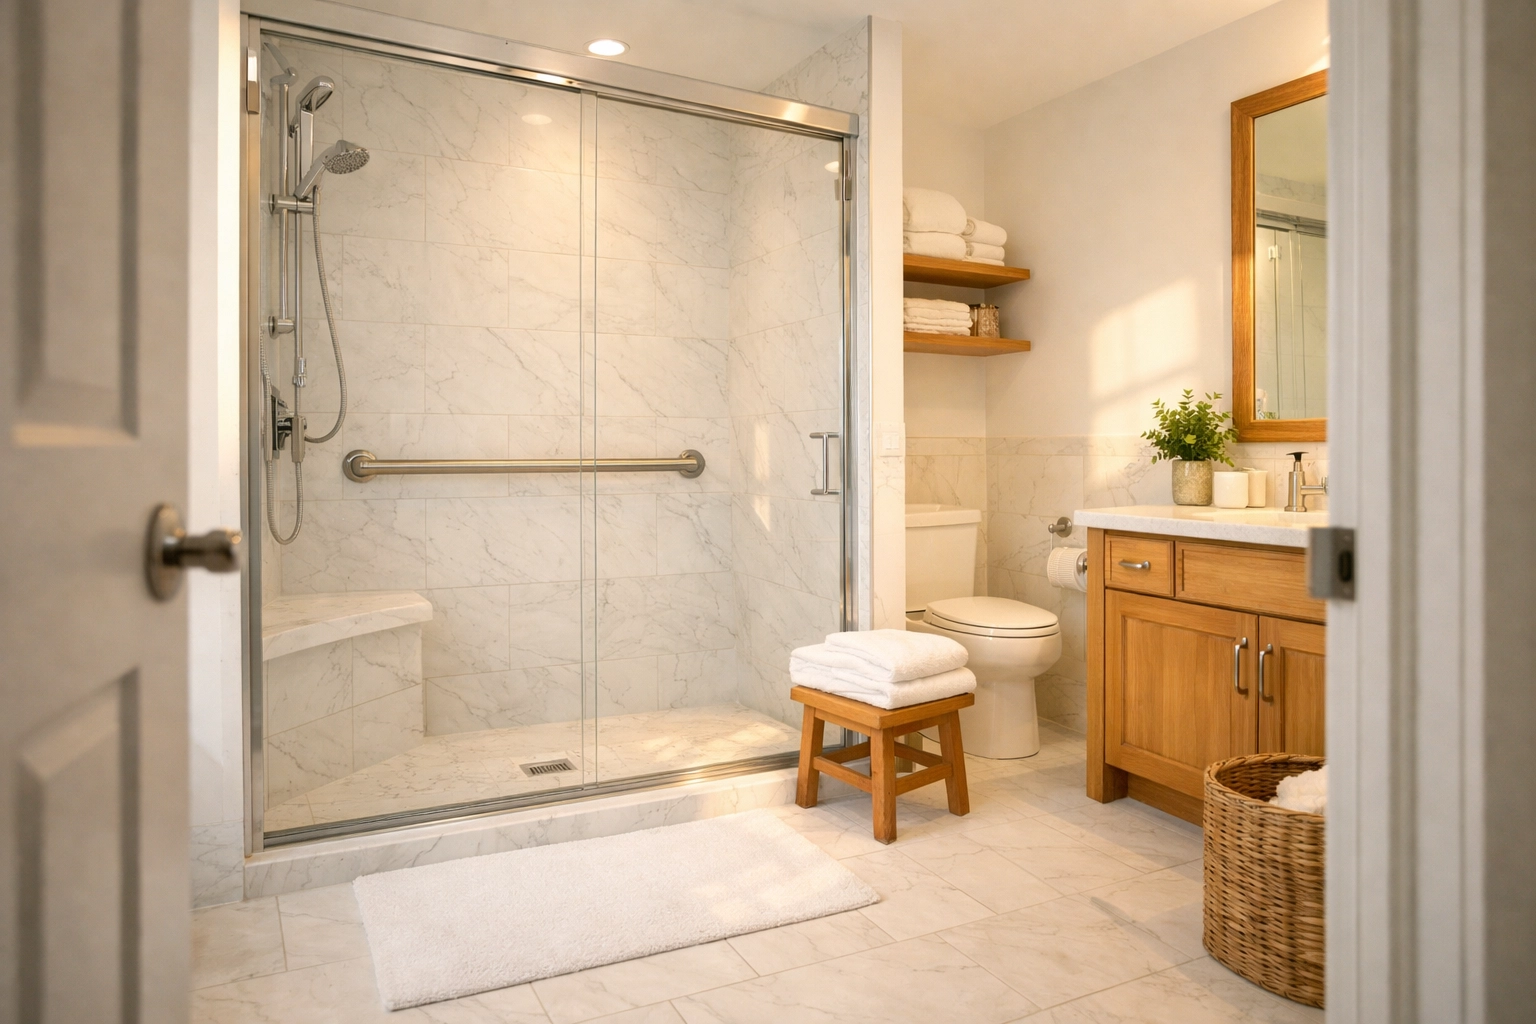
Most people focus on putting a rail inside the shower or next to the toilet. However, the most dangerous moment is often the transition: the act of stepping over the tub wall or moving from the slippery tile to the bath mat. If you only have a rail inside the shower, you are forced to reach into the shower to find balance while your feet are still on the outside. This "reaching" motion is a major cause of instability.
How to Fix It:
Install a vertical "entry" bar. A vertical bar (usually 12 to 18 inches long) installed on the outer wall or the door frame of the shower gives you a steady handhold before you lift your foot to step over the threshold. Once you are safely inside, you can then transition your grip to the horizontal or diagonal bars inside the stall. This creates a "continuous chain of support."
5. Choosing the Wrong Finish or Diameter
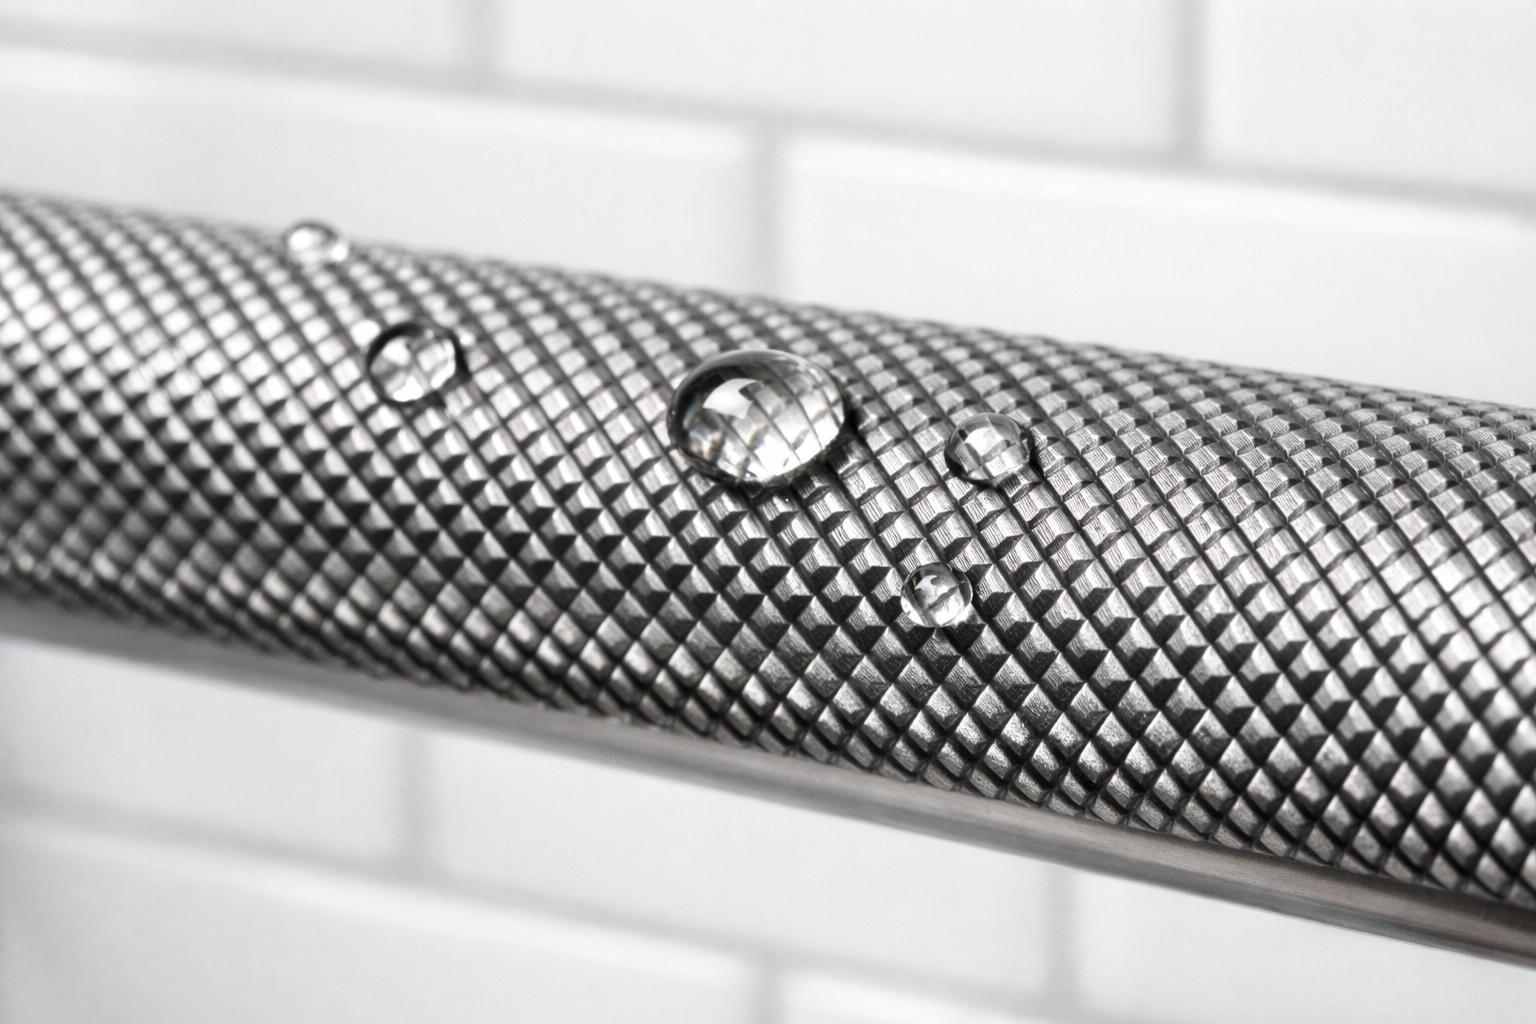
Not all safety rails are easy to grip. Many older models were made of polished chrome, which looks nice but becomes as slippery as ice when your hands are wet and soapy. Additionally, if the bar is too thick or too thin, you won't be able to get a secure "power grip" (where the fingers and thumb overlap).
How to Fix It:
- Texture Matters: Look for rails with a "knurled" or textured finish. These have a rougher surface that provides friction even when wet.
- The Right Diameter: The standard diameter for a safety rail is 1.25 to 1.5 inches. This size allows most hands to wrap around completely.
- Peaked Grips: Some modern rails feature a slightly "wavy" or ergonomic underside that fits the natural contour of your fingers.
6. Using Only One Bar
Safety isn't a "one and done" task. A single 12-inch bar next to the showerhead is rarely enough. Falls can happen when you are reaching for shampoo, turning to wash your back, or closing the curtain. If you only have one point of contact, you are still vulnerable in 75% of the bathroom space.
How to Fix It:
Think in terms of "Three Points of Contact." At any given time, you should ideally have two feet on the floor and one hand on a stable surface, or two hands on stable surfaces and one foot moving.
- The L-Shape: In the shower, an L-shaped bar provides a horizontal section for sitting/standing and a vertical section for balance while washing.
- The Toilet Surround: Consider rails on both sides of the toilet if possible, or a "swing-away" rail that can be moved out of the way when not in use.
7. Skipping Regular Maintenance
We often think of safety rails as "set it and forget it" hardware. But bathrooms are high-moisture environments. Over time, the constant humidity can cause the wooden studs behind the wall to slightly expand and contract, which can loosen screws. Additionally, the constant pressure of being pulled on can cause minor shifting. A rail that was sturdy two years ago might be wobbling today.
How to Fix It:
Perform a "Monthly Shake Test." Once a month, grab each rail in your bathroom and give it a firm tug in multiple directions. Listen for any clicking sounds and feel for any "give" or movement in the wall. If the escutcheon plates (the covers over the screws) are loose, tighten them. If the bar itself wiggles, it’s time to call a handyman or a family member to re-secure the mounting hardware.
The Importance of Professional Input
While many of these fixes are DIY-friendly, every person’s mobility needs are unique. What works for someone recovering from hip surgery might not be the best setup for someone with chronic arthritis or balance issues related to vertigo.
If you are unsure where to place your rails, consider a consultation with an Occupational Therapist (OT). An OT can watch how you navigate your specific bathroom and provide a "map" of where rails should go. They can identify the specific "gap" in your balance and help you fill it.
Final Thoughts
Bathroom safety rails are one of the most effective tools we have to maintain independence and prevent life-altering falls. But like any tool, they must be used and installed correctly. By avoiding these seven mistakes: anchoring into studs, ditching the suction cups, customizing the height, and maintaining the hardware: you are taking a massive step toward a safer, more reassuring home environment.
Remember, the best time to fix a safety rail is before you actually need to rely on it. Take a look at your bathroom today and see which of these fixes you can implement. It’s a small investment of time that pays off in immense peace of mind.

