At Fall Guys Products, we talk to families every day who have taken the first steps toward making their homes safer. They’ve added a grab bar here or a rug gripper there, and they feel like they’ve checked the "stair safety" box. But the reality is that stairs are one of the most complex areas of the home to secure. A "plan" that looks good on paper can still fail if the small, technical details aren't addressed.
Stair safety isn't just about preventing a fall; it’s about creating an environment where someone can navigate their home with confidence and rhythm. When a safety plan isn't working, it’s usually because it hasn't accounted for how our bodies and brains actually interact with those steps.
If you or a loved one are still feeling uneasy on the stairs despite having a plan in place, here are ten reasons why that plan might be falling short: and exactly how you can fix it.
1. The Handrail is a "Pinch" Instead of a "Power" Grip
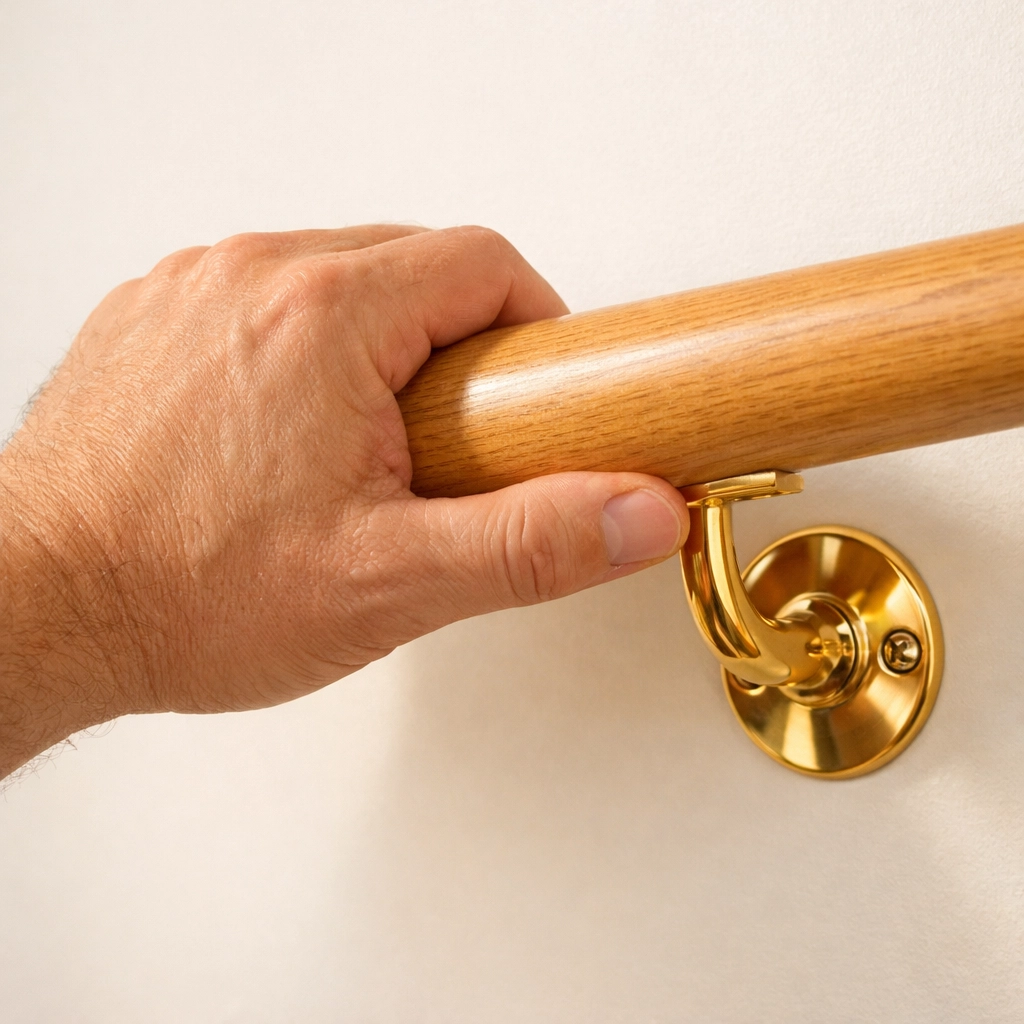
One of the most common mistakes in home stair safety is the type of handrail installed. Many decorative handrails are too wide, too flat, or too ornate. While they look beautiful, they don't allow for a "power grip."
A power grip is when your fingers can wrap all the way around the rail, allowing the thumb and fingers to meet. This is the only grip that can truly support your full body weight if you lose your balance. If your handrail is a wide piece of finished wood that you can only "pinch" or rest your palm on, your safety plan is already compromised.
The Fix: Ensure your handrail has a circular or oval profile with a diameter between 1.25 and 2 inches. If you have those wide, decorative "bread-loaf" style rails, you can often install a smaller, rounder secondary rail (often called a "piggyback" rail) directly onto the existing one.
2. Your Brain’s "Rhythm" is Being Interrupted
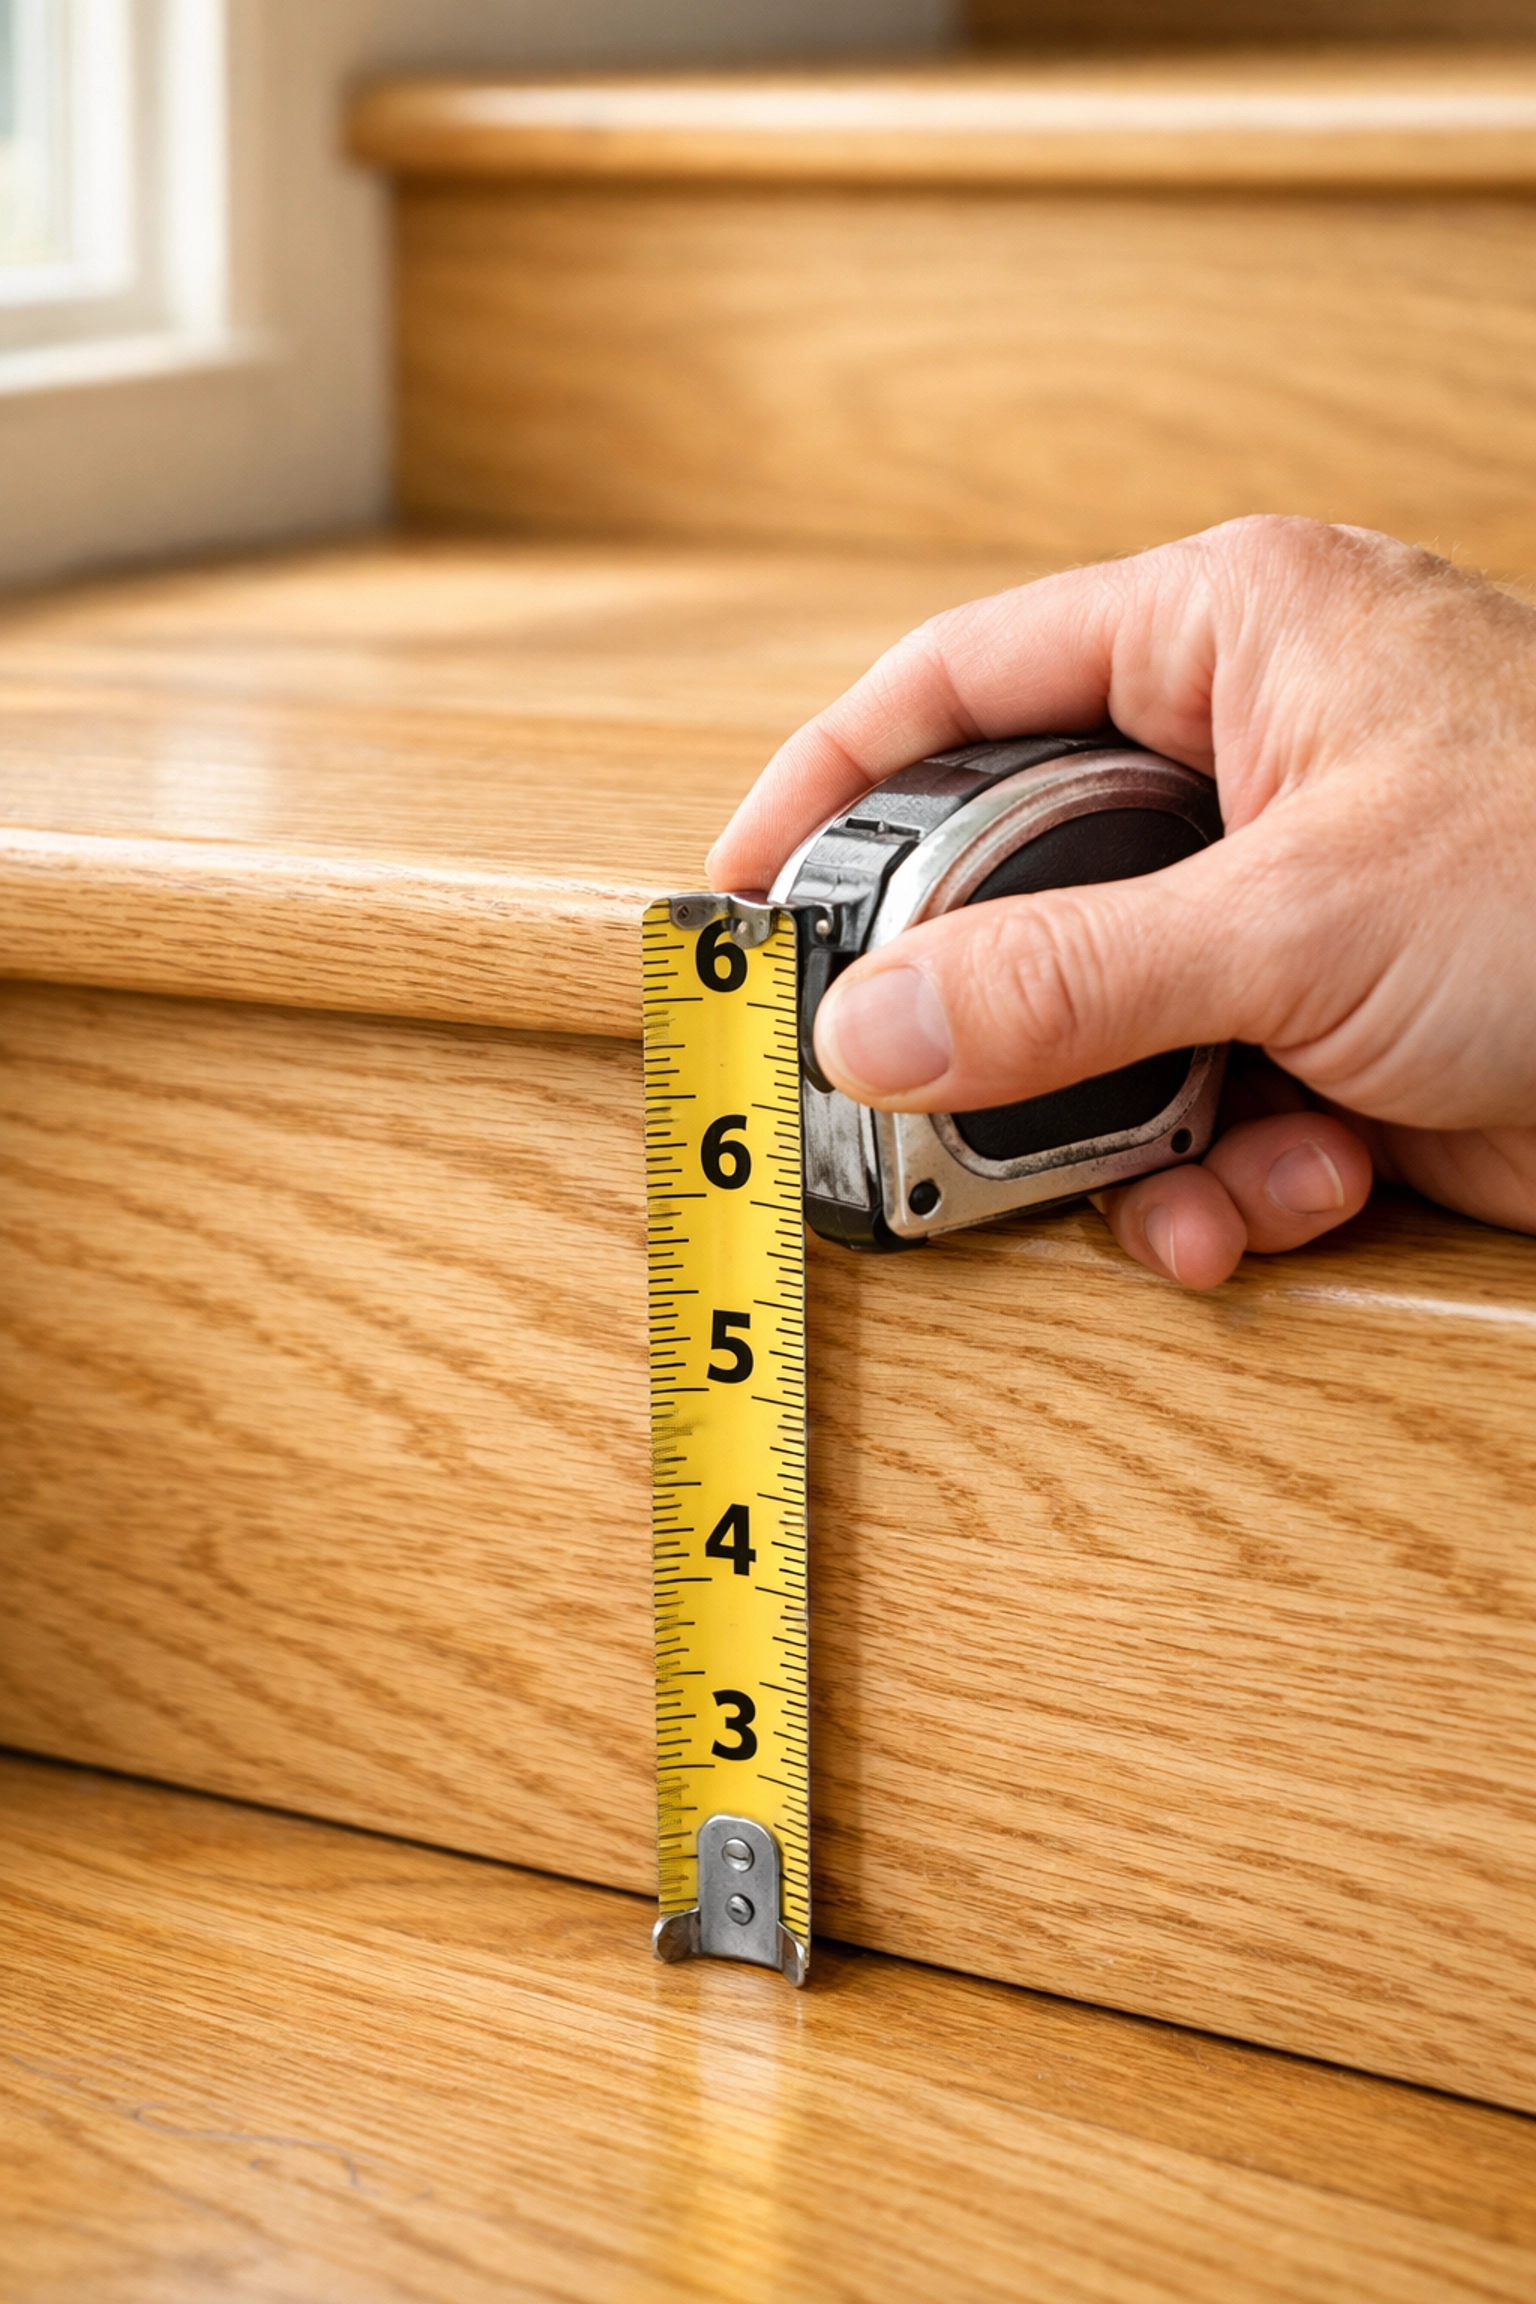
Have you ever tripped on a step that felt "just a little bit off"? There’s a biological reason for that. Our brains use a process called proprioception to map out a staircase after the first two steps. Once you’ve taken those first steps, your brain assumes every other step on that flight is identical.
If one riser is even a quarter-inch taller than the others, or if one tread is slightly narrower, your foot won't land where your brain expects it to. This "rhythmic interruption" is a leading cause of trips and stumbles.
The Fix: Take a tape measure to your stairs. Measure the height of every single riser (the vertical part) and the depth of every tread (the horizontal part). If there is a variation of more than 3/8 of an inch between any two steps, the staircase is technically out of code and needs professional adjustment.
3. The "In-Between" Lighting is Missing
Most people have a light at the top of the stairs and a light at the bottom. The problem is the "in-between." Standard overhead lighting often creates shadows exactly where you don’t want them: right on the edge of the step (the nosing). If the edge of the step is shrouded in shadow, it’s incredibly difficult for the eye to distinguish where one step ends and the next begins.
Furthermore, if the light is behind you as you descend, you’re walking into your own shadow.
The Fix: Lighting should be uniform. Consider installing LED motion-sensor strip lighting under the lip of each tread or along the baseboards. This illuminates the actual walking surface rather than just the air in the stairwell. Also, ensure there are light switches at both the top and the bottom of the flight so no one ever has to navigate the stairs in the dark to reach a switch.
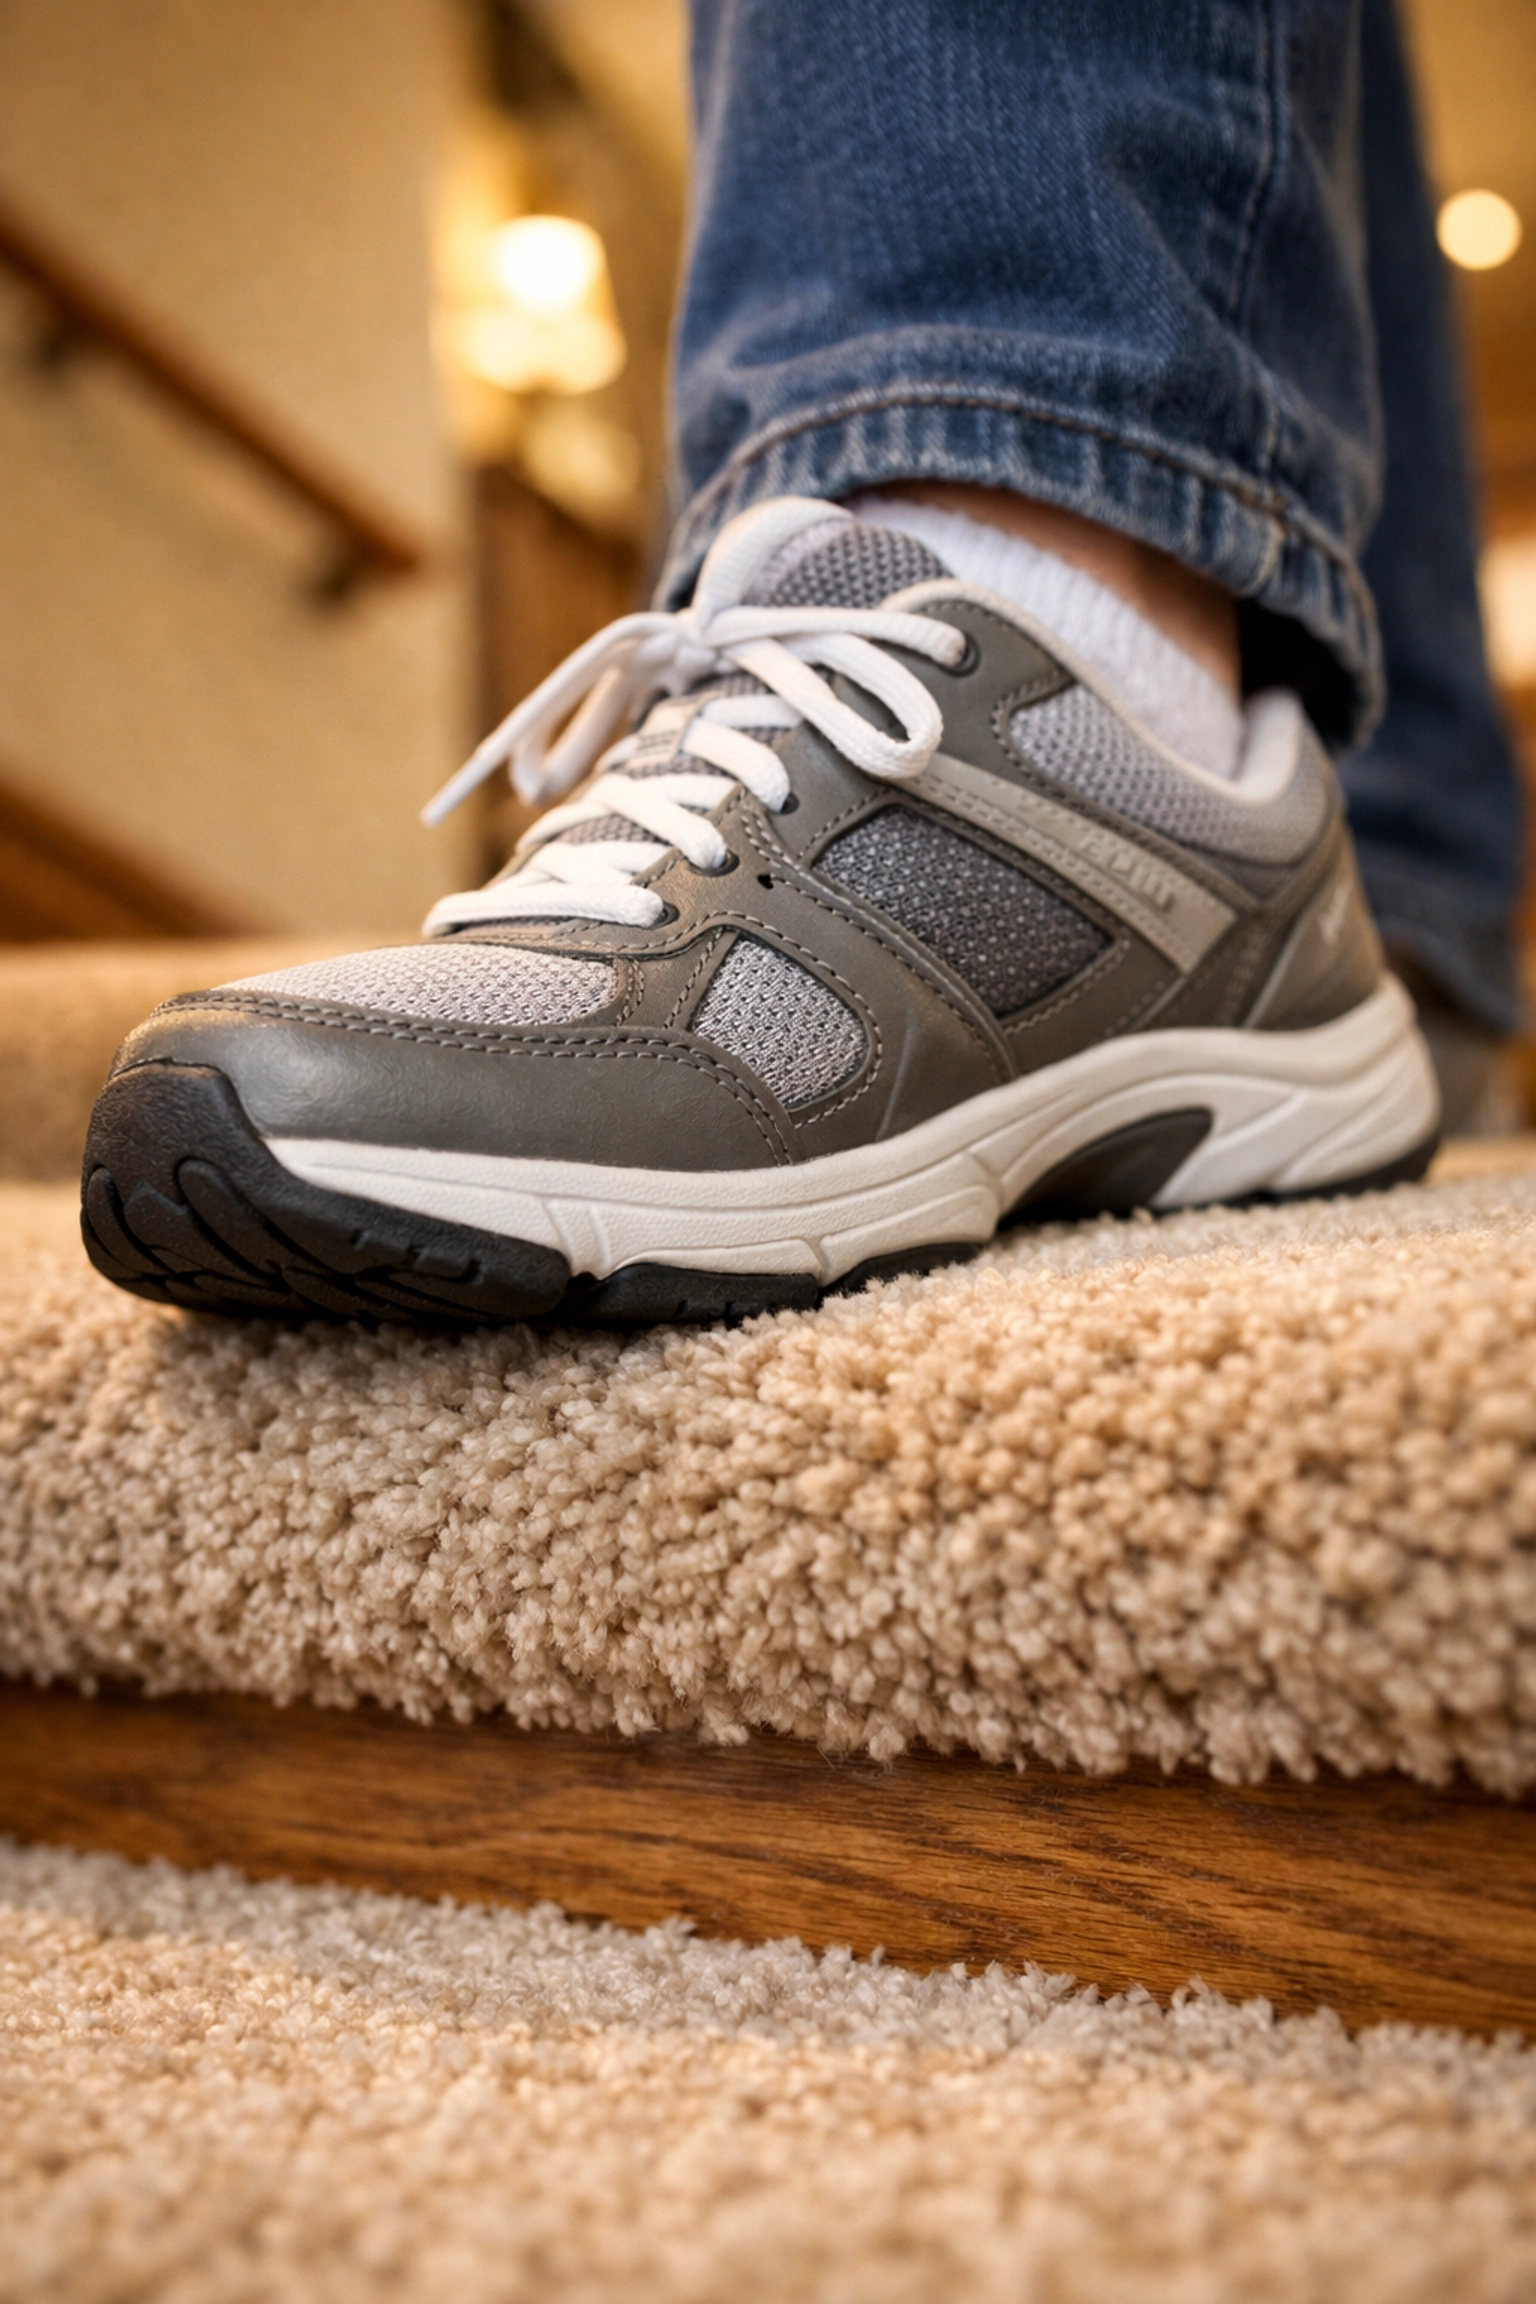
4. The Surface is Too "Fast"
Hardwood, polished stone, and even some laminates are what we call "fast" surfaces. They offer almost zero friction, especially if the person is wearing socks or smooth-soled slippers. Even if you have a handrail, if your feet slide out from under you, the suddenness of the slip makes it very hard to recover.
Many people try to fix this with "stair rugs" or runners, but if those aren't installed perfectly, they can become a trip hazard themselves by bunching up.
The Fix: Increase friction without creating a trip hazard. Anti-slip adhesive strips are an excellent, low-profile solution. Look for "cleat" style strips that have a gritty texture. If you prefer the look of wood, there are transparent non-slip coatings and tapes that provide grip without hiding the grain.
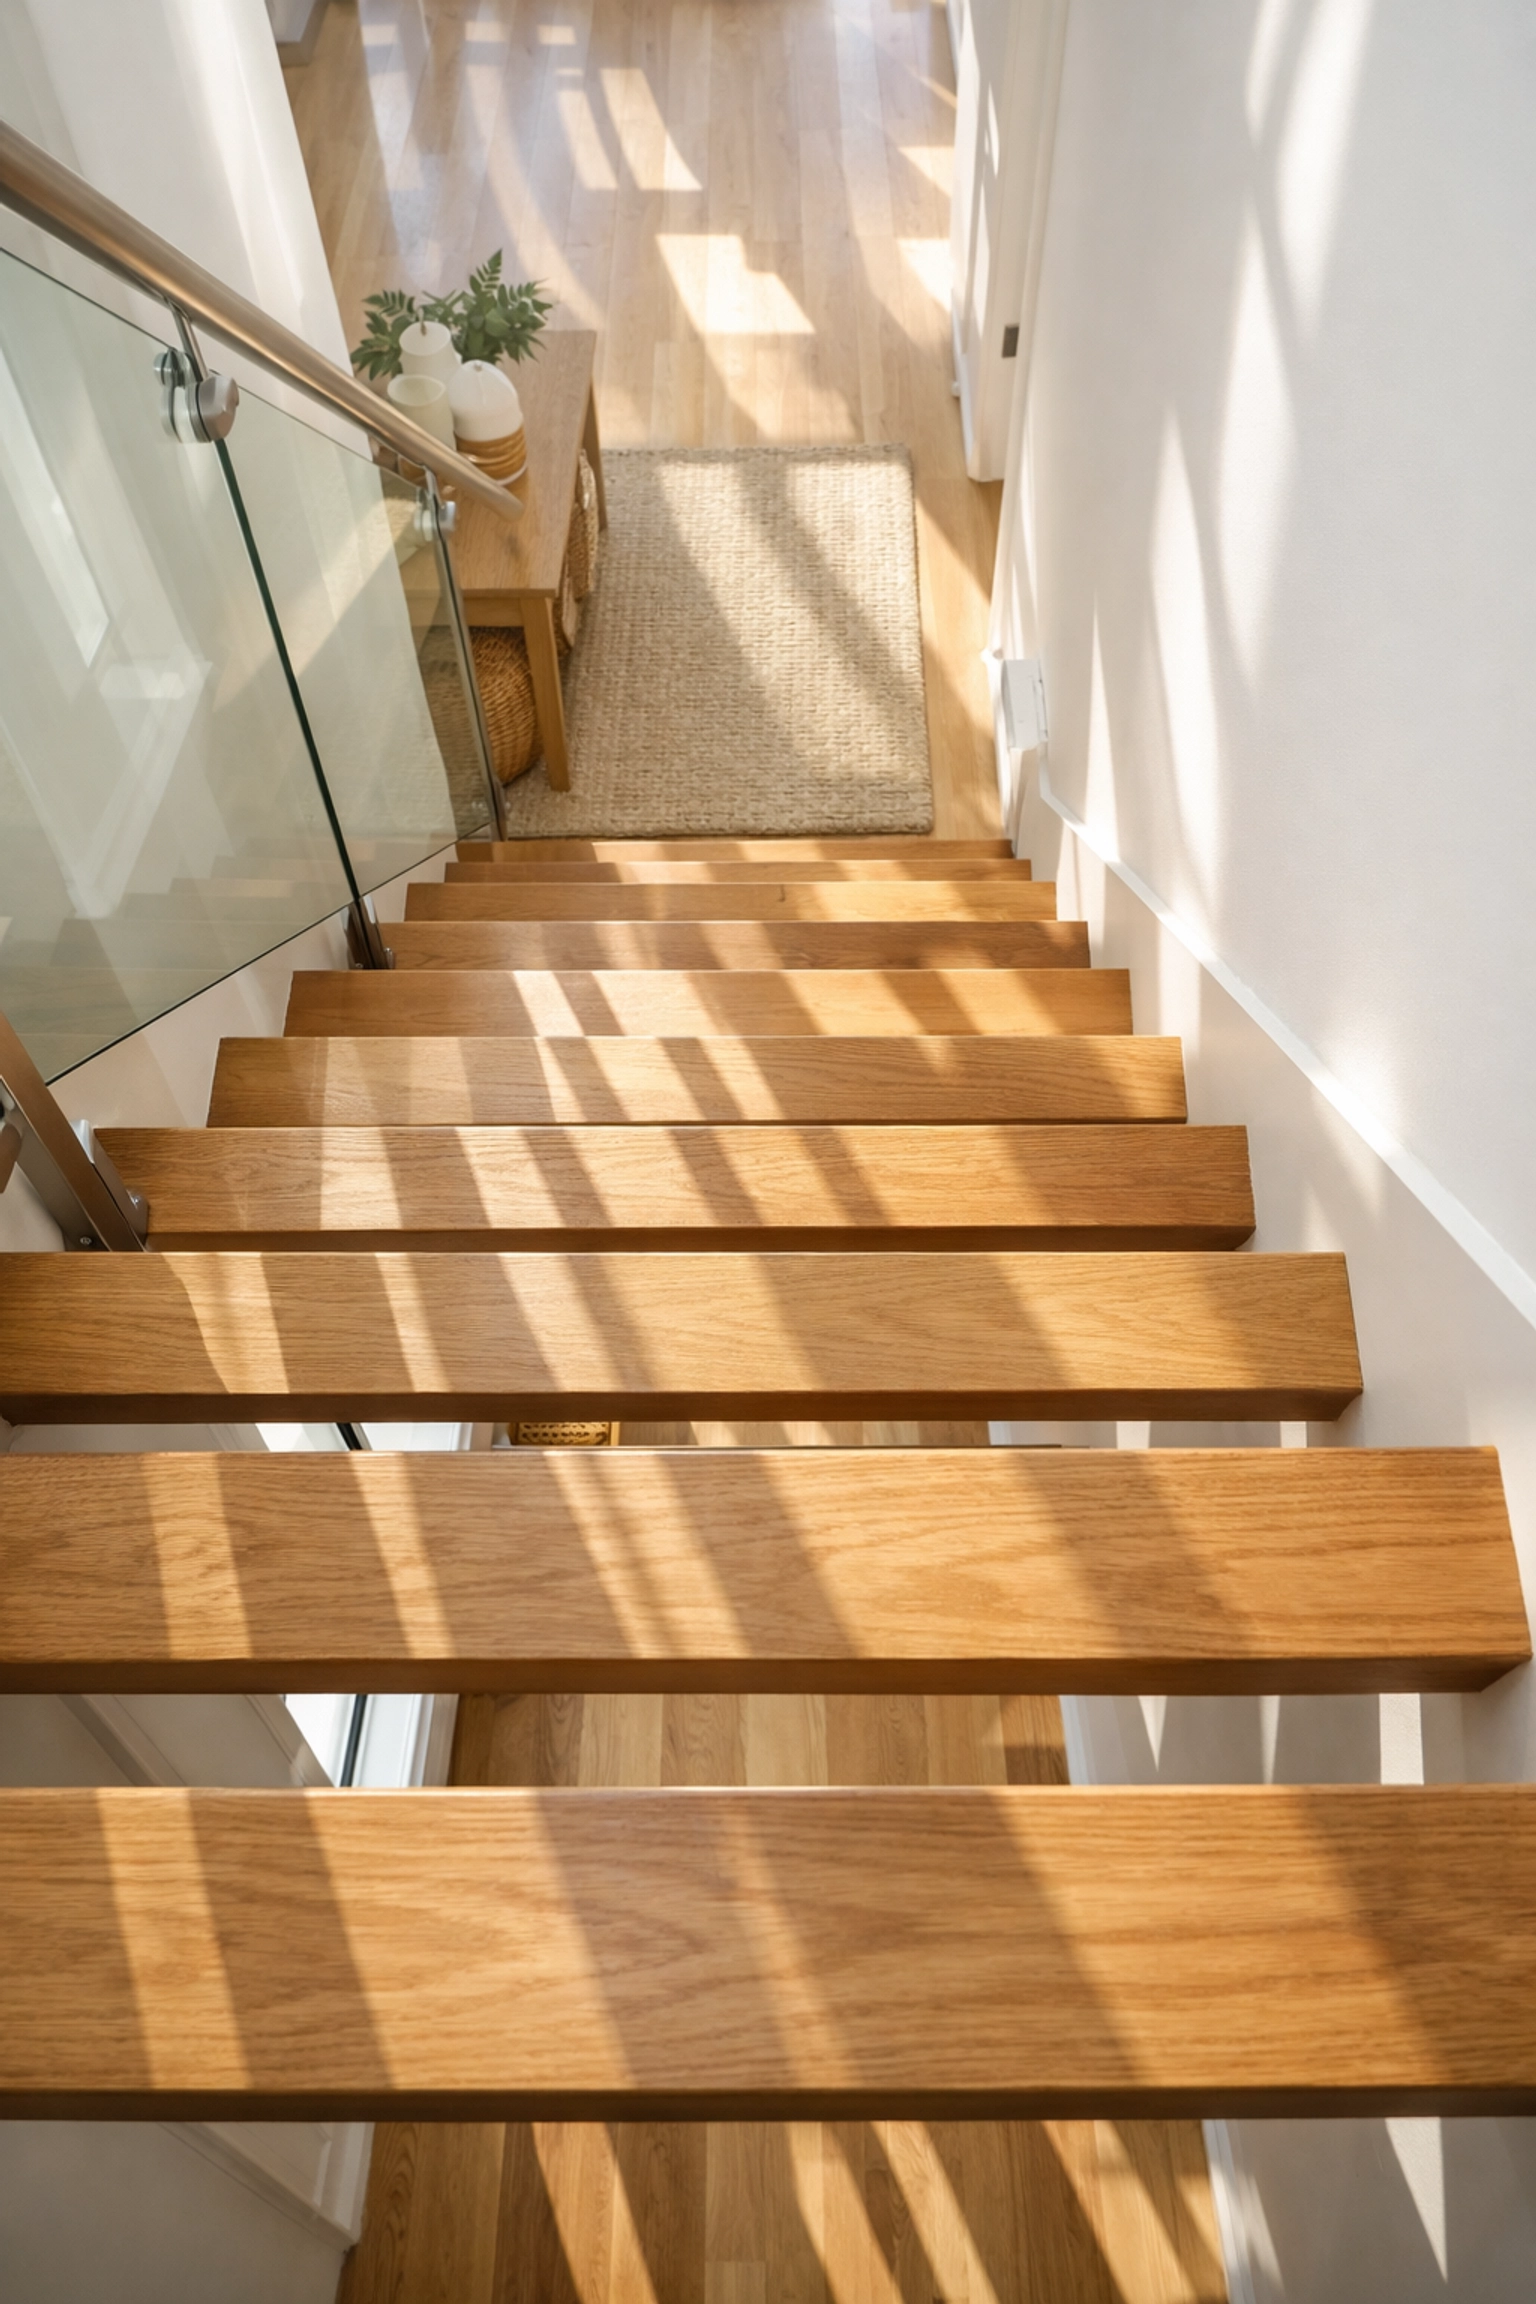
5. You’re Navigating "Ghost Steps" (Open Risers)
Open risers are stairs where there is a gap between the steps, allowing you to see through to the floor below. While popular in modern design, they are a safety nightmare for seniors.
First, they create "visual vertigo." Looking through the stairs can be disorienting and cause a loss of balance. Second, there is the risk of a foot slipping too far forward and getting caught in the gap, which can cause a forward fall.
The Fix: The best solution is to close the risers. This can be done by a carpenter adding "backs" to the steps. If that’s not an option, you can install contrasting "nosing" strips on the edge of each step to help the eye focus on the solid surface rather than the empty space behind it.
6. The Handrail Stops Too Early
Building codes often require handrails to extend beyond the top and bottom step, but in older homes, the rail usually ends right at the last riser. This is a problem because the transition from the stairs to the flat floor is where most people let go of their support.
If you let go while your weight is still shifting from the last step to the floor, you are at your most vulnerable.
The Fix: Your handrail should ideally extend about 12 inches beyond the top and bottom steps. This allows you to maintain a firm grip until both feet are firmly planted on level ground. If your current rail is too short, look for "wall-to-floor" extensions that can be added to your existing setup.
7. The Depth Perception Dilemma
As we age, our ability to perceive depth and contrast can diminish. On a staircase where the carpet or wood is all one solid color, the steps can look like one continuous, blurry ramp. This is especially dangerous when going down, as it’s hard to tell exactly where the edge of the step is.
The Fix: Create visual contrast. If you have dark wood stairs, put a light-colored strip on the edge of each step. If you have light carpet, use a darker colored tape or paint on the nosing. This creates a clear "line" that tells the brain exactly where to place the foot.
8. Neglected "Soft Spots" and Squeaks
We often ignore a squeaky step or a "soft" spot in the wood, thinking of it as a house's "character." However, any movement in a step under your weight is a sign of structural fatigue or loose fasteners. If a step gives way even a fraction of an inch, it changes your center of gravity instantly.
For someone with slower reaction times or balance issues, that tiny shift is enough to cause a fall.
The Fix: Inspect your stairs monthly. Step firmly on each tread: on the left, the right, and the center. If you feel any "give" or hear significant creaking, it’s time to tighten the treads to the stringers. This often requires access from underneath the stairs or using specialized "Squeak-No-More" screws that can go through carpet.
9. Lack of Headroom
This is a hidden danger in basement stairs or older homes with steep pitches. If there is low headroom, people instinctively duck their heads as they descend. Ducking shifts your center of gravity forward and down, and it often causes you to look at your feet rather than the path ahead. This posture is inherently unstable.
The Fix: While you can’t easily move a ceiling, you can mark the "danger zone." Applying high-visibility foam padding or bright yellow tape to the low-hanging beam can alert the person to duck early and consciously, rather than making a sudden, jerky movement that could lead to a loss of balance.
10. The "Set It and Forget It" Mentality
The biggest reason stair safety plans fail is a lack of maintenance. A handrail that was sturdy three years ago might have worked its way loose from the drywall. A non-slip strip might have lost its grit or started to peel at the edges.
Safety is not a one-time event; it is a habit.
The Fix: Create a 30-day inspection schedule. Every month, physically grab the handrail and try to shake it. If it moves, tighten the brackets. Check the edges of all anti-slip tape. Clean the stairs to ensure there’s no buildup of dust or polish, which can make even "non-slip" surfaces slick.
Building Confidence, One Step at a Time
When we think about stair safety, it’s easy to get caught up in the big things, like chair lifts or major renovations. But usually, it’s the small, technical adjustments that make the biggest difference in daily life.
A successful stair safety plan is one that respects how the human body moves. It provides a solid grip for the hands, a predictable rhythm for the feet, and clear signals for the eyes. By addressing these ten common pitfalls, you aren't just making a house safer: you’re giving a senior the freedom to move through their home without fear.
Remember, the goal isn't just to prevent a fall; it's to provide peace of mind for the whole family. If a staircase feels unsafe, it probably is. Trust your gut, take out the tape measure, and start making those small fixes today.

