We often think of our homes as our sanctuary, but for many of us, the stairs represent the most challenging "terrain" we navigate every day. You might have already taken some steps toward making your home safer: maybe you’ve added a rug or brightened a lightbulb: but falls on stairs remain a leading cause of injury for older adults.
If you’ve put a safety plan in place and you still feel uneasy, or if a "near miss" has recently occurred, it’s likely because of small, technical details that are easy to overlook. Stair safety isn't just about having a railing; it’s about the physics of how we move and how our environment supports that movement.
Here are 10 reasons your stair safety plan might be falling short and, more importantly, how you can fix them to regain your confidence and independence.
1. Inconsistent Riser and Tread Dimensions
Believe it or not, your brain is a master at calculating patterns. When you start climbing a flight of stairs, your brain "maps" the height of the first two steps. After that, it goes on autopilot. This is called your gait cycle.
If one step is even half an inch higher (the riser) or narrower (the tread) than the others, your foot won't land where your brain expects it to. This results in a trip or a stumble. These inconsistencies are common in older homes or DIY renovations where the stairs might have settled over time.
The Fix:
Get a measuring tape and check every single step. In most building codes, the ideal riser is between 7 and 8 inches, and the tread should be 10 to 11 inches. More importantly, they should be uniform. If you find a "rogue" step, it may need a professional carpenter to shim the tread or rebuild the section. In the meantime, highlighting the edge of the irregular step with high-contrast tape can alert your brain to the change.

2. Handrails Are the Wrong Height
A handrail is only useful if it’s where your hand naturally needs to be. Many handrails are installed too low, which forces you to lean forward and shifts your center of gravity over your toes: a prime position for a forward fall. If they are too high, you can't get enough leverage to pull yourself up or steady yourself during a descent.
The Fix:
Standard safety guidelines suggest handrails should be between 34 and 38 inches above the "nosing" (the very edge) of the stair. Stand on a step and see where your hand naturally rests. If you have to reach down or up significantly, the rail needs to be moved. It’s a relatively simple adjustment that can make a world of difference in how stable you feel.
3. Handrails Are Non-Continuous or Weak
A common mistake in stair design is stopping the handrail a step or two before the stairs actually end. We often see rails that end at the last riser, leaving the user with no support for that final, crucial step onto the floor. Furthermore, if a handrail wiggles when you grab it, it’s not a safety device: it’s a hazard. If you start to fall and grab a loose rail, it may give way, making the fall even worse.
The Fix:
Ensure your handrail is continuous from the very top to the very bottom. Ideally, the rail should extend about 12 inches beyond the top and bottom step (where space allows) to give you a "landing" for your hand before your feet change elevation. Check the brackets; they should be screwed into the wall studs, not just the drywall. If it wobbles, tighten the screws or add more brackets.
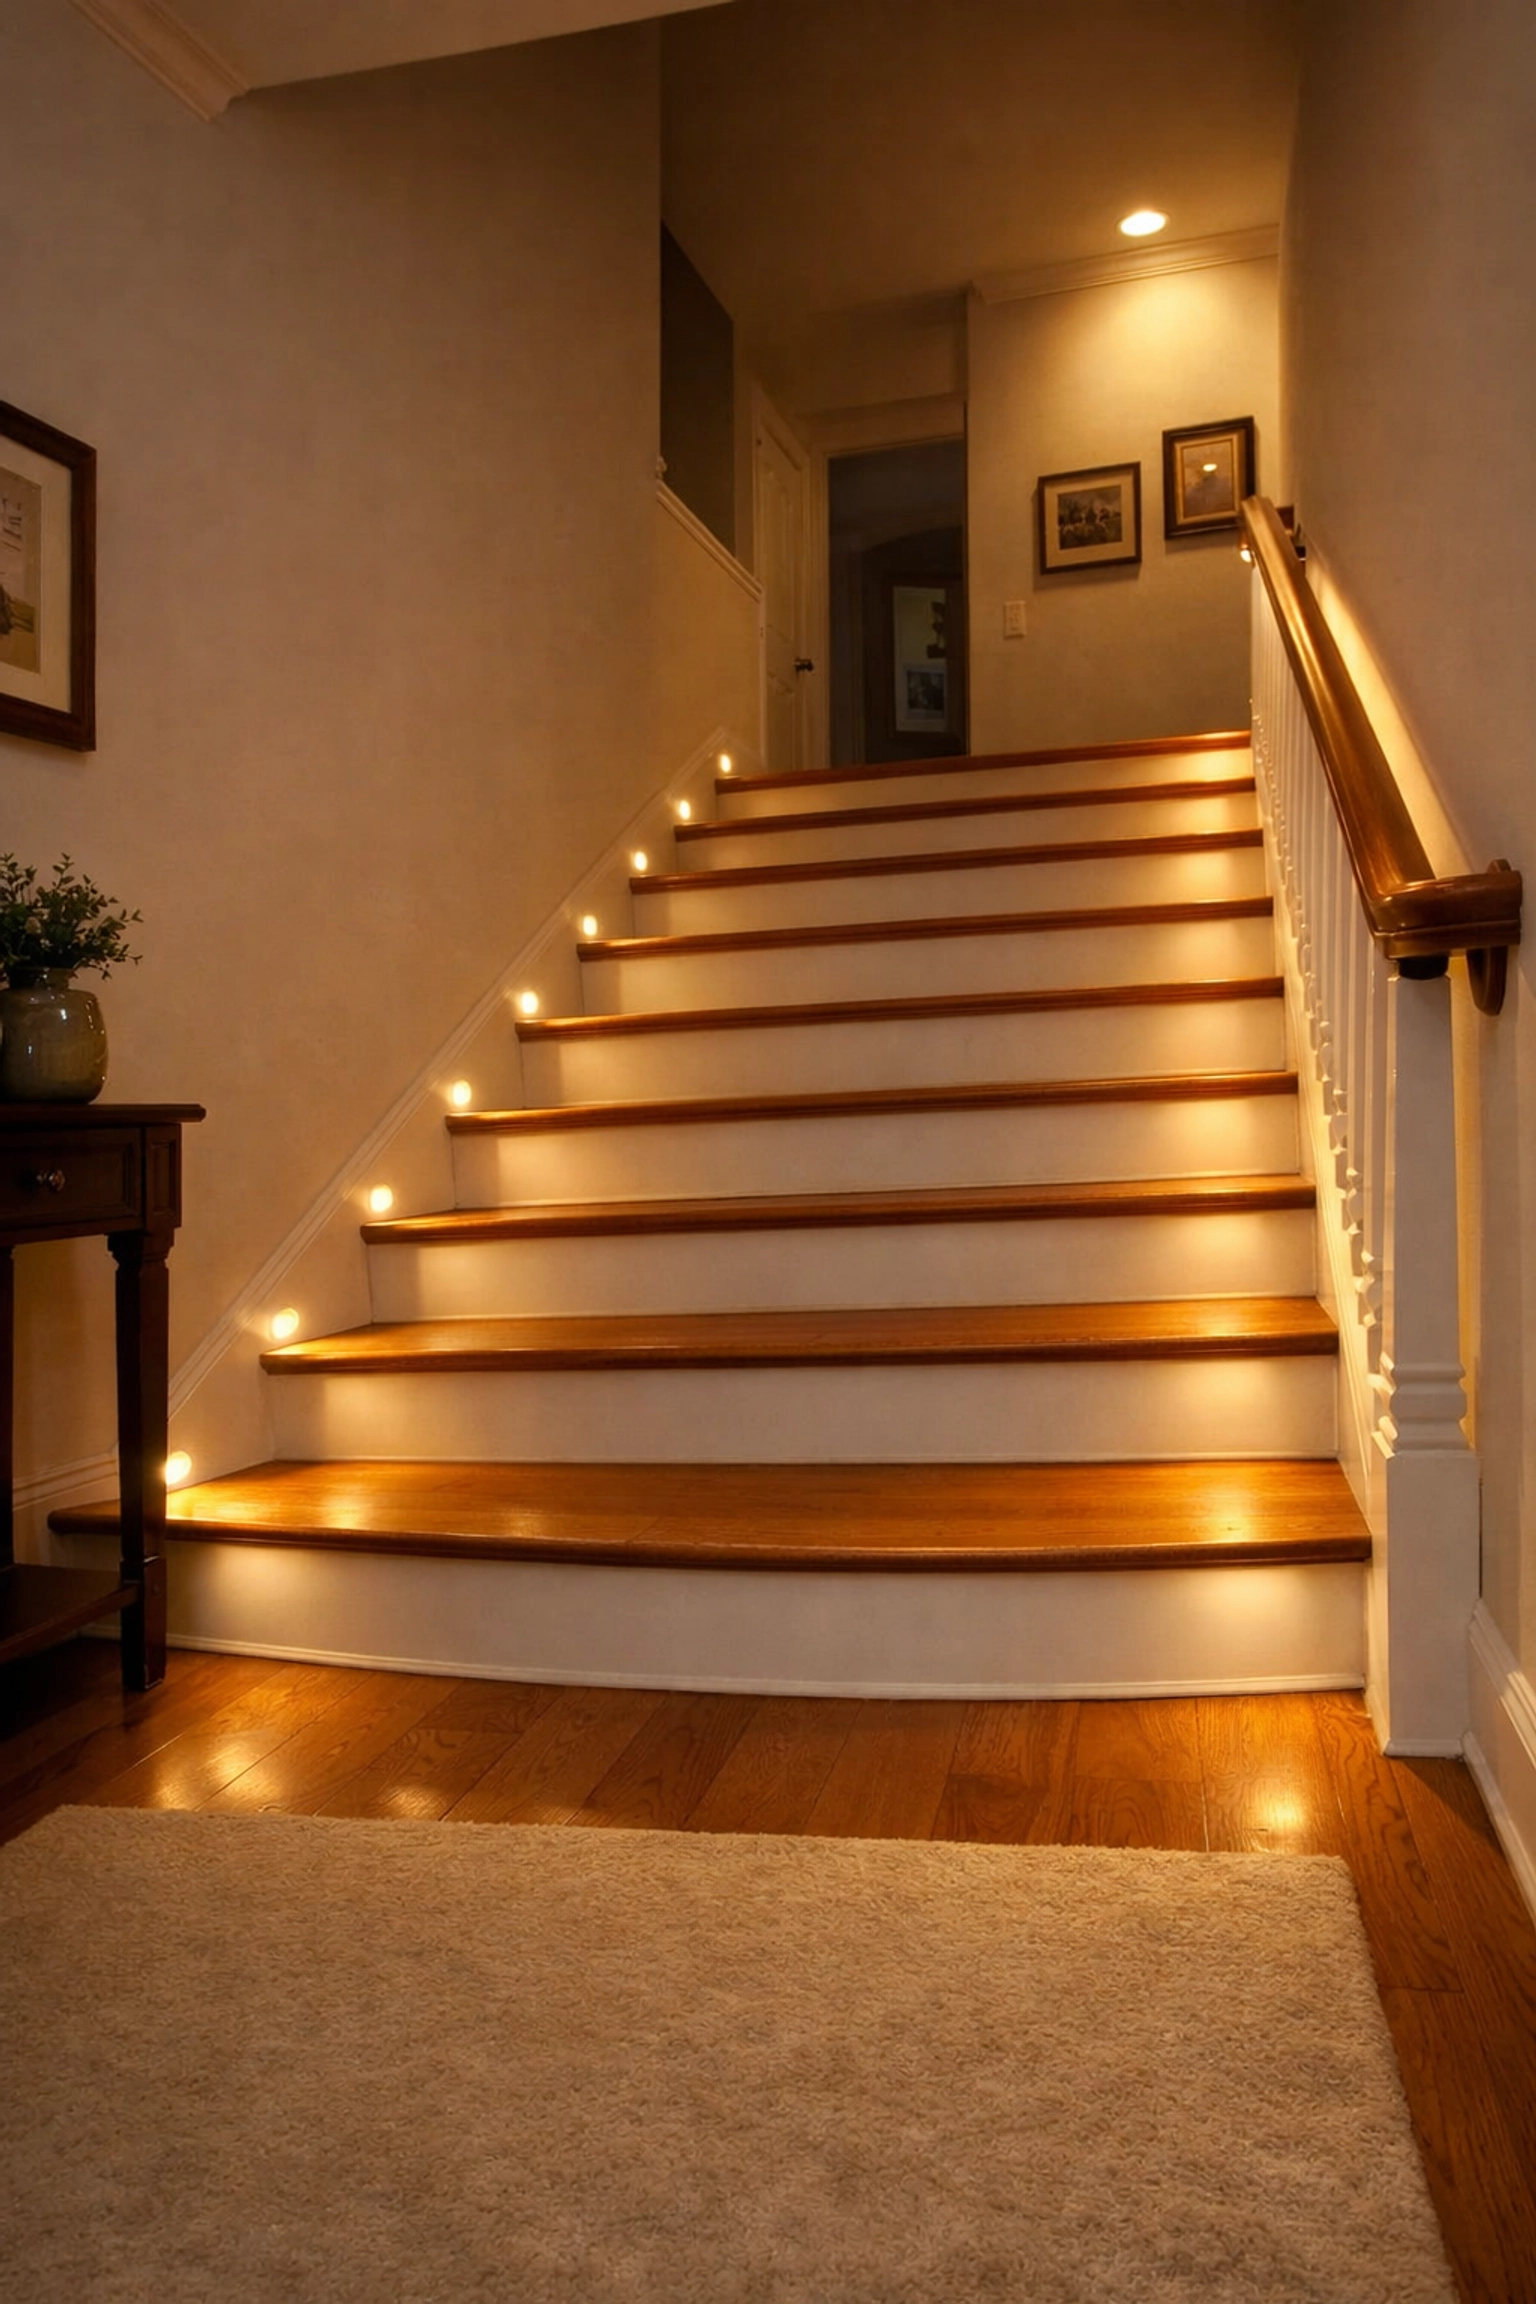
4. The "Shadow Effect" from Poor Lighting
You might have a light in the hallway, but if it’s positioned behind you as you go down the stairs, you are walking into your own shadow. This makes it incredibly difficult to see where one step ends and the next begins. Dim lighting is also a major culprit; as we age, our eyes require significantly more light to perceive depth correctly.
The Fix:
Install lighting that illuminates the steps directly. Motion-sensor LED strips that stick under the handrail or along the baseboards are a fantastic, low-cost way to ensure the stairs are always lit when you're using them. Also, ensure there are light switches at both the top and the bottom of the stairs so you never have to navigate the dark to reach a switch.
5. Slippery or Worn Tread Surfaces
Beautifully polished wood stairs are a staple of home design, but they are also incredibly slippery, especially if you are wearing socks or smooth-soled slippers. Even carpet can be a risk if it’s high-pile or has become worn down and slick over the years. If your foot can’t "grip" the step, your risk of a slip-and-fall increases exponentially.
The Fix:
Add friction. For wooden or tile stairs, clear anti-slip adhesive strips can provide grip without ruining the aesthetic. If you have carpet, ensure it is tight and has no "lips" or loose edges. If the carpet is old and flattened, it may be safer to remove it and apply non-slip treads to the wood beneath.

6. Open Riser Gaps
Modern "open" staircases look airy and stylish, but they can be disorienting. When you can see through the stairs to the floor below, it can interfere with your depth perception and cause a sense of vertigo or dizziness. Additionally, an open riser allows a foot to slip too far forward, potentially catching the shin on the step above.
The Fix:
If your stairs have open gaps between the steps, consider "closing" them. This can be done by installing backboards (risers). If a full renovation isn't possible, ensuring that the gap is no larger than 4 inches can at least prevent feet or legs from getting caught. Closing the risers also provides a visual "stop" for the eye, making it easier to judge the distance of the next step.
7. Structural Deterioration (The Maintenance Gap)
Stairs take a lot of abuse. Over years of use, wood can rot (especially on outdoor or basement stairs), concrete can crumble, and nails can pop up. A stair safety plan often fails because it was a "one and done" event. People install a rail and then never check the stairs again for five years.
The Fix:
Perform a seasonal "stair audit." Walk the stairs and listen. Do they creak? Does a tread feel slightly "spongy"? Check for loose nails or carpet staples that have worked their way loose. Regular maintenance is just as important as the initial safety installation. If you find damage, fix it immediately: don't wait for it to become a trip hazard.
8. Inadequate Headroom Clearance
This sounds like a minor issue, but if you have to duck your head even slightly while using the stairs, your body automatically changes its posture. You might lean forward or look down, which shifts your balance. For taller individuals, the fear of hitting their head can lead to "short-stepping," which is a common cause of trips.
The Fix:
Building standards usually require at least 6 feet 8 inches of vertical clearance. If your home has a low bulkhead or ceiling over the stairs, it may not be possible to move the ceiling. In this case, use visual cues like high-contrast foam padding on the low edge to warn you and protect you. More importantly, focus on keeping your posture upright and moving slowly through the low-clearance area.
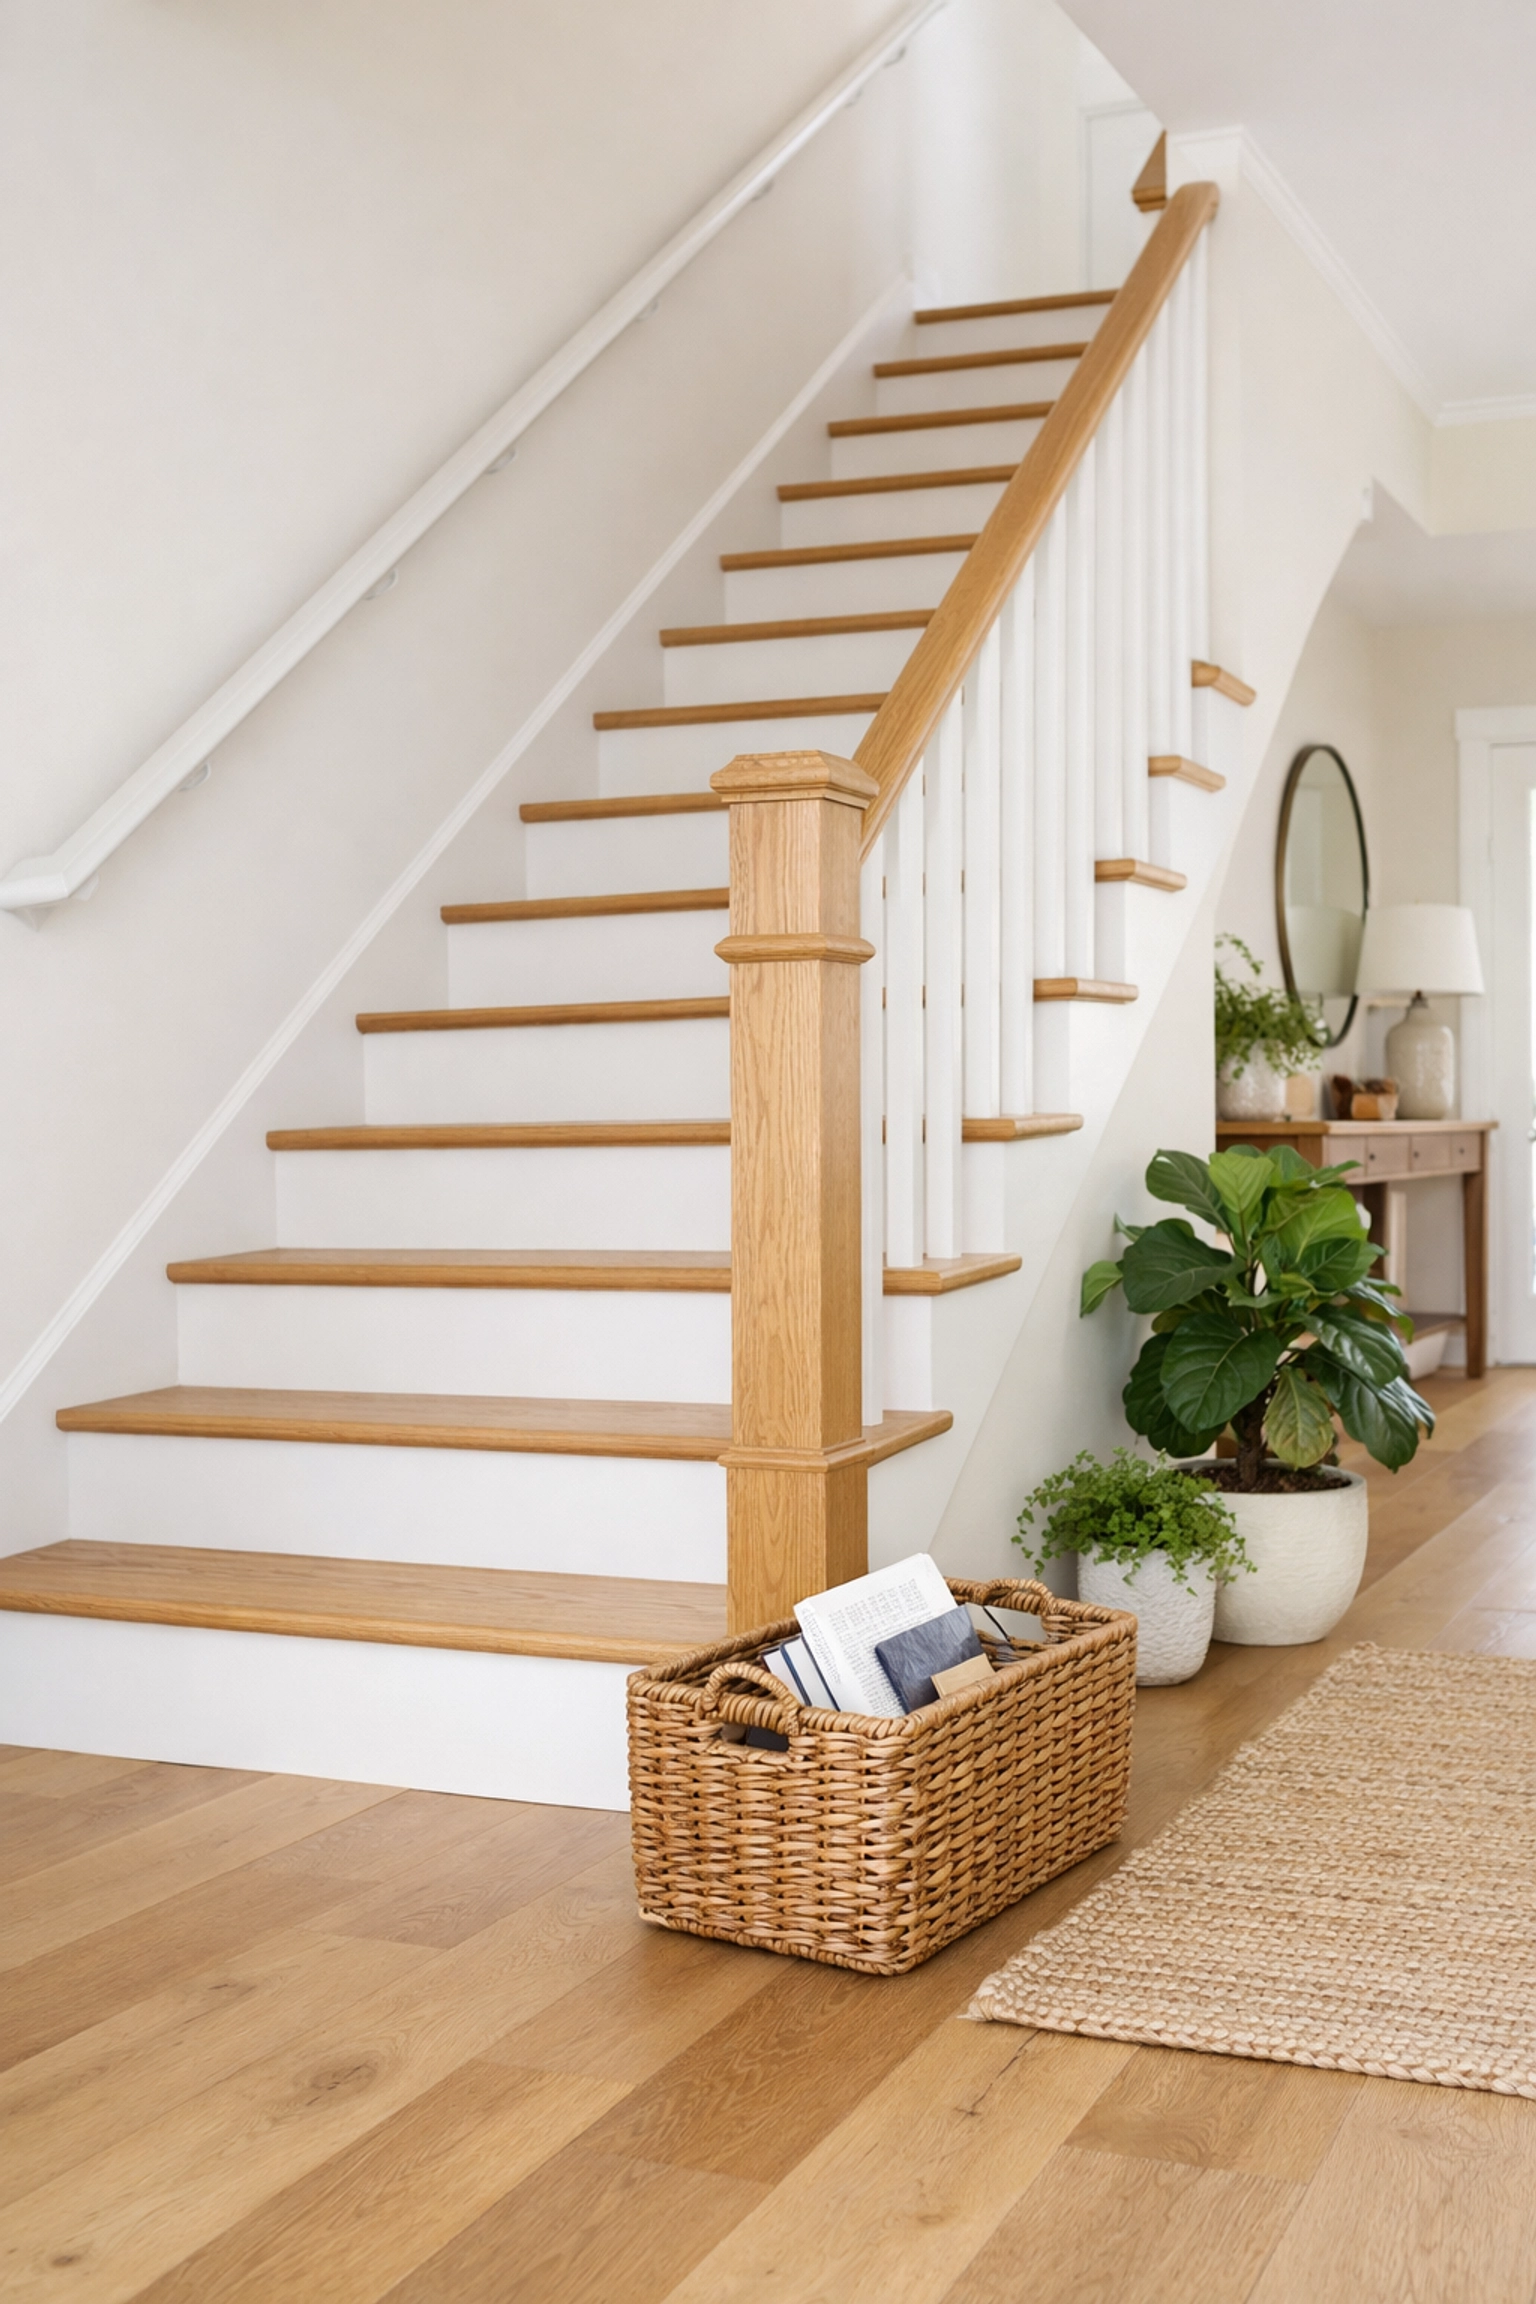
9. The "Temporary" Storage Trap
We’ve all done it: we place a book, a basket, or a pair of shoes on the stairs intending to take them up on our next trip. This is perhaps the most common reason stair safety plans fail. No matter how many handrails or lights you have, an object on the steps creates a physical obstruction that forces you to break your gait.
The Fix:
Adopt a "Zero Tolerance" policy for stairs. Nothing: absolutely nothing: should ever be placed on the steps, even "just for a minute." If you find it hard to carry items up and down while holding the railing, consider installing a small basket at the top and bottom of the stairs. Put your items in the basket, and only carry them when you have a free hand or someone else can assist.
10. Ignoring the "User" Component
Sometimes the stair safety plan isn't working because it only focuses on the stairs and not the person using them. If you are wearing loose-fitting slippers, bifocals that distort your downward vision, or are taking medication that causes dizziness, the safest stairs in the world won't prevent a fall.
The Fix:
Safety is holistic.
- Vision: Talk to your eye doctor about "single vision" glasses specifically for navigating the home if your bifocals make stairs look blurry.
- Footwear: Wear shoes with firm soles and good grip. Avoid walking in socks or loose slippers.
- Technique: Always keep at least one hand on the rail. Some physical therapists recommend the "step-to" method (both feet on one step before moving to the next) for those who feel particularly unsteady.
Bringing It All Together: A Safety Audit
If you’re feeling overwhelmed by this list, don't worry. You don't have to fix everything today. Start with a simple audit. Walk your stairs today with a critical eye.
- Grab the handrail and shake it. Is it solid?
- Turn on the lights. Are there shadows on the steps?
- Check the "nosings." Are they slippery or hard to see?
- Clear the clutter. Move that basket at the bottom of the flight.
By addressing these ten points, you’re doing more than just "fixing stairs." You’re creating a home environment that supports your mobility and gives you: and your loved ones: peace of mind. Stair safety is an ongoing process of observation and small adjustments.
Remember, the goal isn't just to prevent a fall; it's to ensure you feel confident and capable in every corner of your home. If you're ever in doubt, reaching out to a physical therapist or a home safety specialist can provide a professional perspective tailored specifically to your needs and your home’s layout.